Wednesday, October 12, 2022
alphabet, (Missouri Star Easy Alphabet) quilt completed
2022
79 1/2 by 58 inches
Adapted from the Missouri Star Easy Alphabet pattern.
I changed the V.
They use squares for the backgrounds. I instead used larger pieces of fabric. I used Doug Leko's mini simple folded corners tool and Bonnie Hunter's Essential Triangle tool to make these construction adaptations.
The background is Kona Cyan. Love this color.
The scrap squares were from my solid 2 1/2 inch squares bin. Having that bin ready to go made for a quick quilt.
The back is a delightful qwerty typewriter keys batik in a coppery brown.
Quilted by Sue Divarco
This is my fifth alphabet quilt. I have the sixth being quilted and have another two in planning stages.
Saturday, September 24, 2022
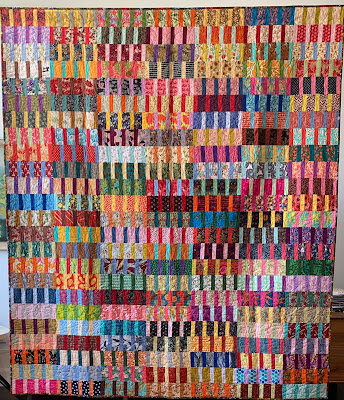
thirteen, quilt completed
91 by 78 inches
2022
42 blocks finishing 13 inches
My design, use at your pleasure
Directions for block construction and top assembly are here:
https://kleinmeisjequilts.blogspot.com/2021/08/thirteen-block-construction-and-quilt.html
Greatly influenced by Tonya Ricucci's Lego/Ellis Island quilt
Tutorial showing antique quilt inspiration: http://lazygalquilting.blogspot.com/2011/08/lego-tutorial.html
Finished quilt named Ellis Island:
https://lazygalquilting.blogspot.com/2011/11/ellis-island.html
Tonya using varying lengths of fabric and has a 10 inch block.
Mine has a 13 inch finished block and is made from 1 1/2 by 2 1/2 inch rectangles, plus 1 1/2 inch squares.
Made from my bin of 1 1/2 inch by 2 1/2 inch rectangles. Included are fabrics of my mother and grandmothers.
Every piece is a memory.
I love working with this size piece and by cutting down my scraps into rectangles, I am ready to go when an idea comes. I have a bin of 1 1/2 by 2 1/2 inch solid rectangles calling my name.
This quilt used mainly of darks and mediums along with brights and lights added in.
The back is a fun print from the Night Ride collection of Rae Ritchie for Dear Stella.
A perennial problem is having help hanging a quilt for photography.
Paul stepped up today!
Monday, September 12, 2022
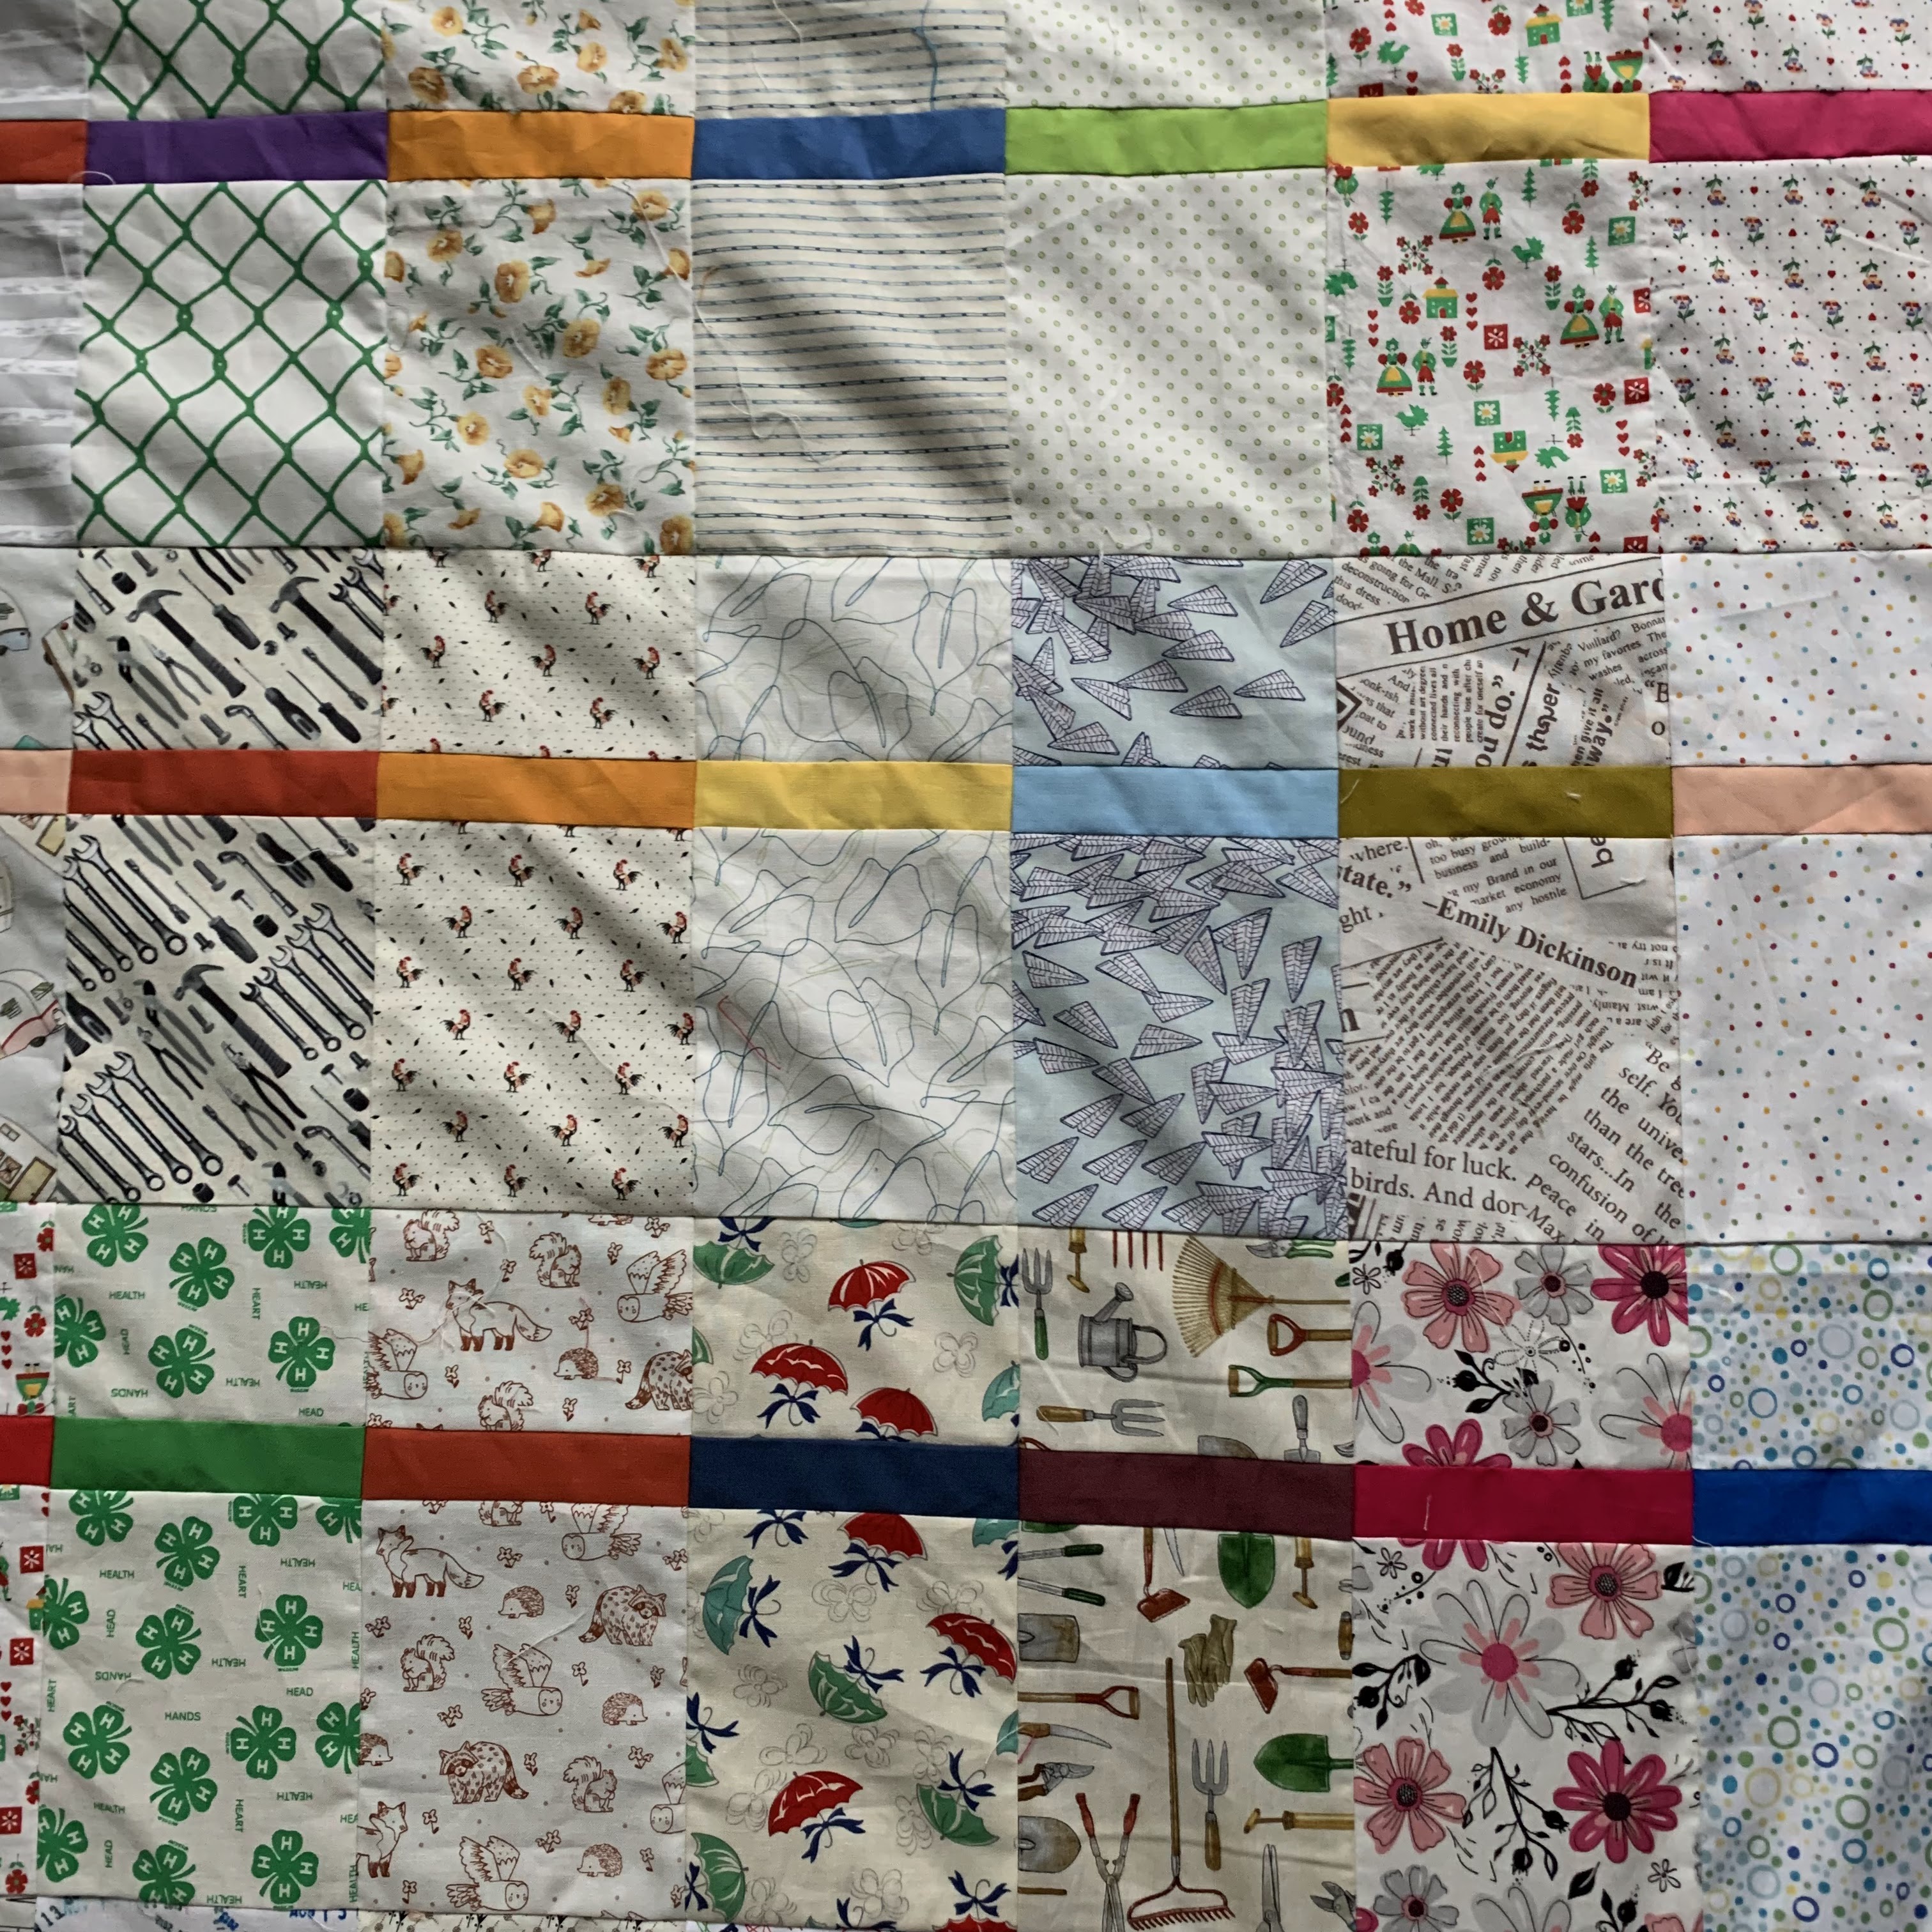
ladder, quilt completed
2020
96 by 84 inches
168 blocks
Block finishes 4 by 12 inches
I find I neglect showing my completed quilts and am on a mission to post those that I've missed over the years.
Ladder is a design I came up with in trying to mess with the grid. By having the seams both meet and not meet as they nestle to the next blocks gives a bit of vibrating to the quilt. I like how in sections it looks like there are diagonals where there aren't any.
It also showcases prints, always a requirement for these solid and prints quilts.
My design--use at your pleasure.
Block construction is discussed here:
https://kleinmeisjequilts.blogspot.com/2019/01/ladder.html
Quilt assembly is discussed here:
https://kleinmeisjequilts.blogspot.com/2019/04/ladder-top-completed.html
Monday, August 15, 2022
17 years!
August marks 17 years of this blog.
I am glad to have this record of my life.
Scrolling to the early posts, I find it interesting that there is a consistency to my quiltmaking. There is growth, learning, refinement, but there is also a sense of this person 17 years ago is the same person making quilts today.
I also enjoy seeing our children grow up on these pages. I've tried to protect their privacy in those posts. They have expressed how they like reading these memories too.
Thank you for reading my thoughts!
Lynn Dykstra
Wednesday, August 10, 2022
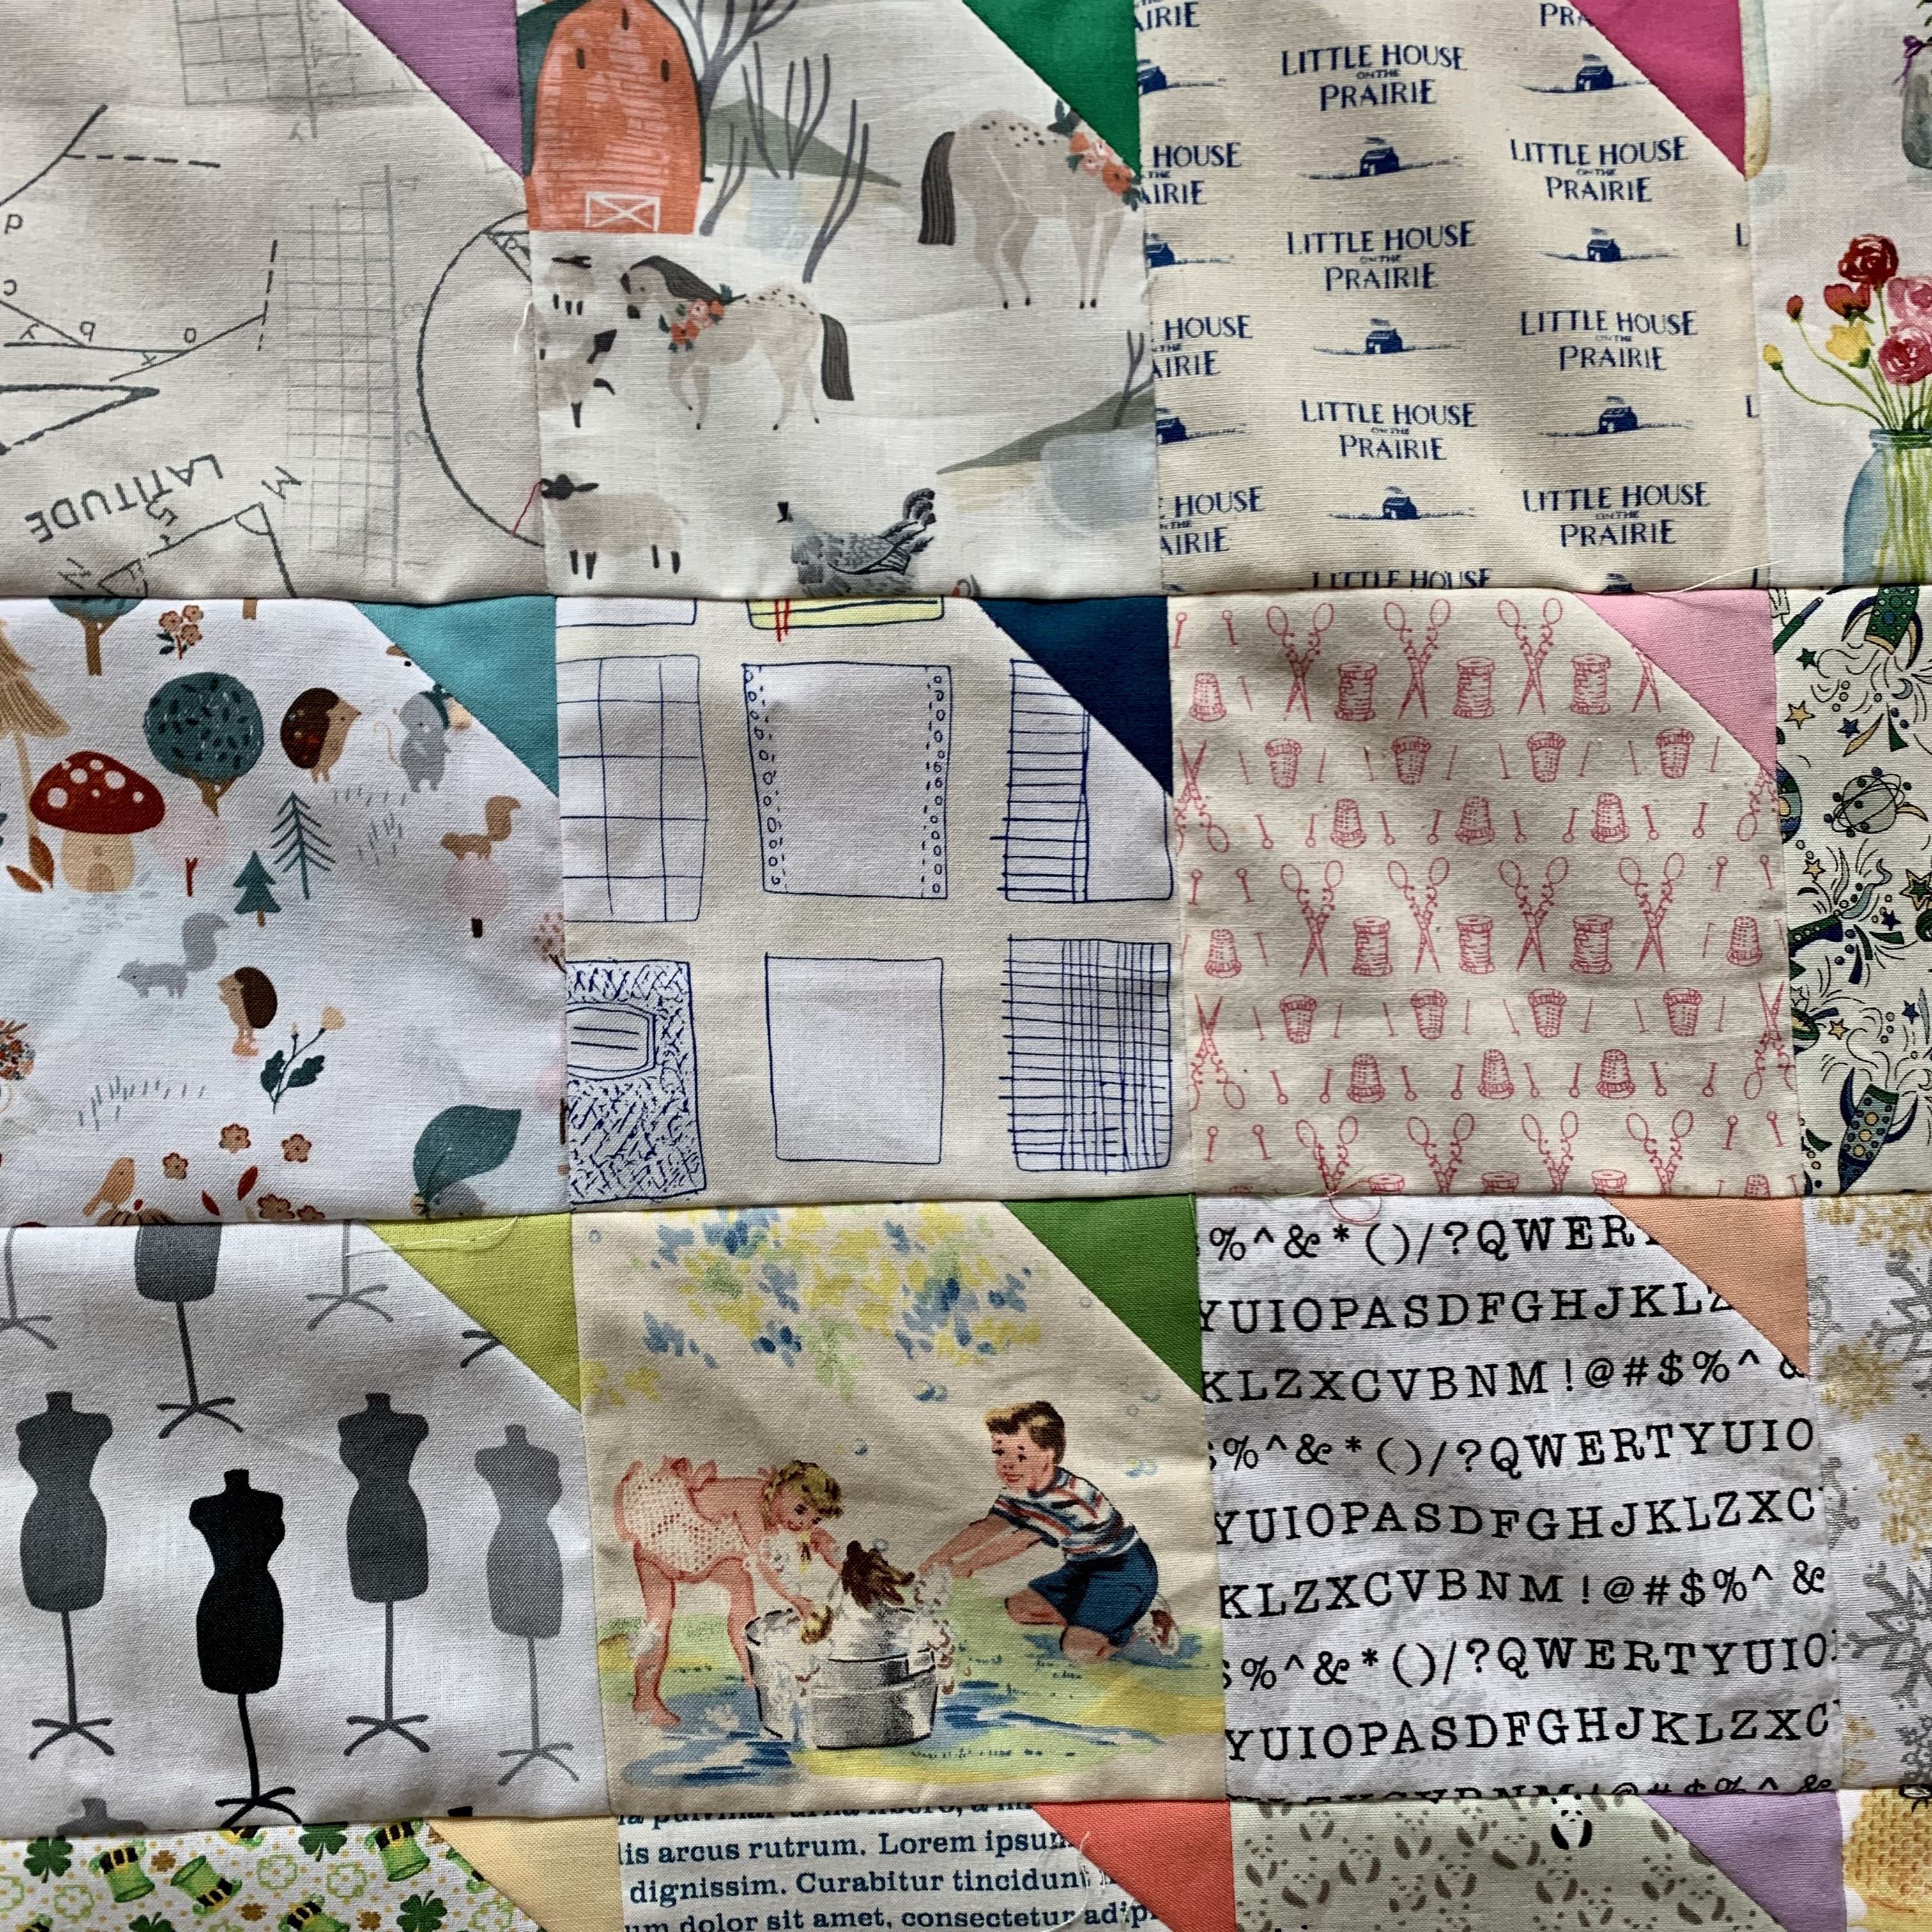
summer horizon, top completed
95 by 81 inches
180 blocks set into 10 rows of 18
Block finishes 9 1/2 by 4 1/2 inches
While I was cutting for my summer quilt with the triangles in the corners, I also cut pieces to make another horizon quilt featuring those same low volume fabrics; a sister quilt.
Again I love the summer feel to it and plan to have it densely quilted with a cotton batt. And I am thinking either Kona Peony or Kona Prairie Sky binding for both of these summer quilts.
Directions for the block are here:
https://kleinmeisjequilts.blogspot.com/2021/05/horizon.html
Here is what my first quilt looks like:
https://kleinmeisjequilts.blogspot.com/2022/04/horizon-quilt-completed.html
I have a batik version of this quilt being cut here behind the scenes.
It is a popular quilt--many have written to me with delightful interpretations of it.
My design. Use at your pleasure.
Sunday, August 07, 2022
red and white quilt: stars with checkerboard, top completed
Red and white quilt: stars with checkerboard
94 by 74 inches
![]() |
| The fabric used in the light squares of the star is from my mother's sewing in the 1960s |
One of my goals in planning a quilt is to have all seams nest with no twisting. But sometimes that doesn't work out and I am ok with that--I call the flipped seams "twisted sisters". This quilt mostly nests flat, but there are a number of twisted sisters. Maybe with extra planning I could have eliminated them, but I did not take the time to figure that out.
When Joanna S. Rose had her fabulous 2011 red and white Infinite Variety quilt show at the Armory, I thought I would like to make a red and white quilt every year. The only large one I have made is my Red Cross (pieced before her show).
Well over a decade later, I finally decided it was time for a red and white quilt.
And in the process, cut parts for two other red and white quilts while I had the reds at the cutting table. Those will be at the ready for pick up sewing.
I had quite a few reds on my shelves, friends gave me more from their shelves, and I did a bit of shopping. There are about 60 different reds used for the 48 stars and hundreds of different reds in the checkerboards.
The white is Kona Snow. I went through 3 yards pretty quickly so I bought a 9 yard bolt for this and future projects.
I first intended to make different sizes of stars, but fell in love with the 8 inch ones. They show off the great prints. I had just made checkerboard for the most recent alphabet quilt and decided to scale down to 1 inch finished checkerboard.
This used up a great number of 1 1/2 inch red squares from my bins. I also cut down many from the 1 1/2 by 2 1/2 inch rectangles bin to add to the variety.
I intended a triangle boarder but it was too much. Instead I added an extra row of checkerboard to the outside and ended with a 4 1/2 inch cut white border.
I plan to bind with white.
I did not plan ahead how many 4-patches I would need for the checkerboard. I just kept making 4-patches, sewing them into sashings, then making more. Each time I would make a pile thinking this would surely be enough, and it wasn't. Toward the end I was anticipating having a huge pile of leftovers and making something else with them. When I made the final sashing, ONE 4-patch remained unused.
No real directions, but the basics are:
8 inch finished stars
1 inch finished checkerboard
4 1/2 inch cut plain borders
I found it best to sew with the star on top at every step of assembly.
My design--use at your pleasure.
![]() |
| Had just enough of that fabulous floral for the center and a bit remaining that went into the checkerboard |
![]() |
| Mustard! |
![]() |
| That jump rope fabric of Latifah Saafir is one of my favorites. Because it leans orange, I made several other red-oranges to put near it to help it blend in. |
Sunday, July 24, 2022
alphabet medallion (alphabet F), top completed. Primitive Gatherings letters (adapted), my set
Alphabet Medallion
about 67 inches square
Letters are based on Primitive Gatherings Mini Alphabet Quilt by Lisa Bongean.
https://www.primitivegatherings.us/mini-alphabet-quilt
I made major changes in construction and used larger backgrounds to the outsides of the blocks so my blocks finish 7 by 8 inches. (7 1/2 by 8 1/2 unfinished)
I used Doug Leko's Simple Folded Corners tool to achieve simplified construction versions of the letters.
https://antlerquiltdesign.com/collections/notions/products/mini-simple-folded-corners-ruler
I design medallion quilts as I go, thinking ahead one step as I work on a section.
I cut sashings 1 1/2 inches and made the odd log cabin style blocks (finished 8 by 9 inches) for the corners, leaving sashings and cornerstones off the log cabins. This completed the blocks part of the medallion. It is a bit wider than it is long.
At this point it measured finished 49 inches wide and 46 inches long. (I think...)
I prefer quilts to be either square or longer than they are wide, so decided to make a checkerboard 3 squares wide on the sides and 4 squares wide on the top and bottom, with the squares cut 2 inches, finishing 1 1/2 inches.
To make the math work, I added a 1 1/2 inch cut striped spacer border around the letters.
At this point it was 51 inches wide and 48 inches long. (again, not positive on the numbers)
After the checkerboard I sketched out additional intricate borders, but they seemed to distract from the alphabet, so I added a simple striped border, cut 4 inches.
It then finishes up about 67 inches square.
I am happy with it! I started it in December and set it aside while the Spring semester took my brain.
All the fabric was on my shelves except for the stripe. Lots of favorites from decades of purchases. Some bits from a trip to Japan in 1989 were all used up.
I may cut the stripe on the bias for the binding.
This is my 6th (F) alphabet. The 7th (G) is being planned on paper--watch for a red and white alphabet over the next months! And the 8th (H) is also planned.
The setting is mine--use at your pleasure.
Saturday, July 23, 2022
summer quilt--top completed--a pattern by Allison Jensen
94 1/2 by 81 inches
378 blocks
Adapted from delightful pattern of Allison Jensen of Woodberry Way.
Here is her blog post about it:
https://www.woodberryway.com/2021/08/i-spy-quilt-with-low-volume-fabrics.html
Here is her free printable pattern:
https://drive.google.com/file/d/1OF1vCuMdZ6L-XJ1SANwB4FvkPFXksQIM/view
I made it two blocks wider and two rows longer than Allison's.
And instead of her size for the corner triangles, I used 2 inch squares straight from by solids bin. I used Doug Leko's Simple folded corner ruler--love that thing.
https://antlerquiltdesign.com/collections/notions/products/mini-simple-folded-corners-ruler
My small group and I exchanged the lights, so the variety was pushed by what others thought were low volume. Some are not using their indoor voices!
I was amazed how many fabrics were on my shelves that fit these low volume parameters. Really fun revisiting fabrics from over the years. Some of my mom's fabrics made it in here too.
The quilt makes me cooler just looking at it.
I plan to have it densely quilted and use Kona Peony for the binding.
Sunday, July 17, 2022
DOT dot DOT, top completed
95 by 74 inches
111 blocks set on point
Block finishes 7 1.2 inches
Block directions are here:
https://kleinmeisjequilts.blogspot.com/2022/07/dot-dot-dot-block-directions.html
My design. Use at your pleasure.
Saturday, July 02, 2022
DOT dot DOT, block construction
DOT dot DOT
Block finishes 7 1/2 inches
I liked my double 4-patch and the puss-in-two-corners quilts with a chain effect and wanted to try a design with a horizontal feel.
https://kleinmeisjequilts.blogspot.com/2017/03/double-four-patch.html
https://kleinmeisjequilts.blogspot.com/2019/05/puss-in-two-corners-top-completed.html
Several years ago I was playing with a simplified Eye of Horus type block in my sketch book and this was one that seemed to fit for this goal.
The proportions could be altered for a smaller block.
Cutting:
Solid: two squares 3 1/2 inches, one square 2 inches
Print: two rectangles 3 1/2 by 5 inches, two rectangles 2 by 3 1/2 inches
Sewing and pressing:
Sew large square to ends of each large rectangle, pressing to the solid
Sew small square in the middle of two small rectangles, pressing to the solid
Sew the three sections together, pressing the final seams in one direction.
Sew two blocks together*, with the top block seams going down and bottom block seams going up. Do not press the connecting seam yet.
*Don't sew all the blocks into pairs. You will need some singles in the layout.
BUT, in sewing a good number of them in pairs, layout will be much simpler as you are able to not worry about orientation of the seams--they will all be correct if they are in pairs. Then you only have to pay attention to the orientation of the single blocks at final layout.
My plan is for 111 blocks set on point, with about 15 singles needed, so I'll keep 20-25 unpaired.
I am also cutting my setting triangles.
I like to over-cut these so the blocks float. These are cut 9 inches on the short sides, with the a bit over 12 inches hypotenuse along the straight of grain.
After I know where they are going in the layout I trim one of those 9 inch sides to 8 inches so it is eased onto the block at just the right length. Don't trim it til ready to sew onto the block so you trim the correct side.
With on point quilts I like to save my directional fabrics for the setting triangles.
Also will need four corner half square triangles about 7 inches to be trimmed after placing.
My design. Use at your pleasure.
Tuesday, June 21, 2022
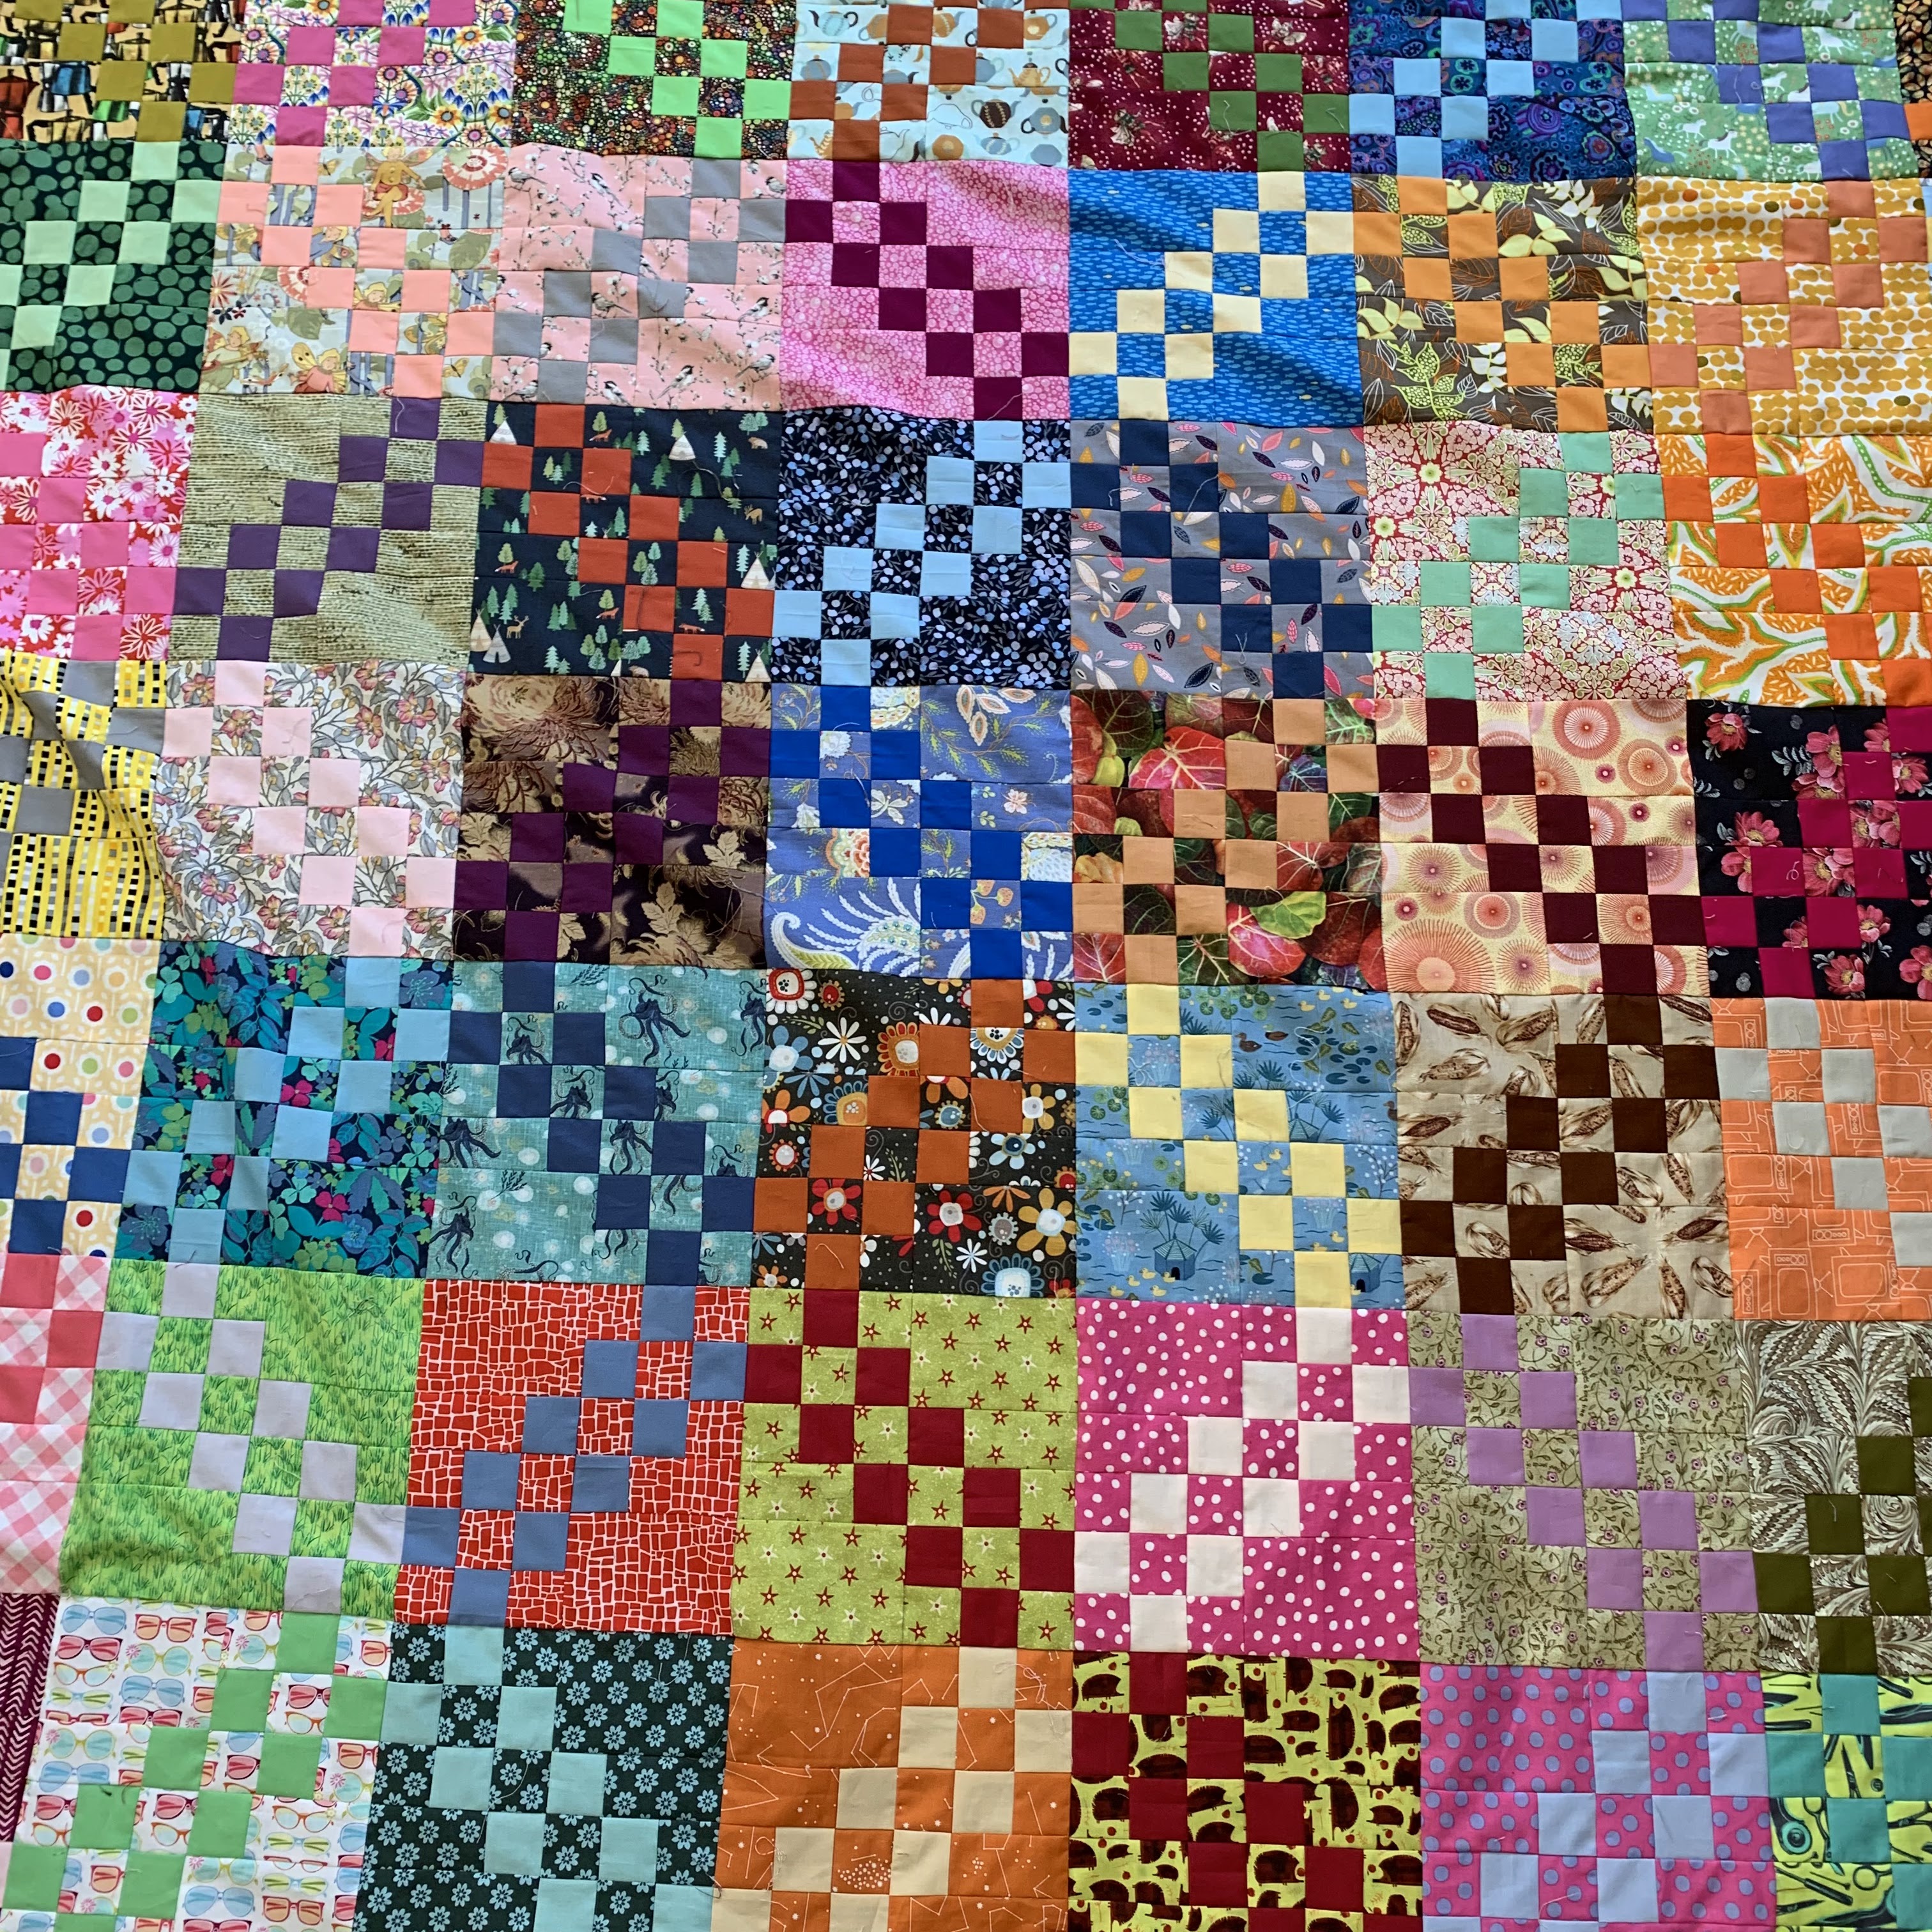
Irish chain, top completed
90 by 90 inches
100 blocks (50 A blocks, 50 B blocks) made into 25 four-block units.
Block finishes 9 inches.
Four-block unit measure 18 inches
Block and Four-block units direction are located here:
https://kleinmeisjequilts.blogspot.com/2022/06/irish-chain-block-construction.html
Top construction
Lay out 5 four-block units. Sew together into a row, wait to press the joining seams.
Make 5 rows.
Lay them out and press odd row unit joining seams to the left, even row unit joining seams to the right.
Sew together those rows and all seams will nest!
Just 4 long seams with this construction plan.
My design directions, use at your pleasure.