Showing posts with label unit blocks. Show all posts

Monday, November 17, 2025

18 tatami mat

18 tatami mat
top completed 2025
84 by 72 inches
block finishes 6 inches

168 blocks
96 blocks all scrap Block A
72 blocks with solid center Block B; I used Kona Glacier

I love tatami mat layouts for using 1:2 rectangles.
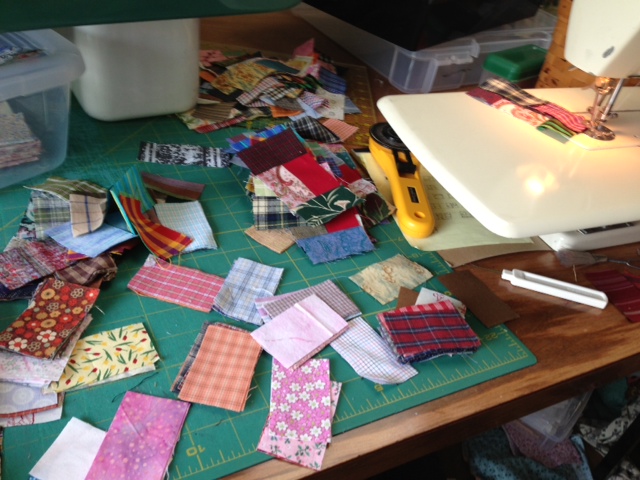
My 1 1/2 by 2 1/2 inch neutrals/pastels bin was overflowing so it was time to go to a project that had been in my sketch book for a while.
The box is no longer overflowing...

Cutting:
Scraps rectangles 1 1/2 inches by 2 1/2 inches
1728 scraps for Block A
1152 scraps for Block B
Total 2880 scraps
Solid 2 1/2 inch squares
72 solid squares for Block B

Very simple pieceing that works well for times I need to sit at the machine and think.
My mom did her best thinking at her sewing machine.
My dad, in the fields. He referred to this as "tractor time".

Piecing
For Block A start with two rectangles paired into a square
For both blocks, surround center squares with scraps as shown in photograph below.
Press all seams away from the center square.

Block A
Block B
Block A
Block B
Sew into pairs, rotating every other block
Press away from the block that has three scraps on the side
Sew pairs into a unit of four blocks
For the quilt shown, I needed 24 units of Block As and 18 units of Block Bs

Rotate the lower unit, pair up the 4 block units into 8 block units.
Make sure you are consistant in the rotations. Mine, I kept the ending with 3 scraps on the left of the top unit and on the right of the bottom unit
Do not press these units yet
I needed 12 of Block A and 9 of Block B
Piece into large 12 large units. There will be three remaining Block A units for the final layout
Await pressing

Piece large units into columns, adding the remainder of the Block A at the bottom of the columns
Press middle column up and side columns down
The solid squares give a sprocket look.
Three columns ready for final two seams
Stay-stitch around the quilt top to keep the seams from popping.
I plan to bind it with the solid Kona Glacier

My design, use at your pleasure.
Backing by Rae Ritchie for Dear Stella, DRR2372
 

Friday, July 05, 2013

unit blocks--planned randomness


In making a scrap quilt, there is planning done at the beginning, then messing with that plan and adding other rules as I go along.
When cutting down of scraps, one size I cut is 1 1/2 by 2 1/2 inches and finish 1 by 2 inches. This is the proportion of the unit blocks used in preschools.
Tonya Ricucci has a wonderful quilt "Ellis Island" using lots of odd prints. I loved the look of her quilt and used that as inspiration for this one. I stayed with her 1 1/2 inch width, but kept my length at 2 1/2 inches to use up some of the many, many pieces in my bins.
This quilt took 1920 of those patches-- 240 are red solids.
Each 4 inch block uses 8 of the unit patches.
I wanted the block to be not quite symmetrical visually, so I chose a setting (top) that had the red center off center.
After making a few blocks, I realized that in a layout the reds would spin in a predictable way (which I did not want) so I made a second block (bottom) where the center is in a different configuration. The red solid was always kept to the interior of the block.
Then, I made the 240 blocks.
I pieced the blocks into pairs first, with every other block set at a quarter turn.
This made for fewer seams to match.
I put them together in various configurations of the two blocks, making the red rectangles very random in their orientation.
Then, the pairs were pieced into quads, 8s, 16s, and 32s.
I added the piano key border (1 1 /2 by 4 1/2. also out of bins) when the top was still at the 32 block stage. I find this makes less distortion with piano keys. Also, I did not press the piano keys until they were sewed to the blocks--this way I could stay stitch the edges of the keys in the directions that made them nest into the blocks.
 After the keys were attached to the blocks and stay stitched, I pressed them and put them back on the board.
By working in sections, I had just one long seam at the end.
The fabric choices--I kept out most reds from the scraps--there are a few--because I wanted the solid reds to shine. The scraps are prints and plaids (lots of shirt parts), lights and mediums and darks.  I made sure each block had some of each.
This is my design. Let me know if you use this idea and where it takes you!


56" by 88"
Top completed July 4, 2013