Showing posts with label 16 patch. Show all posts

Thursday, August 13, 2026

Tree everlasting, bar quilt in red and white, quilt top completed


Tree Everlasting, bar quilt in red and white
80 by 68 1/2 inches
Top completed 2026

Reds are scraps.
White is mainly Kona Snow but I threw in a few other whites with red here and there.

I've always loved the traditional Tree Everlasting pattern. 
For the past few years, as I was cutting red and white fabrics, I would make sure to get a few triangles from the scraps. I knew I would get to this quilt eventually.
I am confused in how to answer the common question, "How long did it take you to make this quilt?" Do I count just time at the machine? Do I include cutting time? Pressing time? Years of planning and sketching and collecting fabrics? The time it is away at the quilter and my binding time? 
My usual answer is I am working on several quilts all the time and each is usually finished within a year or two.
But, I am binding a quilt now that I finished piecing 2 years ago and worked on for at least 2 years before that, so that answer doesn't always suffice.

Cutting for the triangles squares that finish 2 inches, measure 2 1/2 inches I use the Easy Angle or Bonnie Hunter's Triangle Tool and cut from 2 1/2 inch strips.

The red tree centers are cut from 4 1/2 inch strips
I cut reds into 8 1/2 and 16 1/2 inch lengths
Make six tree centers to finish 80 inches
I used one or two 16 1/2 inch lengths in each bar, and enough of the 8 1/2 inch lengths to bring the bar to 80 1/2 inches.
Press all seams north

By having the centers cut at this length, the triangles will nest into the seams at intervals to meet up with the branches and will help keep the piecing true in assembly.
I staggered the longer pieces in different areas of the bars so this would visually break up a consistant line between the pieces across the quilt.
The branches are made from 2 1/2 inch measured (2 inches finishted) half square triangle. I use the EZ angle or Bonnie Hunters triangle ruler to make these from 2 1/2 cut strips of fabric.

Sew the triangle squares into pairs, then into 4s, then into 8s.
There is a different placement for these for the right and left side of the tree.
Wait with pressing until they are at the 8s stage, then press south.
Sew 5 of the 8s together to make 40 triangles for each branch section.
Sew branches to either side of the tree centers.
Press towards the centers
I made six trees

WHITE BARS*
I used Kona Snow for these and cut them to size along the selvedge edge.
Cut five white inner bars 80 1/2 inches by 3 inches
Sew between all trees
Press towards the white bars
Cut two white outer bars 80 1/2 by 4 inches for the sides of the quilt
Press towards the white bars
(*note--these directions are mathmatical lengths. In making pieced sections meet with un-pieced sections, humility must come in. Though my white strips mathmaticaly would be 80 1/2 inches cut, my actual measurement came to 79 inches cut after measuring my 6 trees and coming up with an average number.)

My directions for a traditional pattern.
Use at your pleasure.

Sunday, August 09, 2026

binding for late summer into fall: 16-patch bar quilt, summer flicker, protest quilt


Red and White 16-patch Bar Quilt
top compoleted 2025, quilt completed 2026
66 by 51 inches
Quilted by Sue DiVarco
Details HERE
Summer Flicker
72 by 63 inches
top completed 2025, quilt completed 2026
Details HERE
quilted by Sue DiVarco
from a design by Julia Davis
Protest Quilt: Resistance & Resilience
quilt completed 2026
about 31 by 38 inches
I quilted this one myself
details HERE

Friday, October 17, 2025

red and white 16-patch bar quilt, top completed

 
Red and White 16-Patch Bar Quilt
66 by 51 inches
top completed 2025

I love a 16 patch. It is a block that lends itself to simple piecing and the mosaic can be varied many ways. This is another of many variations from my sketchbook. 
I've used a stripie/bar setting in different proportions before with Glacier Bay linked HERE.

My reds 2 inch cut bin was full so I put my focus there. There are plenty remaining in that bin and I have plans for them.

Cutting:
White: 352 2-inch squares--I used Kona Snow
Red scraps: 1144 2-inch squares
(as always, my counts may be a bit off)

Piecing:
The basic block is a 16 patch made in two colorations. The photo arrows show pressing directions.

4 piece strips--note they are pressed south--a bit hard to see those arrows.
Then half blocks, full blocks, and units pressed west. Directions below.

Red and white 16 patch
Need 352 red squares and 352 white squares
Make 176 strips of four pieces
Pair up two strips, rotating one so seams nest, making 88 half blocks.
Make sure you feed the strips of 4 into the machine with a white square at the top, with the pressing of the top strip south and the bottom strip north.
Make 44 blocks
Pair these into 22 units

All reds 16 patch
Need 792 red squares
Make 198 strips of four pieces
Pair up two strips, rotaing one so seams nest.
Make sure you feed the strips of 4 into the machine with the pressing of the top strip south and the bottom strip north, making 99 half blocks
(as always, my numbers may be off)
Make 33 blocks and leave 33 half blocks
Join one full block and one half block into a unit.

The red and white units are two 16 patches.
The all reds units are made with one and one half 16 patches
Lay out the units into three columns of all reds and two columns of red and white.
ROTATE every other block going down the columns.
Watch the pressing--sometimes I lay out the quilt upside down so I can easily see the pressing plan in laying out blocks. 
There are 11 units in each column.

Sew units together into columns and press horizontal seams in red and white columns north and all reds coulmns south. 
Sew columns together.
Everything nests.

My design, use at your pleasure.
Got two dalmation heads in this quilt!

Love this Jan Mott fabric for Henry Glass for the backing


Thursday, May 08, 2025

bullseye chain

 
16-patch with bullseye chain
96 by 80 inches
Quilt completed 2025
Block finishes 8 inches
quilted by Sue DiVarco

Binding on the Bullseyes has begun.
Directions for this quilt are HERE.

Friday, December 20, 2024

Jump on In designed by Julia Davis of Red Rainboots Handmade, top completed

I love how the quilt looks with different orientations


Jump on In (designed by Julia Davis)
top completed 2024
96 by 80 inches

Last winter Julia Davis of Red Rainboots Handmade (her main business is making wooden barn quilts--those tulips are calling me) had a fabric swap and quilt-along called Jump on In. I did not participate in the swap, but purchased her pattern and watched the progress of the project on instagram.

The pattern is available HERE.
Read about the swap HERE. It was a fun process to follow on her Instagram. She was very organized!
And HERE is a link to the hashtagged quilts made by the participants.

I  kept the idea on the back burner, cutting triangles while cutting reds for other projects and sewing stacks of the units behind the scenes.

Two things I changed to fit my sewing preferences:
I dislike trimming down units, so I cut my triangles from strips to finished size using the Easy Angle or Bonnie Hunter's Essential Triangle tool.
Are my triangles a bit less accurate than if I over-cut/pieced/trimmed?
Yes.
And I am ok with that.

I also dislike sewing lots and lots of long rows together onto a mothership, so I sewed the units into 16-patch style blocks. Once the 16-patches were made I laid out, I sewed into rows, pressing each row east or west, alternating.
All seams nest.

Sew into strips of 4. Press half of these strips up and half down.
Make half-block of 8 units.
Do not press these units yet
Sew two half-blocks together into a block
Do not press these units yet

My reds range from tomato/madder to berry/maroon. The white is Kona Snow.

Thanks, Julia, for the delightful design!

Backing by Timeless Treasures


Wednesday, July 10, 2024

16-patch with bullseye chain, top completed, directions for construction


16-patch with bullseye chain
96 by 80 inches
Top completed 2024
Block finishes 8 inches

A summer quilt! Made from my lights/neutrals bin of 2 1/2 inch squares. 
1632 of them. 
I really like working with the neutrals. The summer feel of these quilts is pleasant. Note I kept the bullseye center squares oriented consistently with the images, but all background squares I let go every which way.
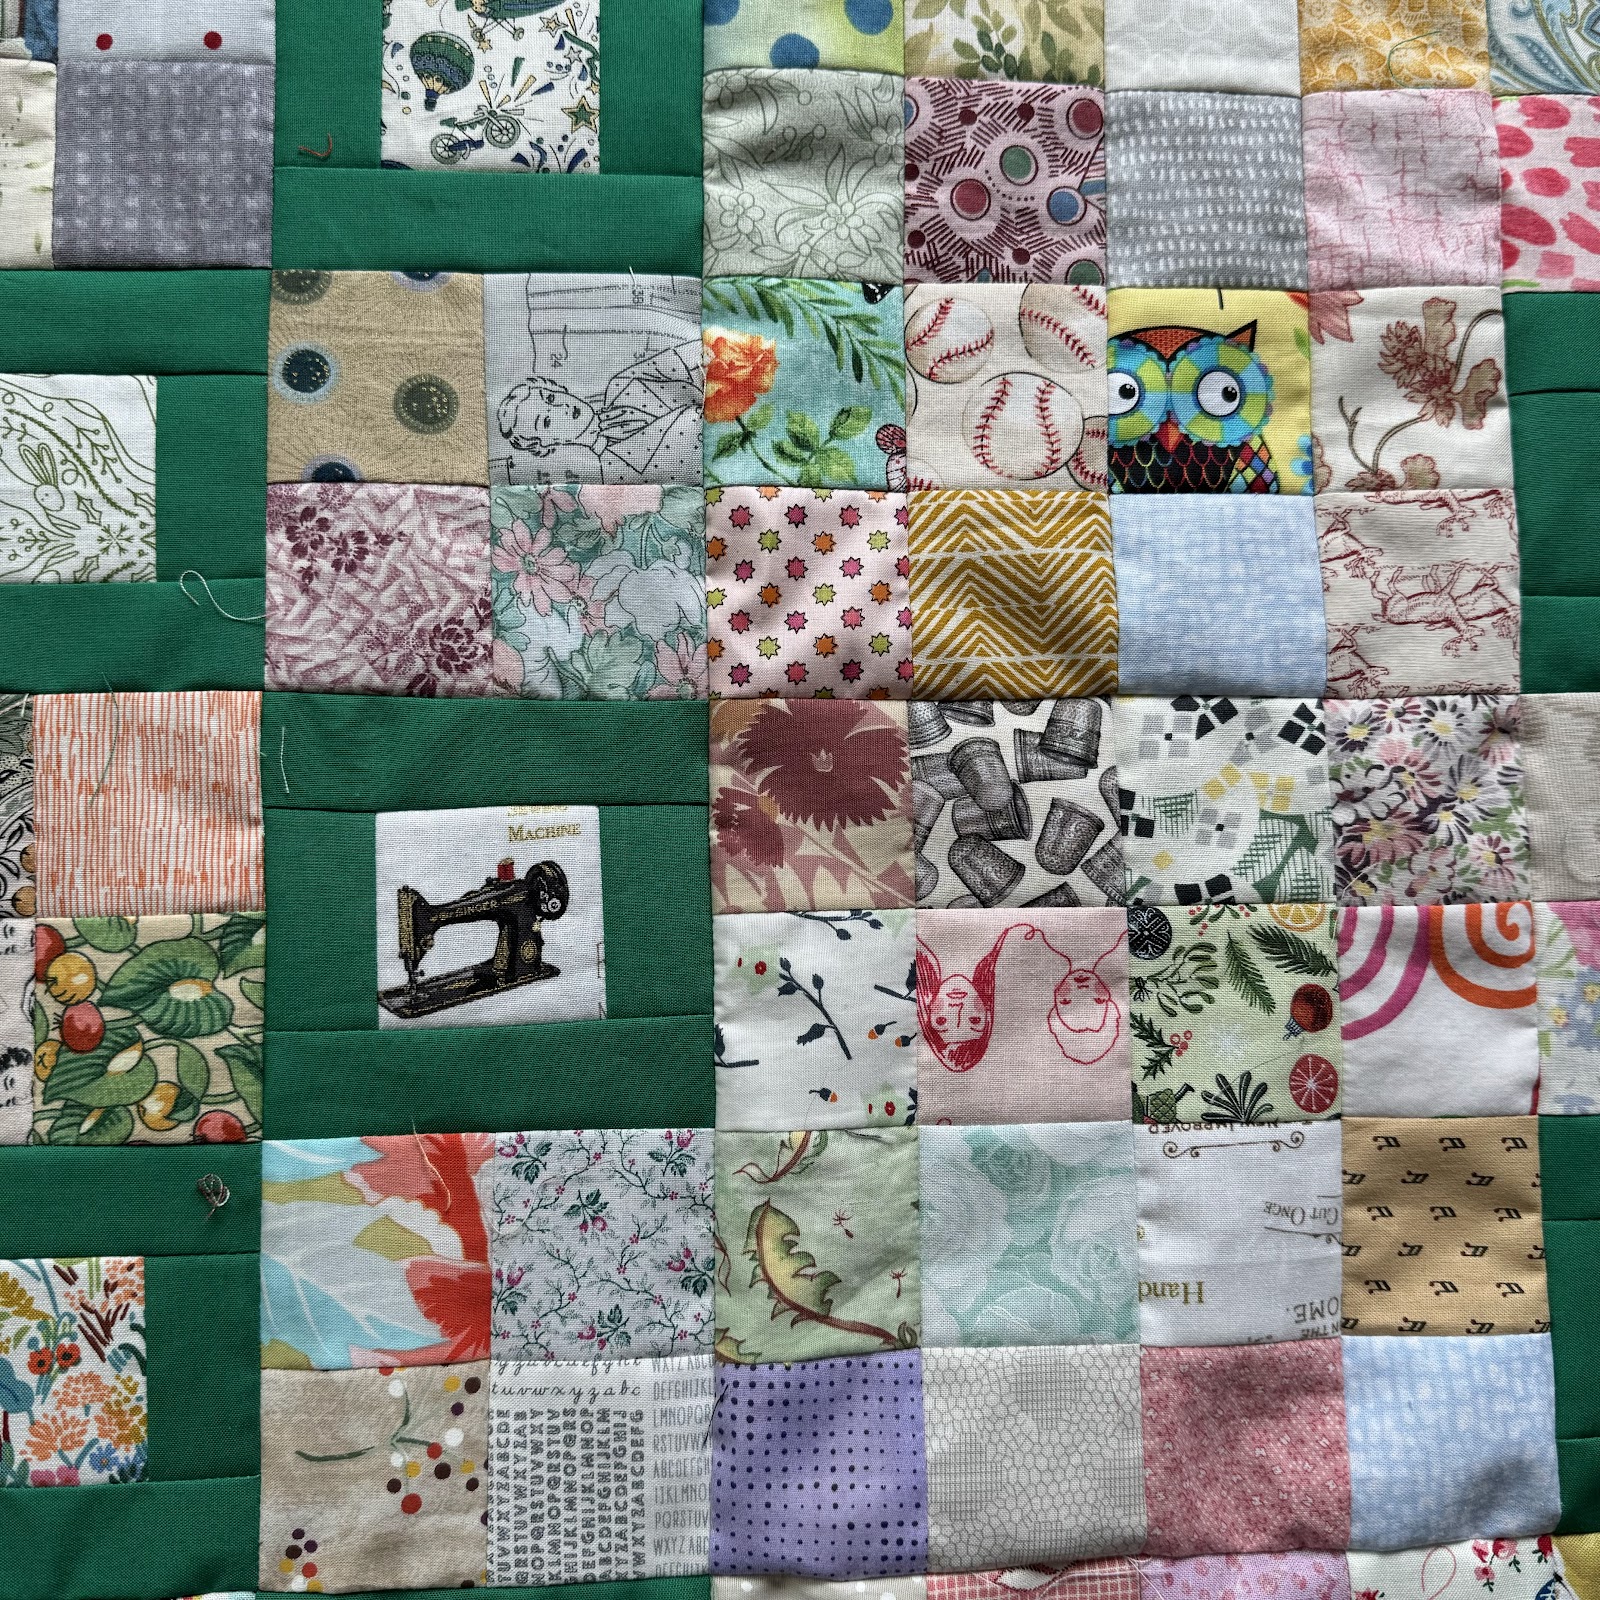
The green I think is Kona Fern. Stands out in a lovely way from the squares. I will bind it in this green.
I wanted to center the chains a bit so I added half-blocks to the side blocks to make them a bit wider. 

60 16-patch blocks
24 half 16-patch blocks
48 double bullseye blocks

After making the previous bullseye quilt where I wanted to have just one block, I went to this one in my sketchbook and decided to make two blocks (plus a variation on the sides).

Green
For each bullseye cut two 2 1/2 by 1 1/2 inch rectangles and two 4 1/2 by 1 1/2 inch rectangles
For this quilt, I cut 192 of each

Neutrals/lights
1632 squares cut 2 1/2 inches
Set aside 96 for bullseyes.
Sew remaining 1536 into 768 pairs.
Set aside 192 of the pairs for the bullseye blocks
Sew remaining 576 pairs into chains of four patches

Block A is a double bullseye block
Make the bullseyes, pressing away from the center square
Make the 4-patches, watching pressing
Sew 4-patches to the bullseyes, keeping the bullseyes oriented consistently. 
Press as shown
Sew into blocks.
Sew blocks into pairs then 4-block units
Press these horizontal seams south


Block B is a 16-patch block
Make 16-patches, keeping pressing as shown


Block C is a half 16-patch block
Make the half 16-patches, keeping pressing as done with Block B

Take 24 of the Block B and sew a Block C to each.
Press as shown

Take these 24 expanded blocks and sew into pairs then into 4-block units.
Press these horizontal seams north

Take remaining 36 16-patch blocks and sew into pairt then into 4-block units.
Press these horizontal seams north


Lay out and sew into three rows
Sew final two seams 

Everything nests!
My design, use at your pleasure.

Backing is Nests from Bird Song by Rae Ritchee for Dear Stella Fabrics

Bins before this quilt

Bin after this quilt!