Sunday, July 24, 2022

alphabet medallion (alphabet F), top completed. Primitive Gatherings letters (adapted), my set


Alphabet Medallion 
about 67 inches square

Letters are based on Primitive Gatherings Mini Alphabet Quilt by Lisa Bongean.
https://www.primitivegatherings.us/mini-alphabet-quilt

I made major changes in construction and used larger backgrounds to the outsides of the blocks so my blocks finish 7 by 8 inches. (7 1/2 by 8 1/2 unfinished)
I used Doug Leko's Simple Folded Corners tool to achieve simplified construction versions of the letters.
https://antlerquiltdesign.com/collections/notions/products/mini-simple-folded-corners-ruler

I design medallion quilts as I go, thinking ahead one step as I work on a section.

I cut sashings 1 1/2 inches and made the odd log cabin style blocks (finished 8 by 9 inches) for the corners, leaving sashings and cornerstones off the log cabins. This completed the blocks part of the medallion. It is a bit wider than it is long.
At this point it measured finished 49 inches wide and 46 inches long. (I think...)

I prefer quilts to be either square or longer than they are wide, so decided to make a checkerboard 3 squares wide on the sides and 4 squares wide on the top and bottom, with the squares cut 2 inches, finishing 1 1/2 inches.
To make the math work, I added a 1 1/2 inch cut striped spacer border around the letters.
At this point it was 51 inches wide and 48 inches long. (again, not positive on the numbers)
After the checkerboard I sketched out additional intricate borders, but they seemed to distract from the alphabet, so I added a simple striped border, cut 4 inches.
It then finishes up about 67 inches square.

I am happy with it! I started it in December and set it aside while the Spring semester took my brain. 
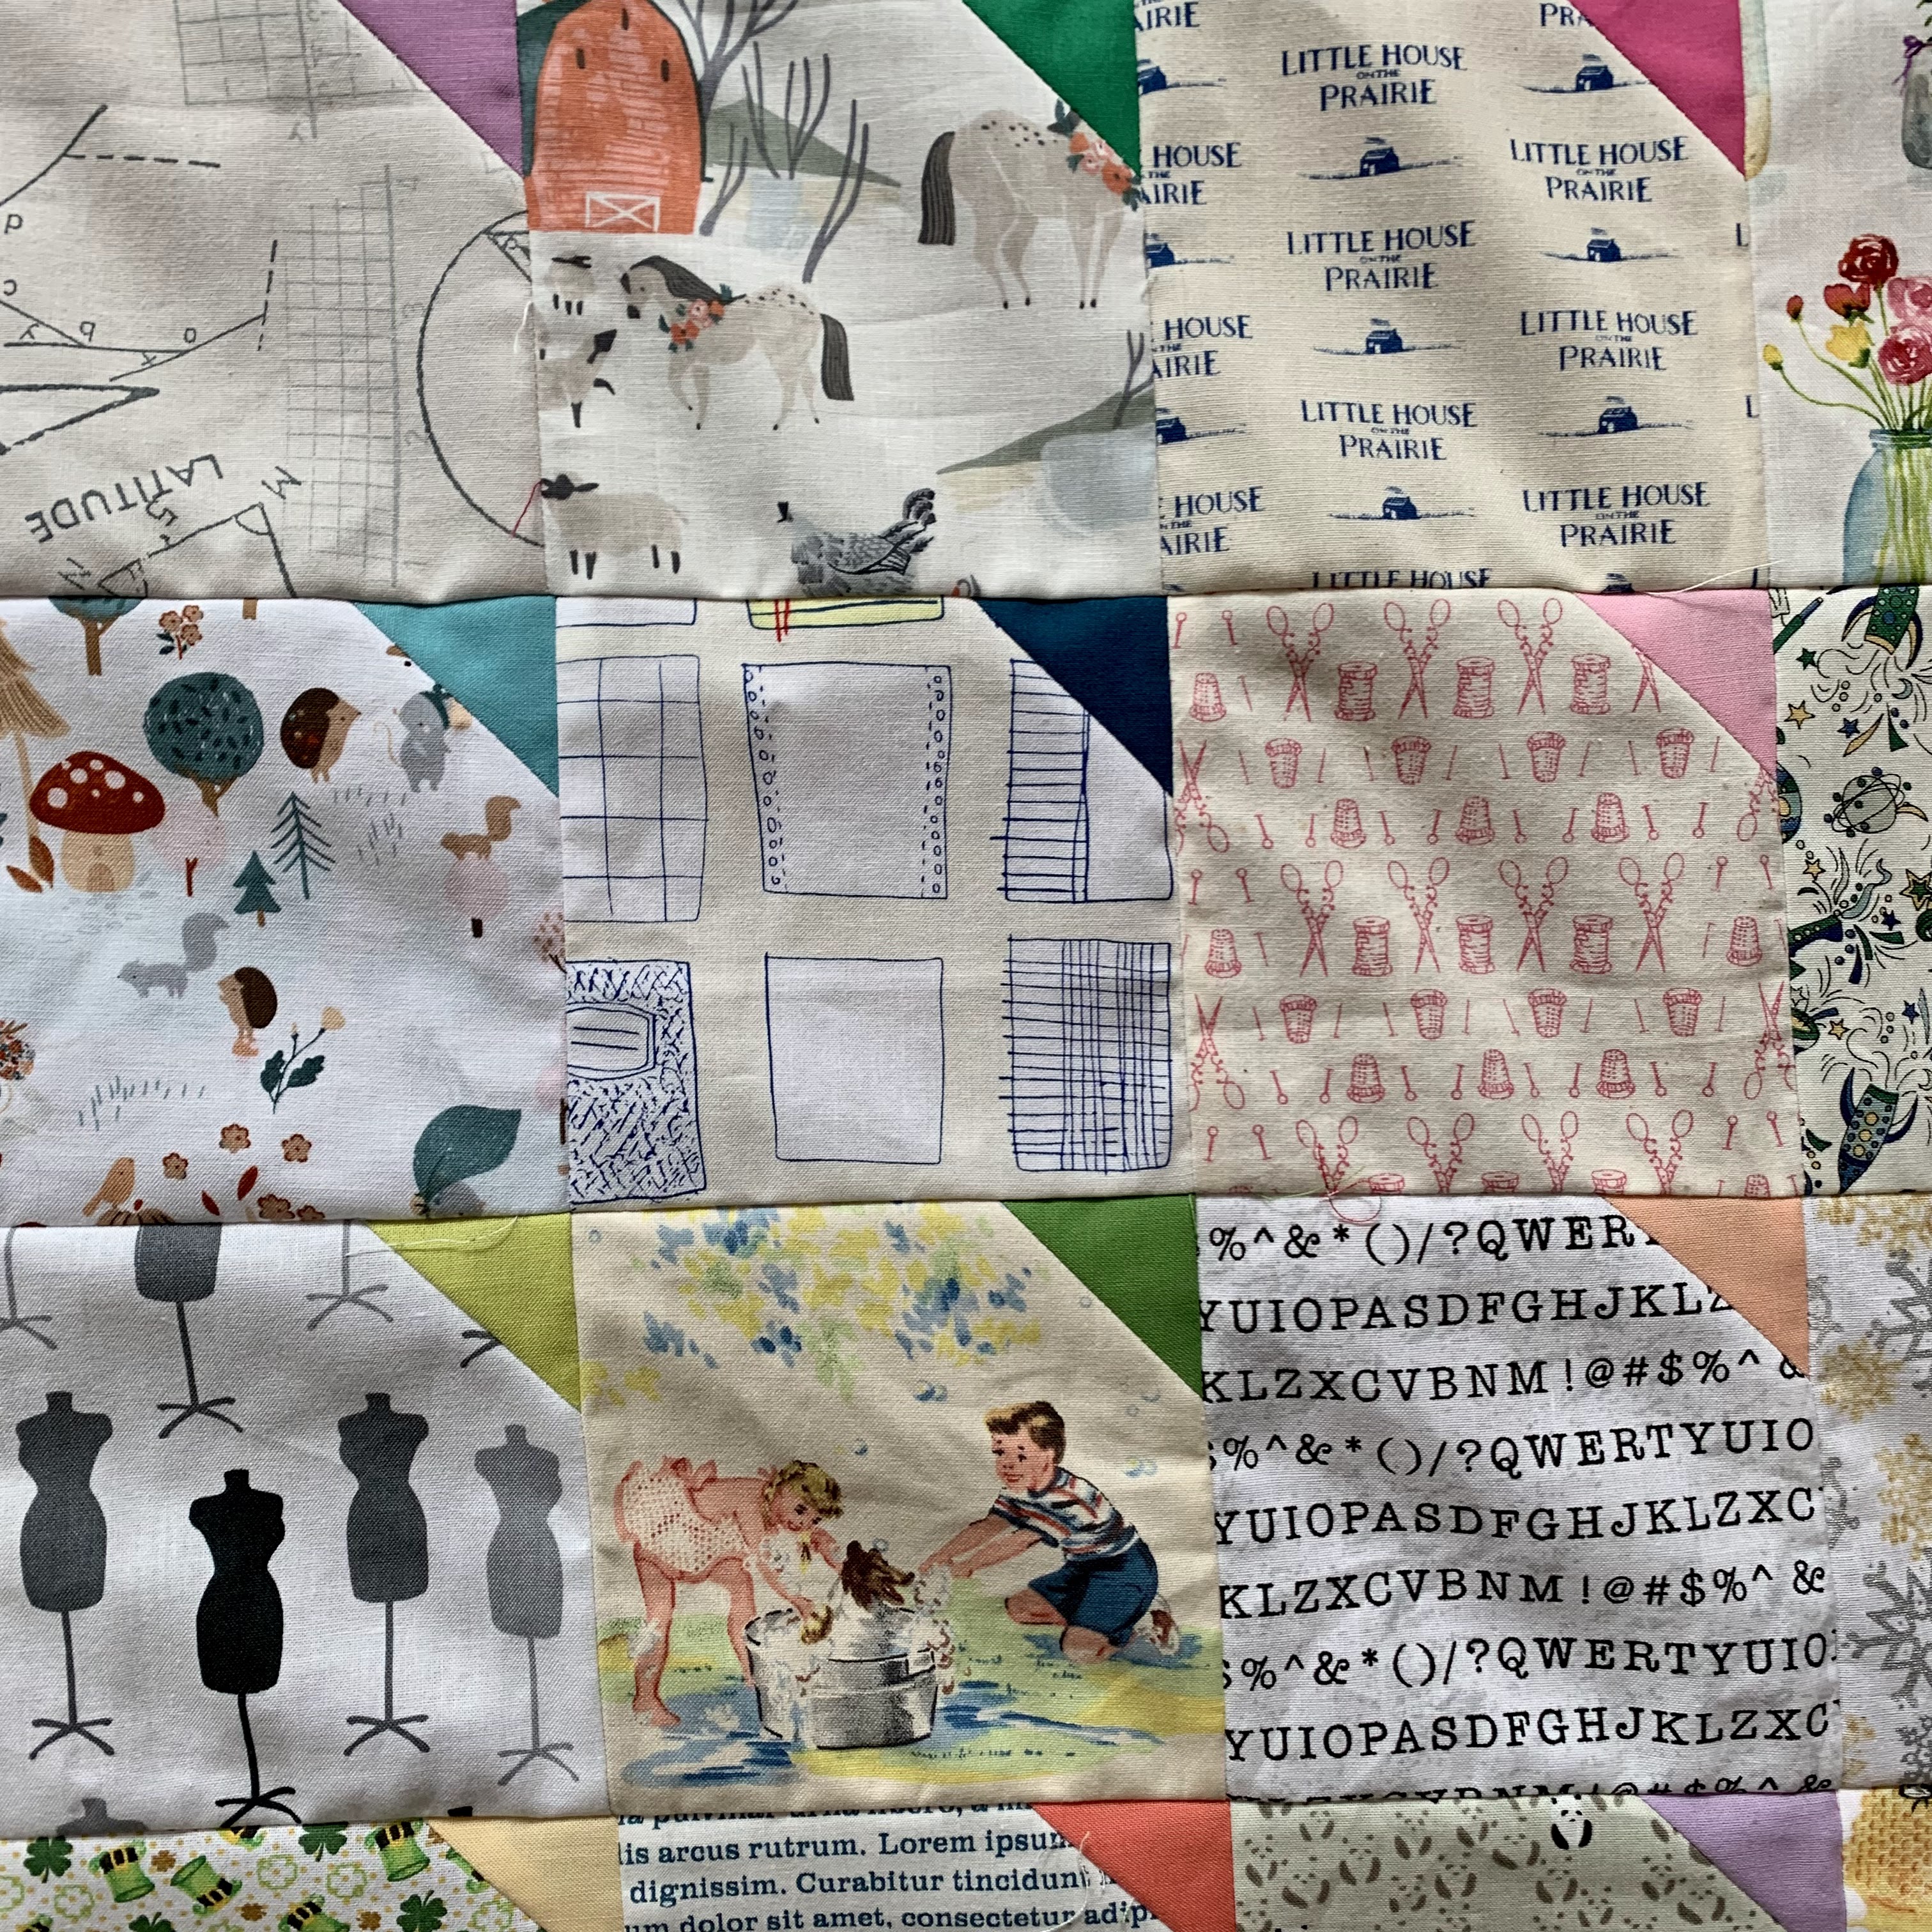
All the fabric was on my shelves except for the stripe. Lots of favorites from decades of purchases. Some bits from a trip to Japan in 1989 were all used up.
I may cut the stripe on the bias for the binding.

This is my 6th (F) alphabet. The 7th (G) is being planned on paper--watch for a red and white alphabet over the next months! And the 8th (H) is also planned.

The setting is mine--use at your pleasure.

Saturday, July 23, 2022

summer quilt--top completed--a pattern by Allison Jensen

Summer quilt
94 1/2 by 81 inches
378 blocks

Adapted from delightful pattern of Allison Jensen of Woodberry Way.
Here is her blog post about it:
https://www.woodberryway.com/2021/08/i-spy-quilt-with-low-volume-fabrics.html
Here is her free printable pattern:
https://drive.google.com/file/d/1OF1vCuMdZ6L-XJ1SANwB4FvkPFXksQIM/view


I made it two blocks wider and two rows longer than Allison's.
And instead of her size for the corner triangles, I used 2 inch squares straight from by solids bin. I used Doug Leko's Simple folded corner ruler--love that thing.
https://antlerquiltdesign.com/collections/notions/products/mini-simple-folded-corners-ruler

My small group and I exchanged the lights, so the variety was pushed by what others thought were low volume. Some are not using their indoor voices!
I was amazed how many fabrics were on my shelves that fit these low volume parameters. Really fun revisiting fabrics from over the years. Some of my mom's fabrics made it in here too.

The quilt makes me cooler just looking at it.
I plan to have it densely quilted and use Kona Peony for the binding.


Sunday, July 17, 2022

DOT dot DOT, top completed

DOT dot DOT
95 by 74 inches
111 blocks set on point

Block finishes 7 1.2 inches

Block directions are here:
https://kleinmeisjequilts.blogspot.com/2022/07/dot-dot-dot-block-directions.html

My design. Use at your pleasure.


Saturday, July 02, 2022

DOT dot DOT, block construction

DOT dot DOT

Block finishes 7 1/2 inches

I liked my double 4-patch and the puss-in-two-corners quilts with a chain effect and wanted to try a design with a horizontal feel.
https://kleinmeisjequilts.blogspot.com/2017/03/double-four-patch.html 

https://kleinmeisjequilts.blogspot.com/2019/05/puss-in-two-corners-top-completed.html

Several years ago I was playing with a simplified Eye of Horus type block in my sketch book and this was one that seemed to fit for this goal.
The proportions could be altered for a smaller block.

Cutting:
Solid: two squares 3 1/2 inches, one square 2 inches
Print: two rectangles 3 1/2 by 5 inches, two rectangles 2 by 3 1/2 inches

Sewing and pressing:
Sew large square to ends of each large rectangle, pressing to the solid
Sew small square in the middle of two small rectangles, pressing to the solid

Sew the three sections together, pressing the final seams in one direction.

Sew two blocks together*, with the top block seams going down and bottom block seams going up. Do not press the connecting seam yet.

*Don't sew all the blocks into pairs. You will need some singles in the layout.
BUT, in sewing a good number of them in pairs, layout will be much simpler as you are able to not worry about orientation of the seams--they will all be correct if they are in pairs. Then you only have to pay attention to the orientation of the single blocks at final layout.
My plan is for 111 blocks set on point, with about 15 singles needed, so I'll keep 20-25 unpaired.

I am also cutting my setting triangles.
I like to over-cut these so the blocks float. These are cut 9 inches on the short sides, with the a bit over 12 inches hypotenuse along the straight of grain.
After I know where they are going in the layout I trim one of those 9 inch sides to 8 inches so it is eased onto the block at just the right length. Don't trim it til ready to sew onto the block so you trim the correct side.

With on point quilts I like to save my directional fabrics for the setting triangles.
Also will need four corner half square triangles about 7 inches to be trimmed after placing. 

My design. Use at your pleasure.