Friday, April 26, 2019

riven, top completed

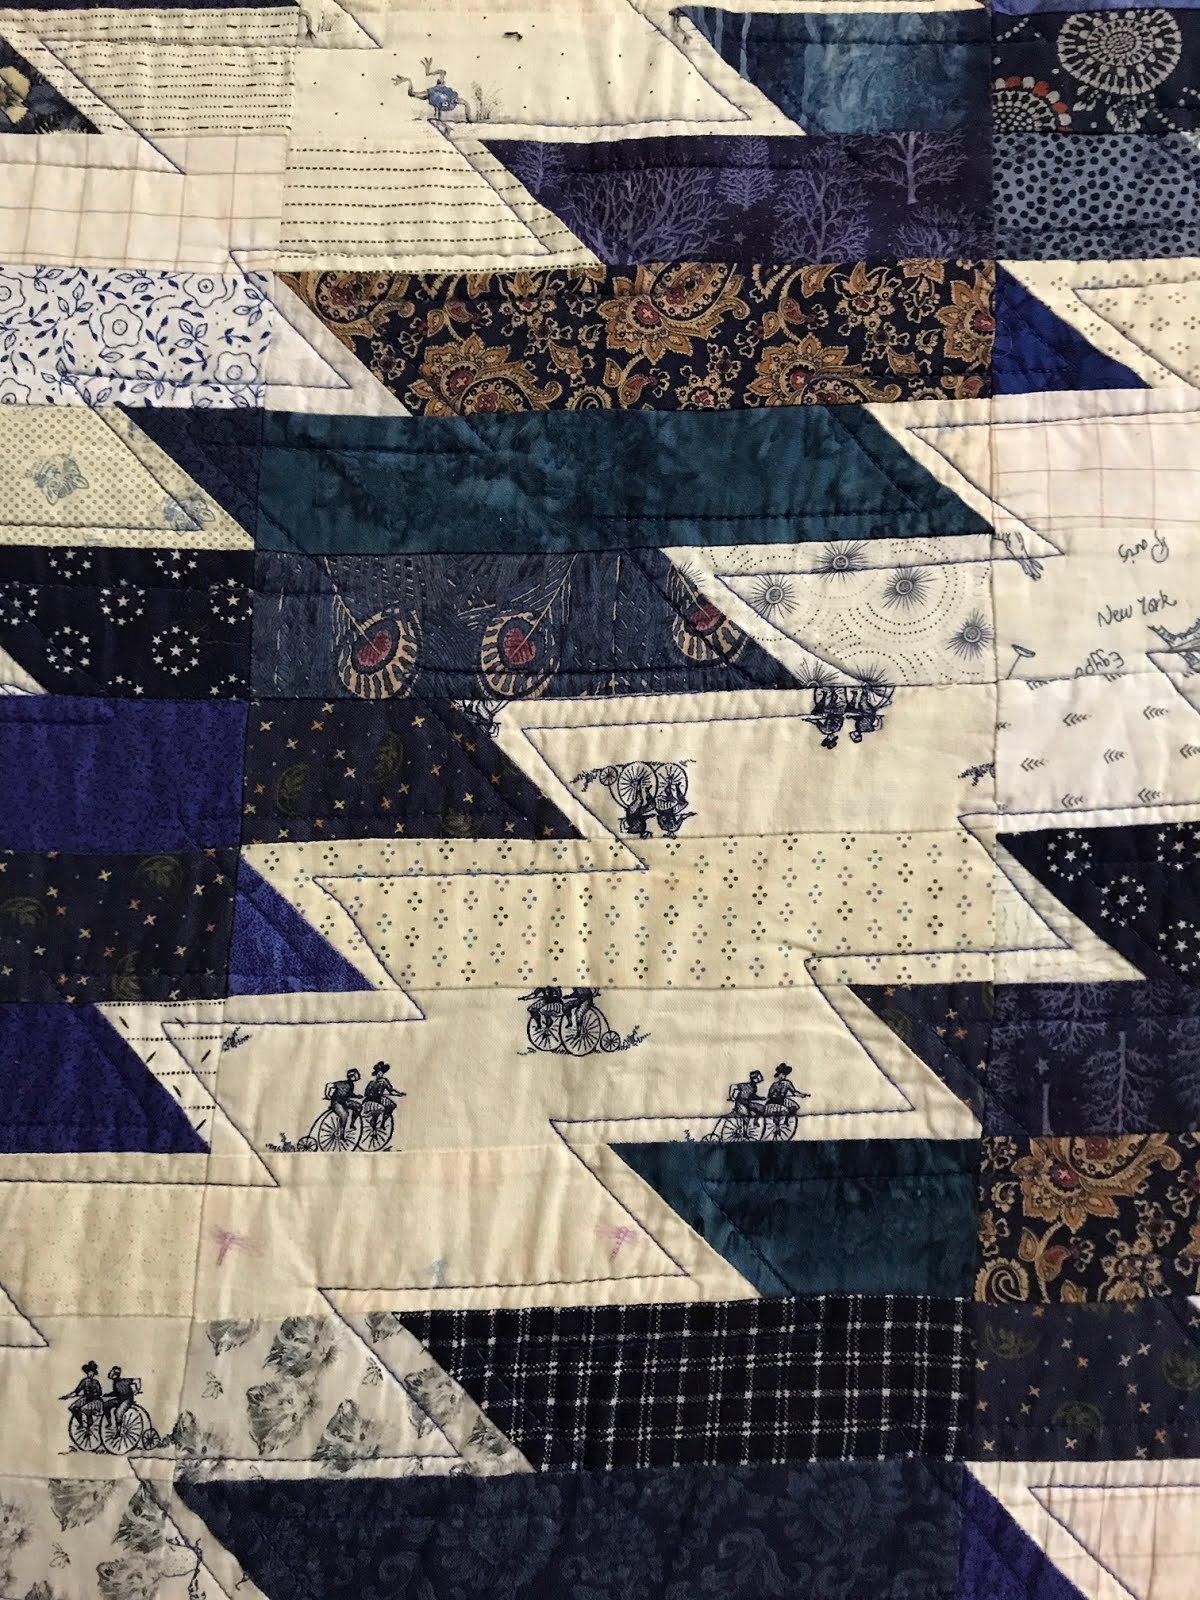
Riven
90 by 80 inches
Block finishes 9 by 10 inches

Sitting at her bedside during my mother's decline I would sketch quilt block ideas. I kept coming back to this very simple split block which seemed to show the separation to come.
It has been a quiet, contemplative project to sew on. I included several of her fabrics into this quilt.
four blocks
80 blocks set 8 by 10. 

Solid: cut 1 1/2 by 9 1/2 inch rectangle
Print: cut 9 1/2 inch square, divide in two, making the cut anywhere from midway to 3 inches from the edge.

Press away from the solid

Setting:
Because I never let the solids meet from block to block it was easiest to sew into columns first..
Press every other column up or down. Then sew columns together.

My design, use at your pleasure.

Monday, April 22, 2019

riven

Riven

Block finishes 9 by 10 inches
I plan to set 80 blocks 8 by 10. to finish about 80 by 90.

Solid: one rectangle cut 1 1/2 by 9 1/2 inches
Print: one square cut 9 1/2 inches, then split into two vertically. I vary the cut from right in the middle to any point up to about 3 inches from either side.

Pressing:
Press to the prints.

In setting I am not having the solids meet.

It is interesting how my personal thoughts shape my quilting path.
Sitting at her bedside during my mother's decline I would sketch quilt block ideas. I kept coming back to this very simple split block which seemed to show the separation to come.
It has been a quiet, contemplative project to sew on. I have been including some of her fabrics into this quilt.

Sunday, April 21, 2019

Easter

This is our first Easter without our mother.
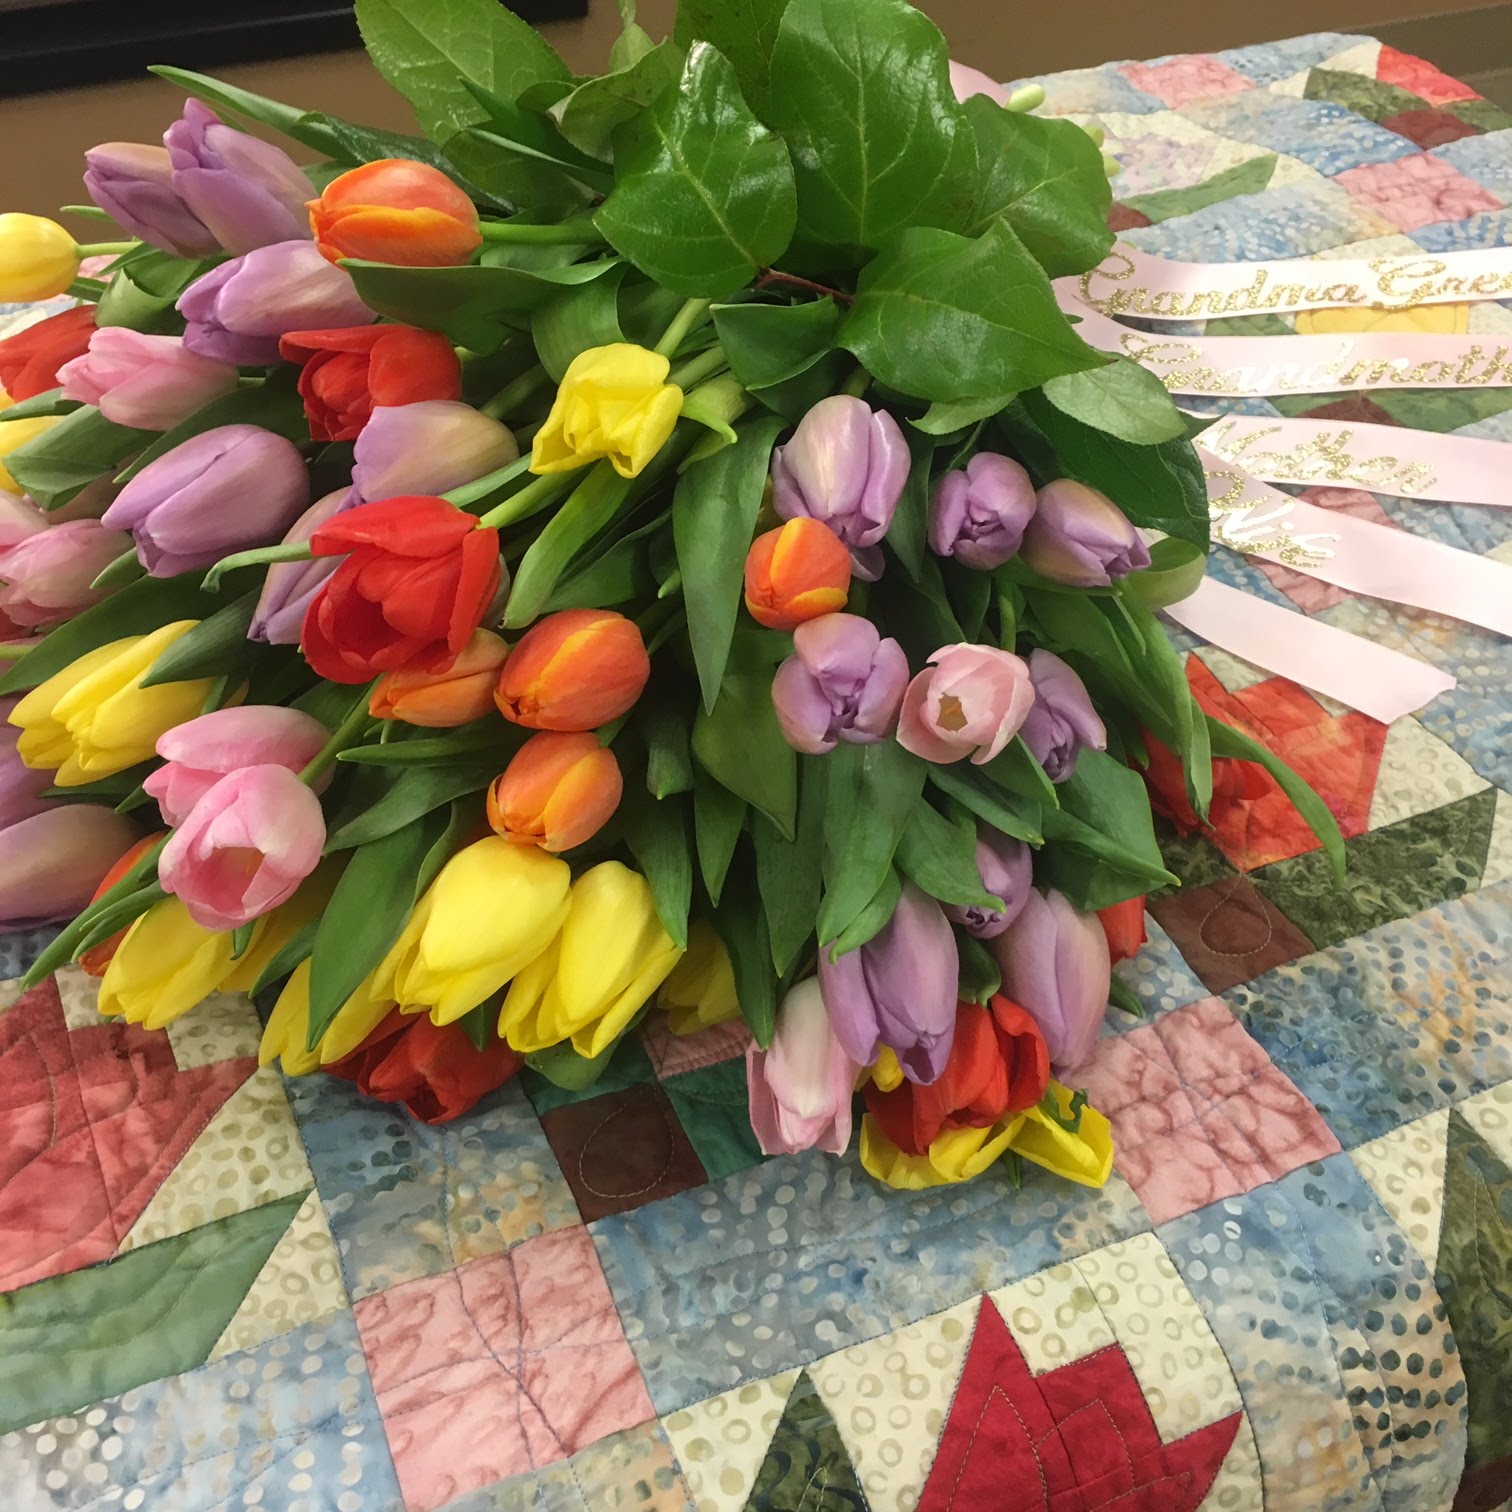
I am sharing photographs from her funeral. We used the tulip quilt I made for my parents' 60th anniversary on the casket and had a bouquet of tulips on top.
We had her buried with a thimble on her finger.

I want to acknowledge the wonderful help we had from Trappist Caskets, made by monks at the New Melleray Abbey in eastern Iowa. They sell to us Protestants too!
My mother wanted a simple casket which is surprisingly difficult to get through traditional means with funeral homes.
We chose the simple rectangle style directly from the Abbey, which shipped it quickly. It was beautiful, reasonable, and respectful.
https://trappistcaskets.com/

Saturday, April 20, 2019

basket, top completed

Basket
Ready for Easter Sunday!

Block size 8 inches
Quilt size approximately 80 by 92 inches
112 blocks set 7 by 8
Set on point with float

Pieces:
Solid: Cut from 2 1/2 inch strip using EZ Angle or Bonnie Hunter's Essential Triangle Tool: four half square triangles, two chisel pieces cut at the 4 1/2 and 6 1/2 inch lines
Print: Cut from 2 1/2 inch strip three 2 1/2 inch squares, two 2 1/2 by 4 1/2 inch rectangles, and two half square triangles using the EZ Angle or Bonnie's tool, and one triangle cut from 4 1/2 inch strip using the EZ Angle or Bonnie's tool (I didn't cut a strip, rather cut it from the corner of the fabric)

I'll post a tutorial on cutting the chisel shape with the specialty rulers.
My adaptation of a traditional design. Use at your pleasure.

Friday, April 19, 2019

tip # 47, trim triangles for floating sets

When making on-point set quilts I prefer a float.
The triangles are cut over-sized  To make sure I do not distort the triangle along the bias when sewing it into the row, I trim the triangle on the side that will be sewn to the block.
Here you can see I measured the side of the triangle to 8 1/2 inches, the unfinished size of my basket block. The nub that is cut off is circled.

To lessen distortion with the bias:
1. Sew with the triangle on the bottom again to lessen distortion to the bias.
2. Start from the 90 degree angle and sew to where the nub was cut off, in this case, from the bottom of the basket block towards the top of the basket block.
NOTE: on at least one of the sides of the quilt you will have to make a choice as these two steps will not both be possible!

Thursday, April 18, 2019

tip #46, make and use a master block

When starting multi-block quilts I make about 6 blocks to work out my piecing and pressing decisions, making assembly of blocks, and, later, the top easier. I may try several different sequences before settling on one.
Sometimes the logical piecing/pressing sequence is not the optimal, so I like to sort this out early. Because, once I've made a dozen or so blocks I know I'm not going to go back and re-do them.

Once I figure out my block piecing and pressing sequence I commit. I choose a higher-contrast block as my master block. It is used from then on as a reference for the rest of the block making. I place pieces on the reverse of the block itself to keep me consistent.
In nursing I teach my students to hold the medication package right next to the printed words on the screen/paper to compare and ensure the correct medication is given as our minds play tricks on us and we will read what we think is there and not what is really there.
The same phenomena happens with piecing. We think we have it in the same direction as earlier blocks when we do not.
By having my pieces placed over the master block, I keep my consistency when piecing and pressing.
In these basket blocks I pieced them into quarters. Then placed the quarters over the master block again.
You will see that the final seam is not pressed. In my planning I found that seam would be pressed different directions in alternate rows, so my master block again reminded me to not press that seam.
I try to honor this work-horse block by putting it in a good place in the quilt! This delightful fern block will be the bottom left block.


Tuesday, April 09, 2019

ladder, top completed

 
Ladder
96 by 84 inches
A simple block.

Block finishes 4 by 12 inches, 168 blocks
Blocks are put into 4-block units which finish 12 by 16 inches (rotate every other block)
Set 6 block units into 7 columns, 42 units

Cutting
Solids: cut four 1 1/2 by 4 1/2 inch rectangles
Prints: cut four 2 1/2 by 4 1/2 inch rectangles

Pressing
Press blocks to the side that ends with a print
Wait with pressing block units until all 7 columns are sewn together
Then, press every other column up or down, all seams will nest

My design, use your your pleasure.
Ritz crackers!
four blocks into one 4-block unit

Sunday, March 17, 2019

35 years

So glad to celebrate 35 years together.
With sadness this year with my mother's death.

Saturday, March 09, 2019

Henrietta Scholten Dykstra 1929-2019

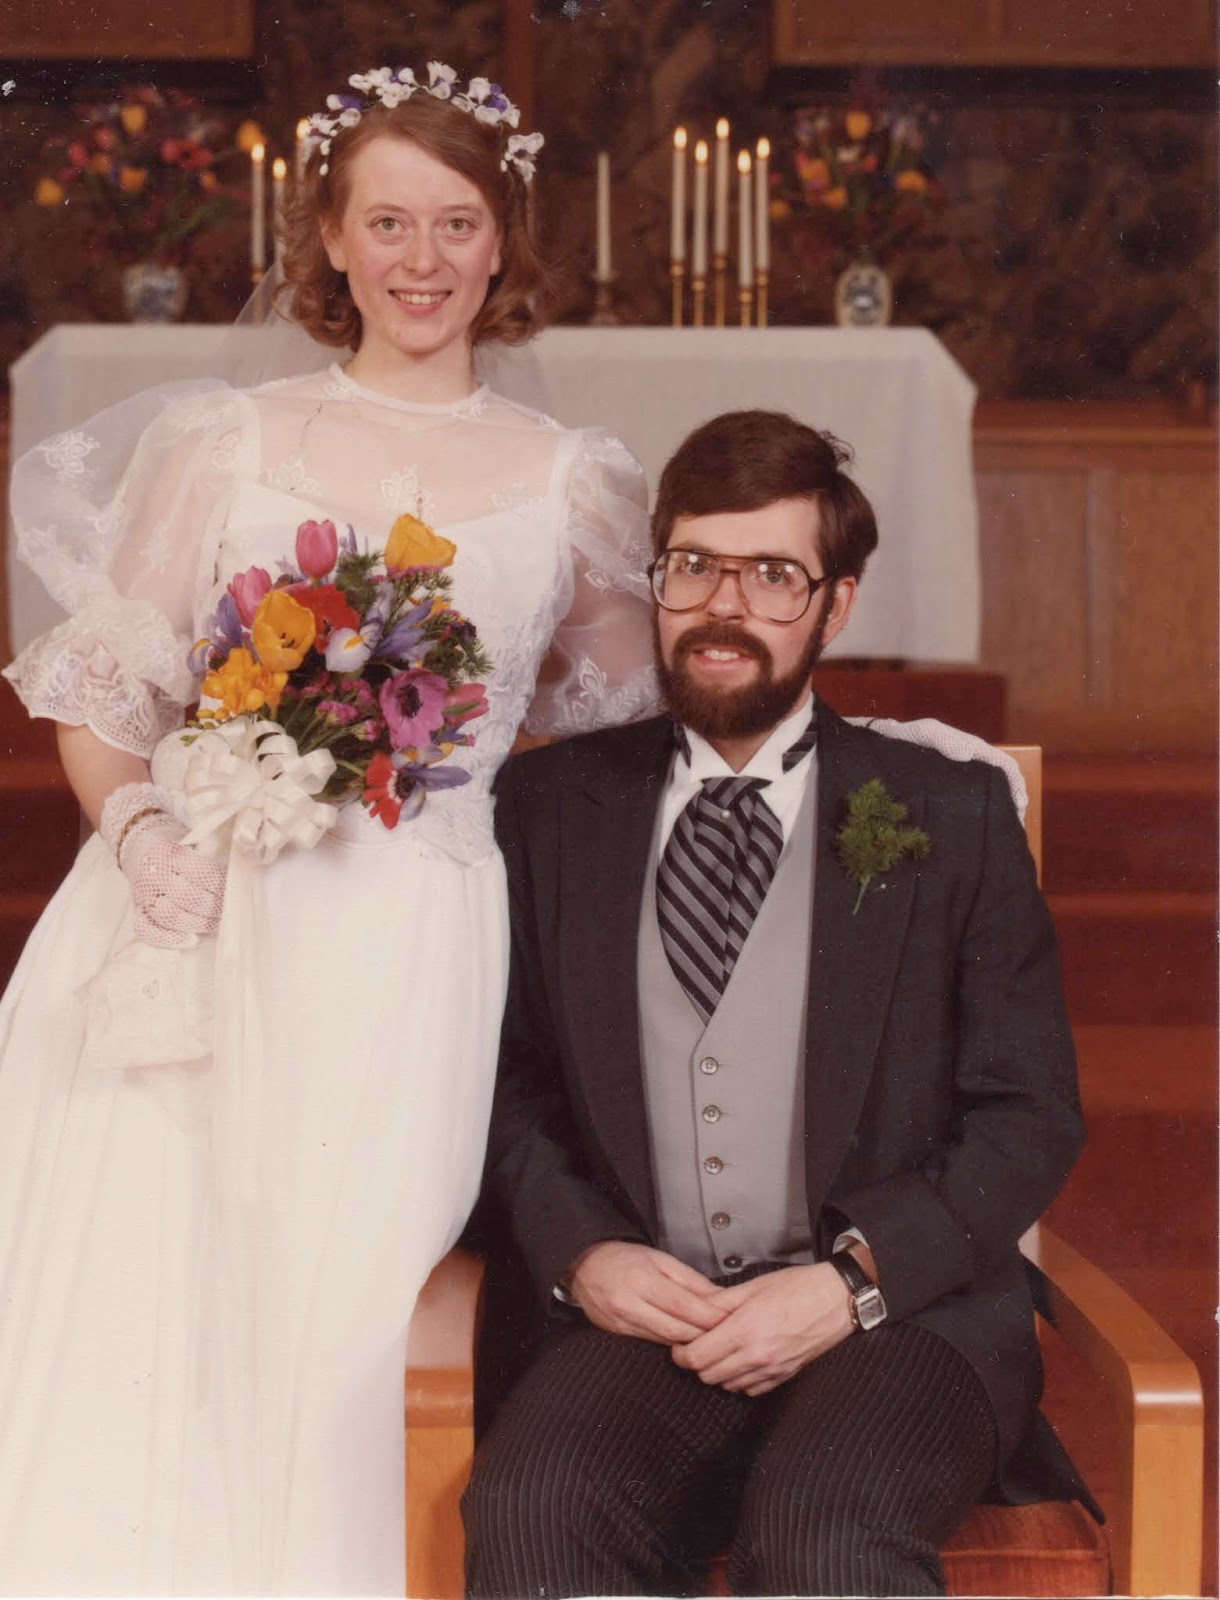
Pictured sewing my wedding dress 35 years ago this week.

Wednesday, January 30, 2019

evening star, top completed

Maybe I should rename this morning star.
I got up at 5 o'clock this morning to see the crescent moon with Venus and Jupiter. 
The air was so clear and it was -21 degrees when I stepped outside.
Here in the city we don't see many stars so I like to take advantage of the planets.

I did some work (we have an inclement weather day so campuses are closed) then finished putting together this top. It is with more lighter fabrics than what I have been working with lately and shows and feels lighter in reality--a winter quilt!

Block finishes 12"
Set 7 by 8 blocks
Top measures 84 by 96

Solids cut from 2 1/2 inch strips
Prints cut from 4 1/2 inch strips

My design, use at your pleasure.

Monday, January 21, 2019

at the dorm

After a semester abroad, Seth is back on campus. It is fun to see which quilt they choose to take to the dorm
This one was made for Seth's 7th birthday.

Be a good roommate, Seth.

Sunday, January 20, 2019

dog!

This sweet dog is in our lives.

Saturday, January 19, 2019

ladder

Ladder
Finishes 4 by 12 inches
A simple block

I will sew these into 4 block units of 12 by 16 inches finished.
4 block unit
I plan to set 7 by 24, (7 by 6 units)
168 blocks (42 units)
84 by 96 inches

Cutting:
Solid: four 1 1/2 by 4 1/2 inches cut
Print: four 2 1/2 by 4 1/2 inches cut

Pressing:
All pieces to the side that ends with the print rectangle.
Every other block will be flipped so the seams will nest.

Units will be pieced into columns, so all up or all down every other column, all units will nest.

My design. Use at your pleasure.

Friday, January 18, 2019

basket

Basket
Finishes 8 inches
A complicated block
Mainly in the pressing. I'll include my pressing plan at the end of this post.
Fabric choices easiest with non-directional unless you don't worry about such.
I will save most of my directional fabrics for the setting triangles.

The block is scaled up from the AQSblog 2017 Christmas Countdown. I also changed the body of the basket to a single piece.
Block finishes 8 inches (about 12 inches on point).
I don't know how big I will go with this quilt. I'll post about the setting pieces when I decide that. (This may be months away from now.)

Cutting:
Solid:
-four half square triangles cut from 2 1/2 inch strip with Easy Angle or Bonnie Hunter's triangle tool
-two shapes (some call it a chisel shape)  cut from 2 1/2 inch strips using a tool cut so they are finishing 4 inches; from the equivalent of a 4 1/2 inch piece. It will measure 4 1/2 inches from the blunted point along the long edge.
I will demonstrate below.
(If you don't want to cut the chisel shape, replace each with one square and one triangle.)

Print:
-three 2 1/2 inch squares
-four half square triangles cut from 2 1/2 inch strip with a tool
-one half square triangle from 4 1/2 inch strip; or from the corner of the yardage.
I will demonstrate below.
cutting chisel shape using Easy Angle
blunt point
cutting the bottom triangle from yardage corner

Pressing:
Chisel shape: press solid to the print.
Press chisel units to the print rectangles
Top triangles: press to the solid, then press to the print squares.
Press to the center so the print triangles of this unit and the chisel unit nest.
Base: press triangles to the square, press base to the print.
Quarter blocks: press towards the chisel units
Half block: along the equator, press half of your blocks north and half of them south so all blocks will nest.

Friday, January 11, 2019

batik

For Christmas my friend Sharon gave me three fat quarters of lovely Turtle Hand Batik. It has a different feel and look from most batiks on the market.
I have used it all up! It will show up in several quilts in progress.
There were a few scraps remaining to cut down for my squares bin, so there will be little jewels to come upon in the future.
These stars finish 12 inches.

Saturday, January 05, 2019

tip #45, cut reverse side of fabric

I usually cut on the right side of the fabric so I can enjoy it while I work with it.
There are times though, to flip the fabric to the reverse for cutting.
It is easier to see green and purple fabrics when they are lighter as they are on the reverse. Also, when cutting down uneven edged garment making scraps, the grain lines are more evident on the reverse.

Wednesday, January 02, 2019

letterbox. top completed

This quilt is based on one my friend Erica made with all batiks.
A simple, quick, and fun sew.

Block finishes 6 by 12 inches.
Solid: one rectangle cut 8 1/2 by 2 1/2 inches
Print: two rectangles cut 8 1/2 by 2 1/2 inches, two rectangles cut 6 1/2 by 2 1/2 inches
Sew three blocks into a unit that finishes 12 inches by 18 inches.
Two 3-block units
I made 120 letterbox blocks, then put them into 40 three-block units, setting them 8 by 5.
Top finishes 90 by 96 inches.

Tuesday, December 25, 2018