
 |
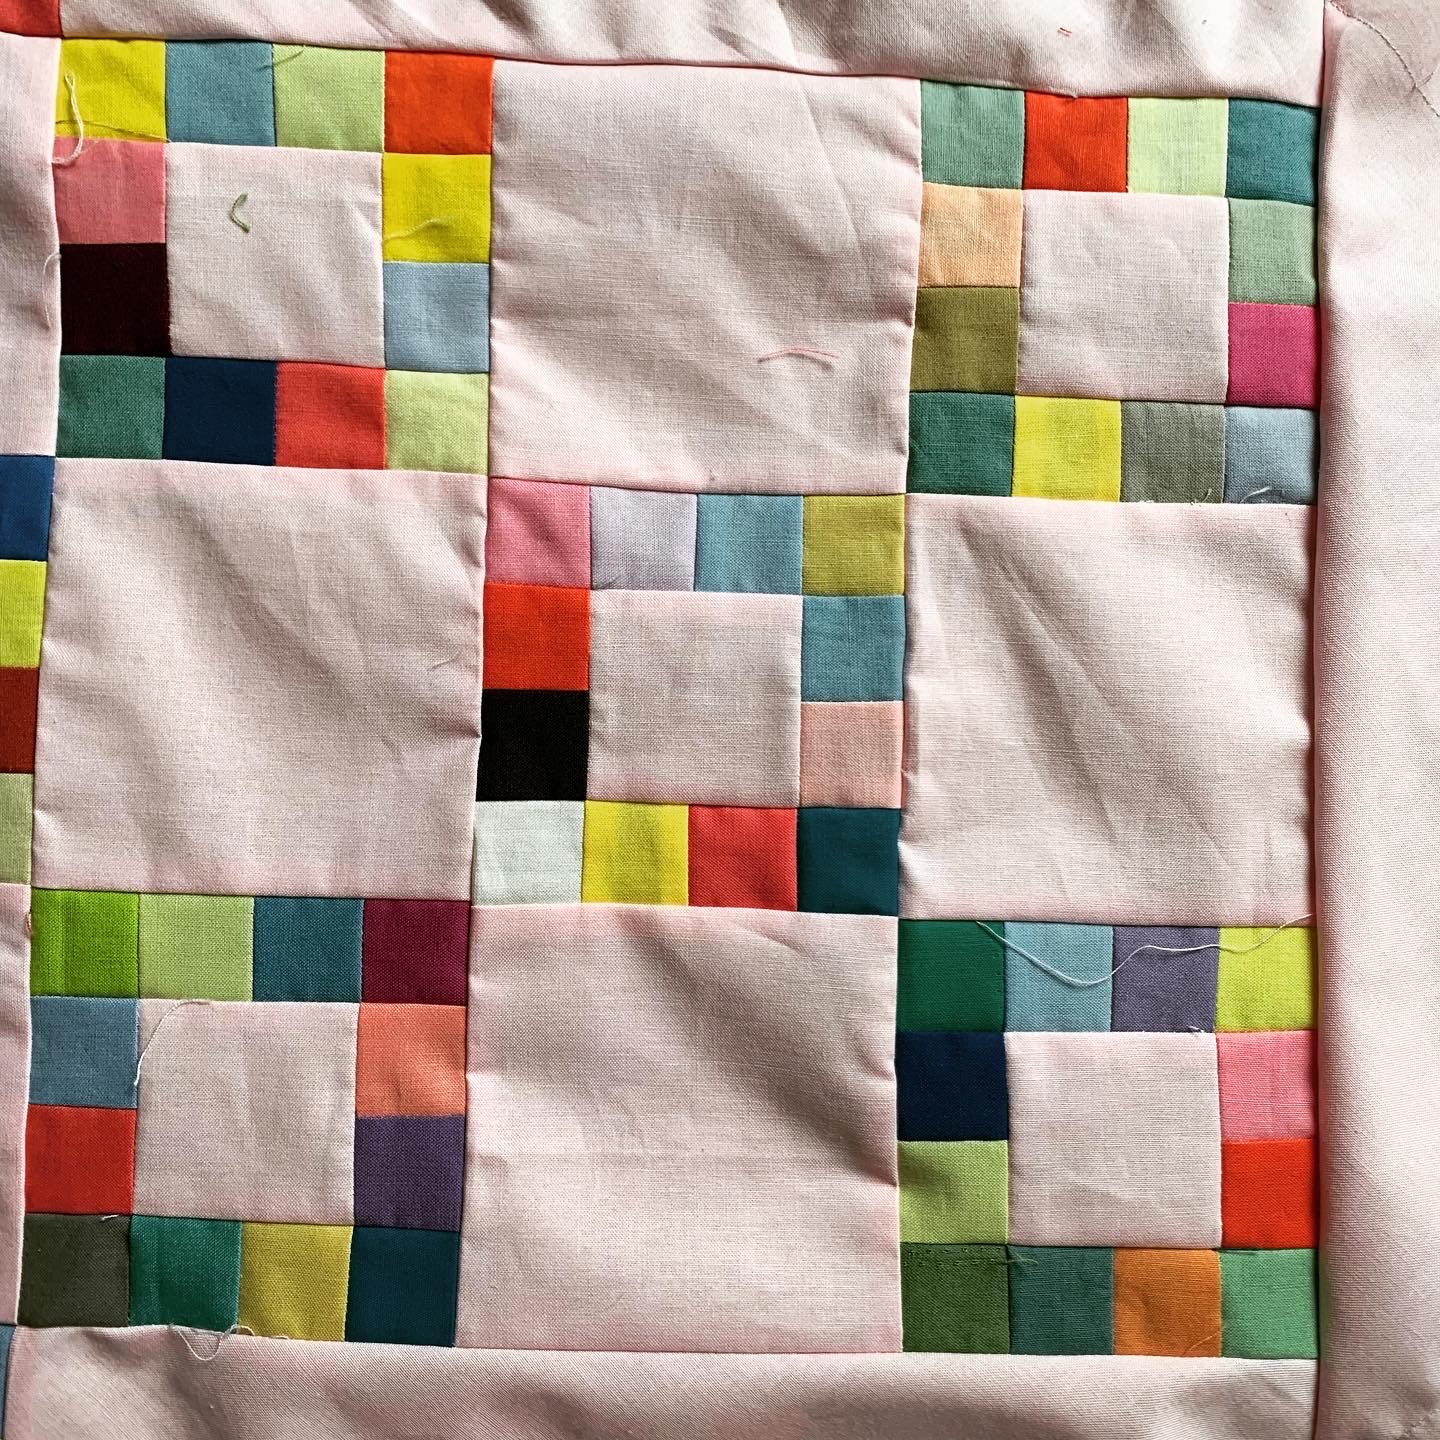
| Color of pink is close in this photograph |


top completed 2022
about 101 by 83 inches
50 blocks set on point
Block finishes 12 inches
Piece count for the quilt: (I may be off on these)
230 basic units, made from 230 2 1/2 inch squares, 2760 1 1/2 inch scraps
220 4 1/2 inch squares
18 setting triangles
4 corner triangles

This summer Bonnie Hunter featured a vintage quilt on an Instagram post. It was a simple and humble framed square and I sketched it out that very day.
Bonnie said she is fine with me sharing my write up, so here it is.

I had a bolt of Kona Peony and knew that would be a great background with my bin of solid 1 1/2 inch squares. I thought I had enough squares--I was wrong! And so I cut out another quilt (Bernina X 64) to yield scraps for this one.
(The pink is not photographing well in most of these pictures--the close-up above is very near what it is.)
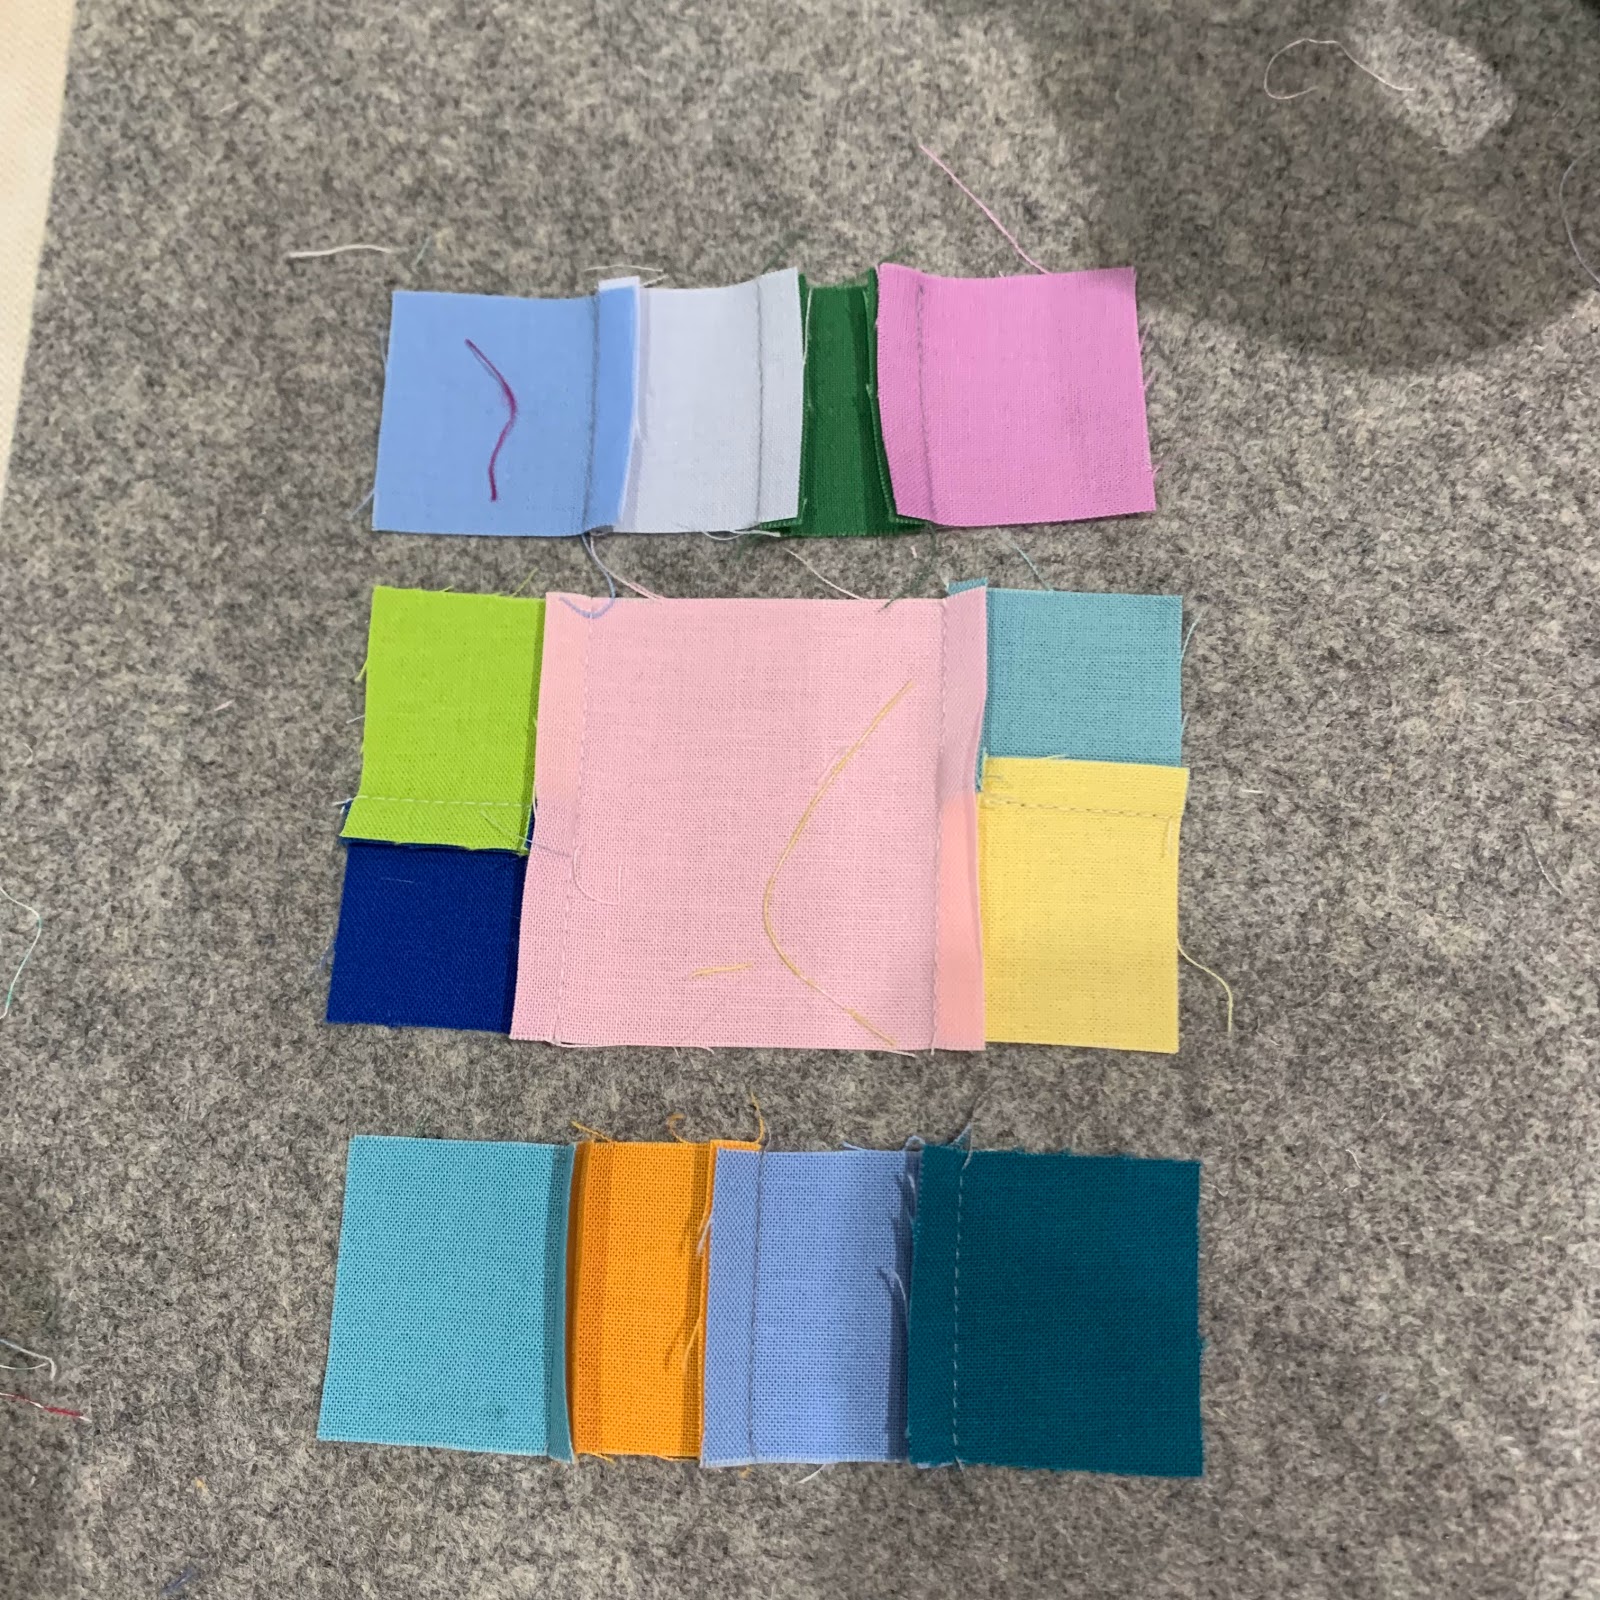 |
| Basic unit |
Background: one 2 1/2 inch square
Scraps: ten 1 1/2 inch squares
Sew scraps into pairs, sew a pair on two sides of the background
Press away from the background
Sew pairs into fours, sew on remaining two sides of the unit
Press towards the background
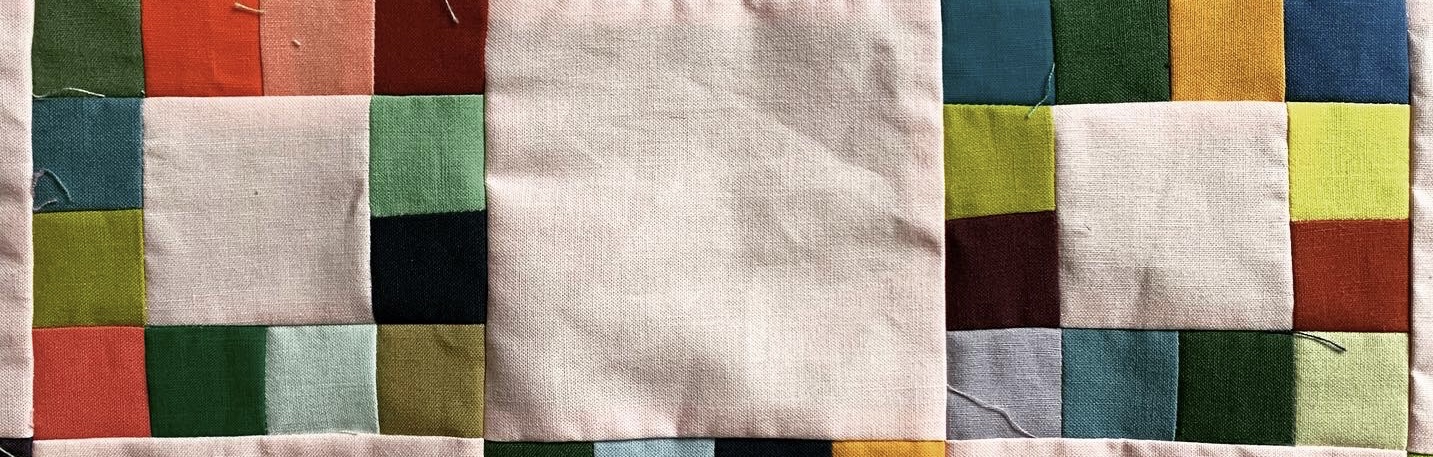 |
| Unit A |
Background: one 4 1/2 inch square
Two of the Basic units
Press towards the plain square
 |
| Unit B |
Background: two 4 1/2 inch squares
One of the Basic units
Press towards the plain squares
 |
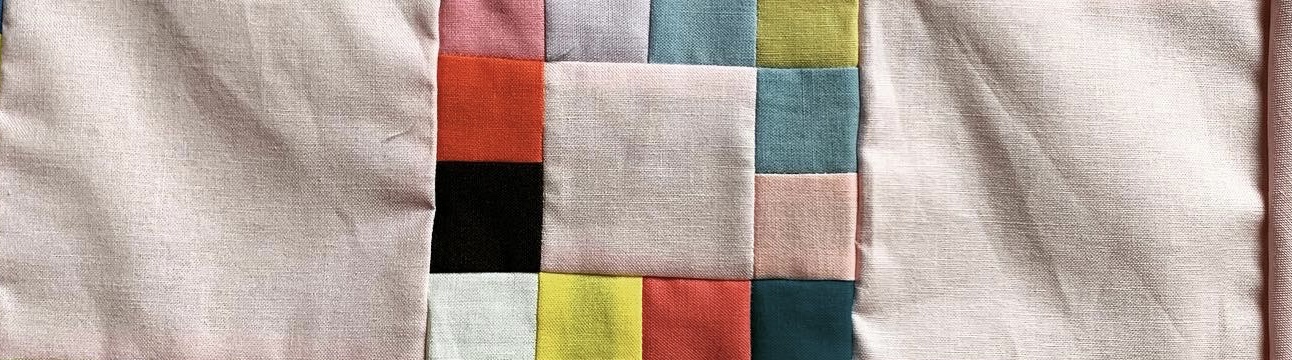
| Block C |
 |
| Block D |
Larger 9-patch blocks (C and D) (finishes 12 inches)
30 block C
20 block D
DO NOT press the joining/horizontal seams until the blocks are sewn into rows in the quilt.
ASSEMBLY layout task: Keep the blocks oriented with the horizontal seams going in the same direction as the block joining seams. Press all these seams once the row is made. Press the seams in opposite directions each row.
All will neat when sewing rows together.


Setting Triangles:
I like my on point quilts to have a decent float, so I overcut these triangles.
Because they would need a really difficult to manage sized square to cut into triangles, instead I use my 15 inch square and use the 14 inch sides as my guides to cut from a strip of fabric.
Corner triangles are overcut from two 11 inch squares.
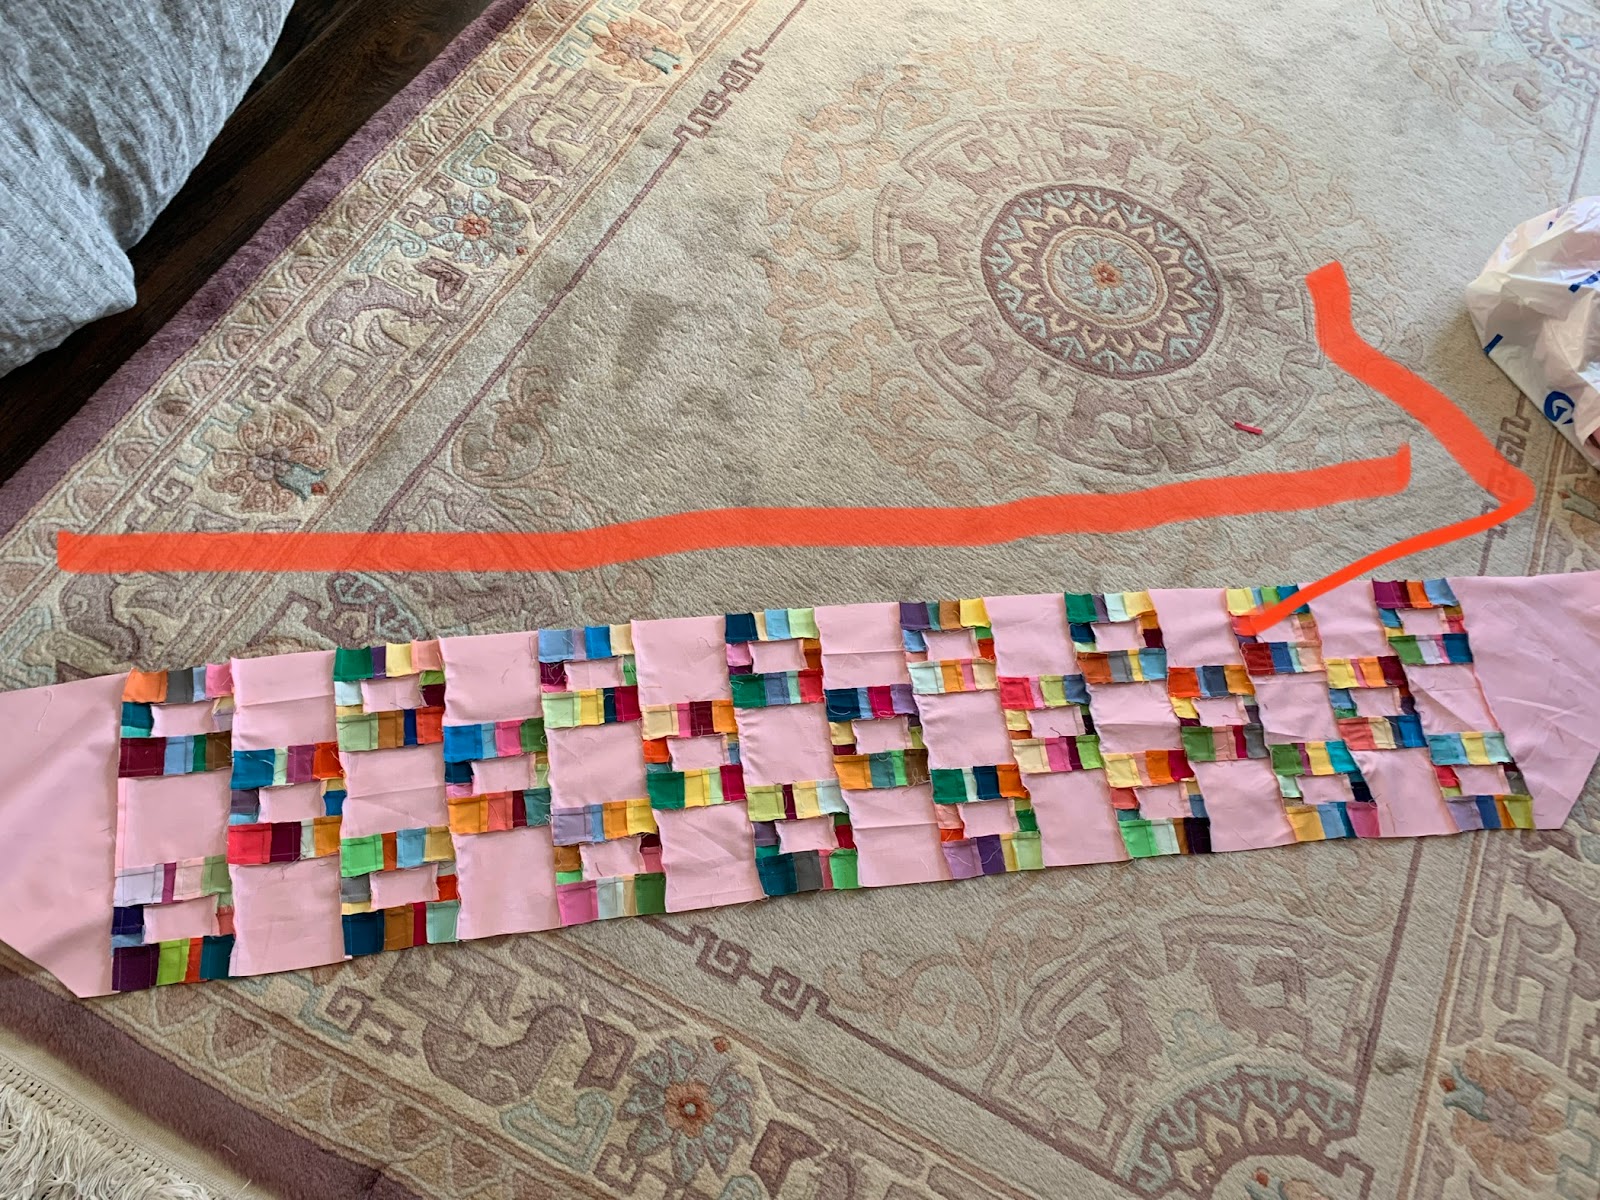 |
| Press all internal block rows and block connecting rows in one direction This photograph is close to the wonderful pink of the quilt |
On point quilts tend to make their own border. The basic units do that in this quilt.
Quilt would also work well with a straight set.

On point quilt assembly wears me out. I try to get rows sewn together while still making blocks so the assembly isn't so daunting.
I plan to bind it in the Peony. It really is a lovely shade of pink.
My design based on a vintage quilt. Use at your pleasure.

7 comments:
Oh, this is a WONDERFUL scrap buster! Thank you.
The pink is just perfect! This would make a great leader-ender quilt!
I always love your quilts. They are fresh and I have a desire to squeeze them. Thank you for doing a write up. I have lots of prints, but very few solids, so I will try a sample block to see how it works. Thanks!
Lynn, the postage stamps sparkle! (But -- a BOLT of the Kona peony? That you'll use that much (across multiple projects) is the best kind of optimism!)
I don't even like pink but in this case it really makes the quilt sparkle! It's beautiful!
Another lovely quilt top, theres an awful lot of stitching in this one!
Such a great quilt and I love your rendition!
Post a Comment