Monday, July 31, 2023

a new liturgical piece--ordinary time stole for a new pastor


I had retired from making liturgical pieces. I find them taxing to make in the over-thinking I do in how they will look from a distance and close up, symbolism, how to personalize them, how to make them meaningful. It takes a lot out of me!

This spring when Rev. Nickerson joined our pastoral staff, the church asked me to make one as a gift from the congregation and, though overwhelmingly busy with work, stepped in as I had some ideas.

Ordinary time is a special time in the liturgical calendar as there is nothing special going on! That appeals to me. How precious ordinary time is.

The color for ordinary time is green. Liz said she favors green on the blue/green side of it and I found a lovely duckegg colored silk from Mood. It is a shot silk. so from different angles it looks dull green to vivid turquoise.  
Because she focuses on family ministry, I liked the idea of duckegg as the children tend to follow her like baby ducks.
I asked for verses/imagery to think of and she mentioned loving verses of eagles on wing and of solid rock foundations.

The piece is quilted with 4 rows of thread making a trinity of channels that look like thermals that eagles glide upon. The lining is a lovely striped linen that reminds me of the limestone wall of St Pauls in the chancel.  

See what I mean that these take a lot out of me? A joy, but, a lot.

My time was limited to work on this by Installation Sunday, so I put out word to church friends who are good with a needle to meet me in the balcony with their thimbles to help with the handwork of the binding. We sewed through the second hymn of the service to get it finished in time for the installation after the sermon. Sneaked it up the side aisle.
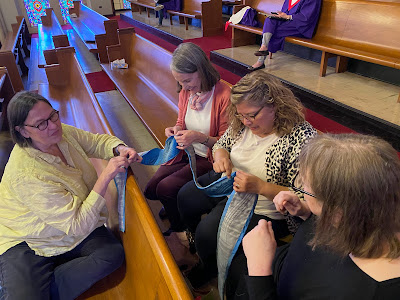


Members of the congregation signed lining at the reception and I like the idea of them embracing with love. I have a few people select tiny buttons and choose where to place them. 
Ordinary objects representing seeds in ordinary time.

Monday, July 17, 2023

Driven Rain: 16-patch chain, top completed, block and top construction tutorial


Driven Rain: a 16-patch chain
Top completed 2023
96 by 80 inches
120 blocks set 10 across and 12 down
Block finishes 8 inches
Piece count: 1920 total: 480 solid, 1440 scrap

I had let a pile of scraps build up, mainly from taking in other people's fabrics. After several sessions cutting them down, my 2 1/2 inch squares darks and brights bins (two) were topped off and that is my trigger to make a plan to use lots of them.

I keep these size bins active:
2 1/2 inch squares, 2 inch squares, 2 1/2 by 1 1/2 inch rectangles, 1 1/2 inch squares
-Lights/neutrals
-Darks/brights
-30's repros
-Solids
I keep the pieces stacked. This helps me look along the edges for colors I am looking for. Also keeps the pieces from getting wrinkled. Each bin is a quilt ready to happen.

This time I went with a chain of squares in the midst of the darks/brights. I again chose Kona Ice Frappe (SKU# K001-1173). It stands out well in the chaos..

Bins before this quilt

Bins after this quilt!

16-patches are my go-to for both efficiency and creativity. I love this block.

For each block make 4 pairs of scraps and add a solid
Then add a scrap to the bottom of two and to the top of two
Make units then half blocks, pressing units as indicated 
do not press the half blocks
Make blocks by rotate one half block.
Press blocks to one side
Take two blocks, rotate bottom one and sew into pairs
Sew pairs of blocks into fours
Press joining seams in one direction and rotate right one to make into units of 8 blocks
Make 15 units of 8 blocks and lay out into three rows of 5 units
Quilt is 10 blocks across, 12 blocks down, 120 total blocks.
My design--use at your pleasure.
Backing is by Miriam Bos for Dear Stella

Saturday, July 01, 2023

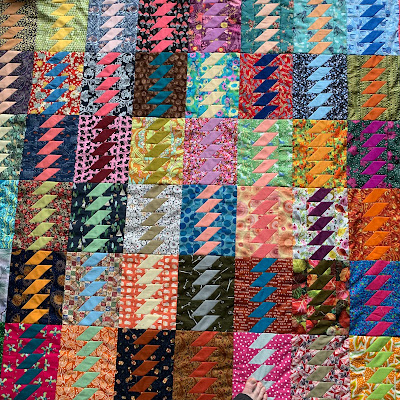
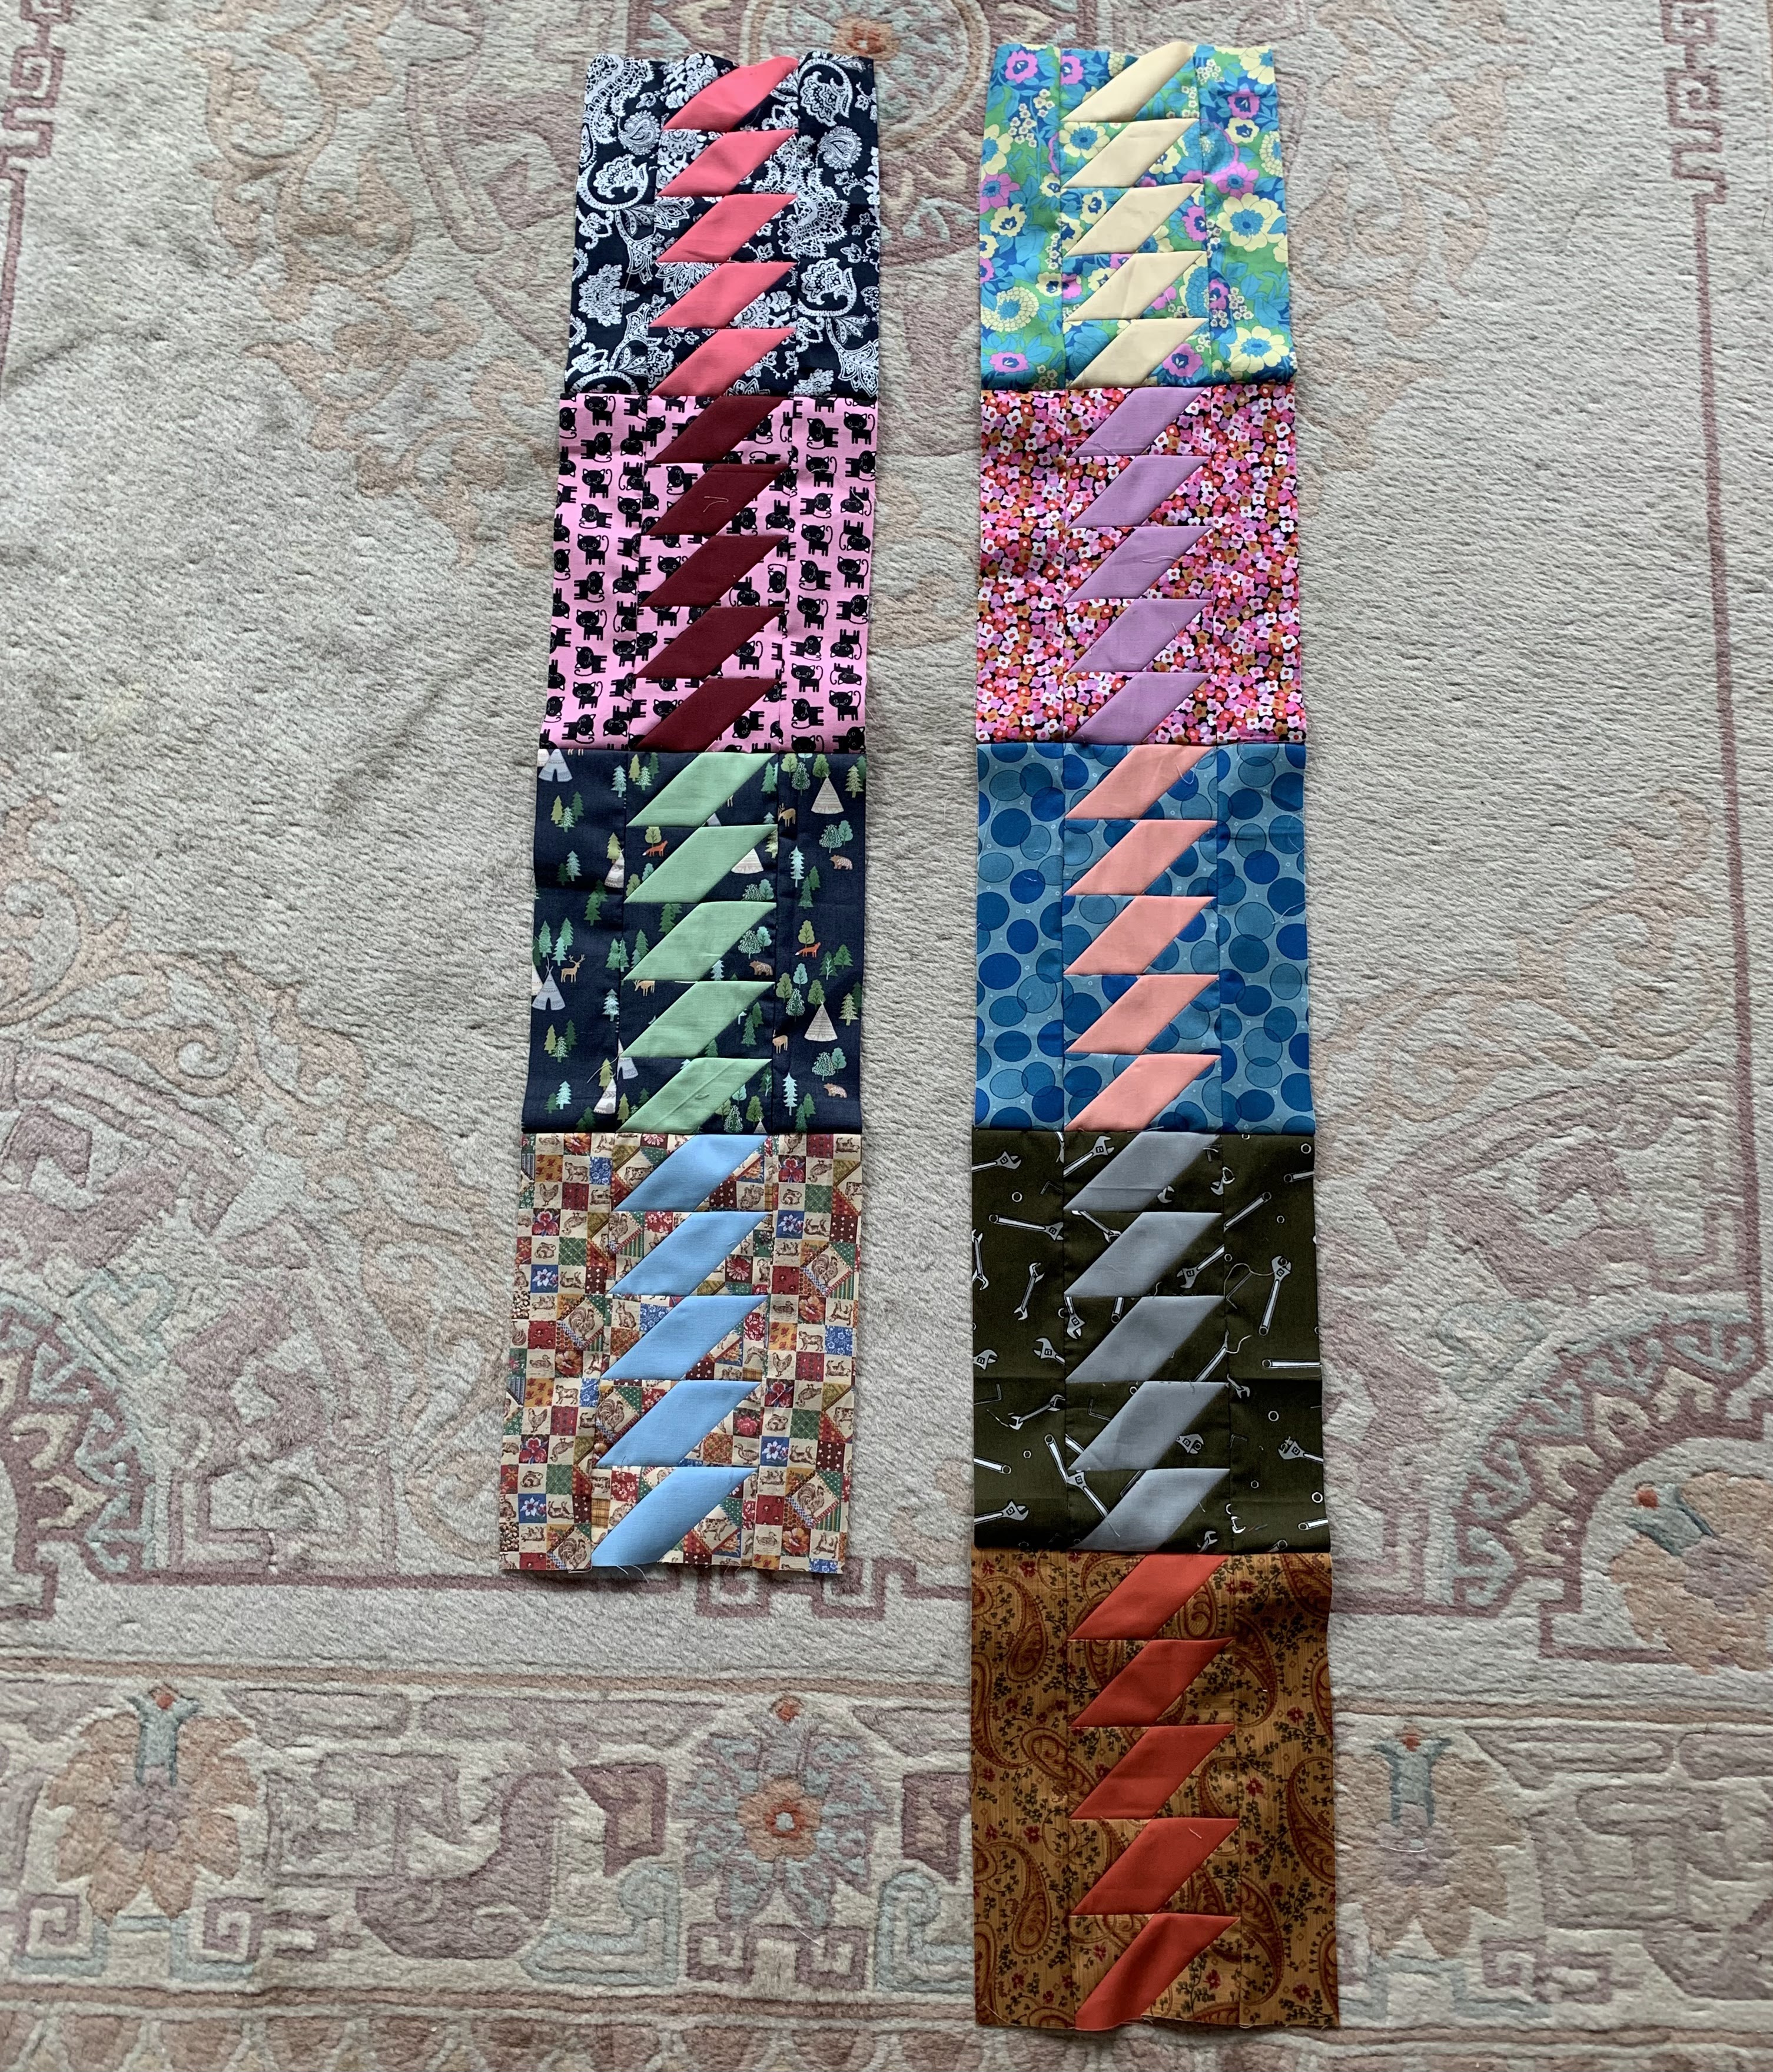
burdock, top completed

Burdock
90 by 80 inches
90 blocks set 9 down and 10 across
Block finishes 8 by 10 inches

My block piecing directions are here.
*NOTE, I kept all blocks oriented with the burs section pressed south throughout my layout.
This is not required, but helps it all lay flatter.

Assembly 
Set aside 10 blocks.

Remaining 80 blocks
Press half with to the burs, half to the sides.
*Note, the pressed in blocks do not like to be pressed in. I do this mainly to nest, and allow the centers of the blocks to twist back to their prefered status. Twisted sisters seams I call them!
Pair and piece vertically into twos then four vertical block units. alternating the pressings so they are pressed in then out.
Set aside 10 of the units.

Take ten 4-block units and pair into five 8-block units, pressing the left one up and the right one down, and sew. Lay out these 5 units for the top portion of the quilt.

Take remaining 10 units and the 10 set aside blocks. Press those single blocks towards the burs and sew one onto the bottom of each unit.

There are now ten 5-block units
Pair these to make five 10-block units, again pressing the left of the pair up and the right one down.
Lay these five 10-block units out to be the bottom portion of the quilt.

Sew the units into rows, press top row to the right and bottom row to the left and sew the two rows together.
Everything will nest.

My design, use at your pleasure.
Backing by Miriam Bos for Dear Stella


Tuesday, June 20, 2023

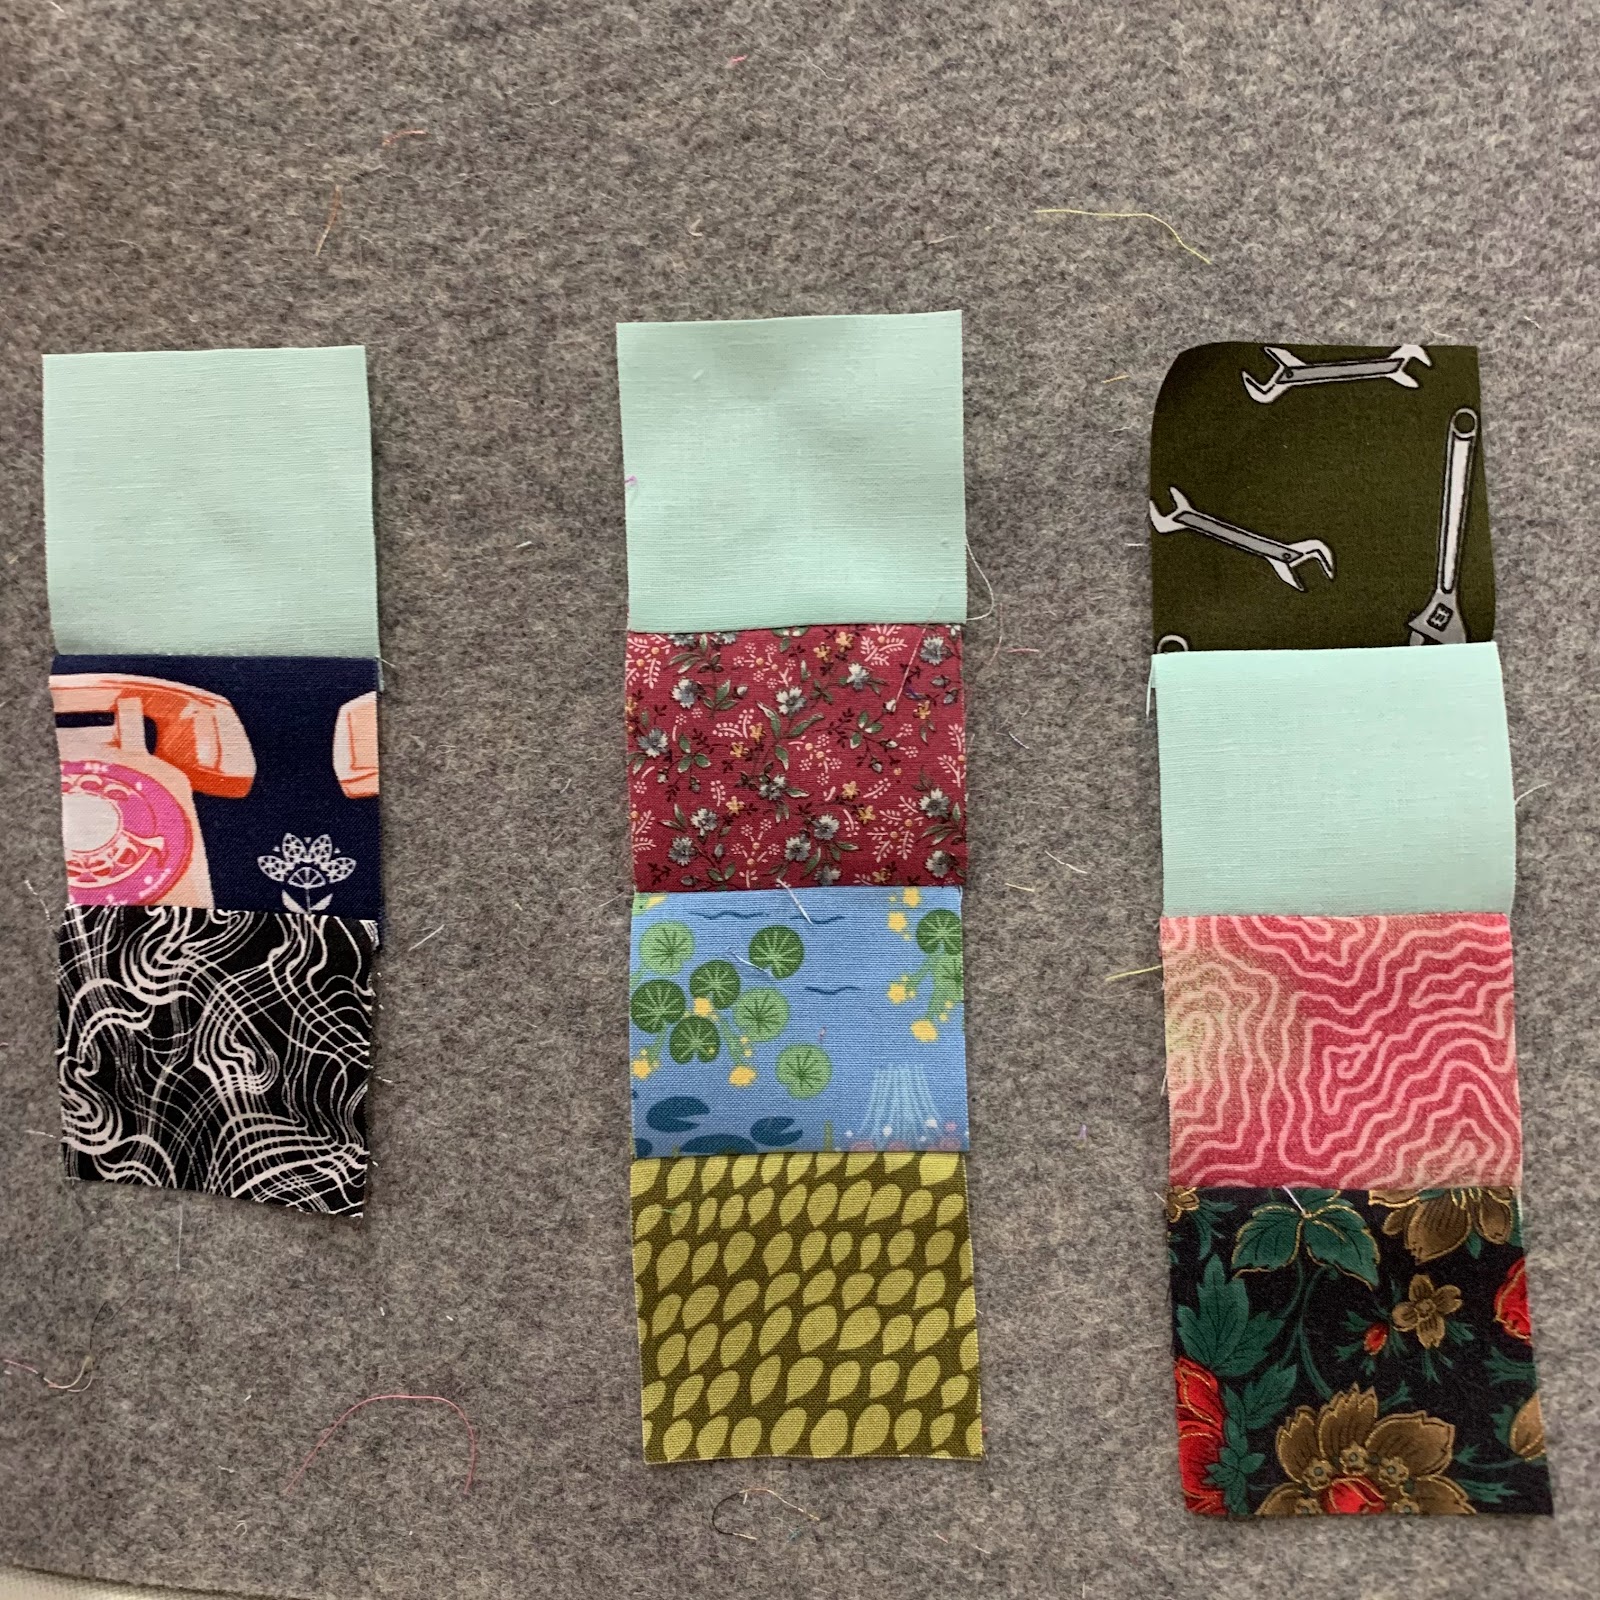
burdock, block instructions


Burdock block
Finishes 8 by 10 inches

I liked the zip quilt I made several years ago. And I like rectangle blocks. This is a design I came up with that made me think of the burs of the seed heads of burdock.

Burdock is an invasive species here in the midwest and a difficult weed.
We loved playing with the seed heads as children and used them to sculpt animals. My mother told the story of her friend Gert who, when they were children, sculpted a hat with them and proceeded to see if it fit. Gert had to have her hair cut very short to remove the burs.
I remember that once the burs got into a sock, they were there to stay but we had to continue to wear those painful socks as they were not worn out.

Cutting
Solid: five 2 1/2 by 4 1/2 inch rectangles which will be cut further later
Print: two 2 1/2 by 10 1/2 inch rectangles; ten 2 1/2 inch squares which will be cut further later

Using Doug Leko's Mini Simple folded corners ruler, use the print squares and the solid rectangles to make the burs.
First bur placed using Doug's ruler 

Second bur placed using Doug's ruler
Press to the print
Sew the five burs together
*NOTE: I found I have to take a scant 1/4 inch seam in putting the burs together. I measure when they are in pairs to make sure they are 4 1/2 inches, then in 4s to measure 8 1/2 inches, then when adding the fifth, 10 1/2 inches. This extra step takes time but saves frustration with the thread ripper later.

Press all burs in one direction. I chose to have my seams all go south. Could also be pressed open
Add sides--do not press at this stage
*NOTE; I found it best to have the long side pieces on the top going into the machine, the burs on the bottom.
Burs and sides ready to sew

Bur pairs measured and are ready to put center together
Once blocks are made, I press some blocks to the burs and some to the sides. Sew into vertical pairs nesting these seams, leaving some blocks unpressed until finishing the last row if making an odd number of rows.

I plan to set either:
9 by 9, 81 blocks, to measure 72 by 90 inches
or
10 by 9, 90 blocks, to measure 80 by 90 inches

I like how these blocks are coming together.
My design, use at your pleasure.

Sunday, June 11, 2023

eggplant alphabet, based on a design by Alyce Blyth, top completed

 
Eggplant Alphabet
81 by 61 inches
Top completed 2023

My 8th alphabet quilt.
Alyce Blyth has a free quilt-along on her blog Blossom Heart Quilts from 2013, Easy as ABC.
https://www.blossomheartquilts.com/easy-as-abc-qal/

It has delightful chunky modern looking letters for which I used eggplant-range purple batiks on a subtle horizontal washed greyed pale lavender ground.
(I learned not to purchase batiks online if I expect a specific shade. The ground was purchased for another project and was not what I expected. It worked well for this quilt.)

I pretty much stuck to Alyce's letters with a few alterations and construction changes.
I did re-scale letters from a 2 inch (2 1/2 inch cut) grid to a 1 1/2 inches (2 inch cut) grid. I also changed construction techniques on some of the letters. I resorted to my nemesis of paper piecing (freezer) for the X and the Y.
You can read about how I scaled down Alyce's pattern and how I framed the blocks here.

With this alteration, my letters measure 4 1/2 by 6 inches,  finish 7 1/2 by 9 with the background, and my framed blocks finish 9 1/2 by 11 inches.

20 Vertical sashings are cut 2 by 11 1/2 inches.
Three horizontal sashings are cut 2 by 54 inches
One horizontal sashing is cut 2 by 43 inches (goes under ABCD)
One horizontal sashing is cut 2 by 21 inches (goes above YZ)
Top left corner is cut 13 by 11 1/2 inches (goes left of A after horizontal sashing is on)
Bottom right corner is cut 13 by 33 inches (goes right of Z after horizontal sashing is on

At this point, the vertical length of the top measures 73 1/2 inches plus seam allowances of 1/2 inches, so 74 inches
The horizontal width of the top measures 53 1/2 inches plus seam allowances of 1/2 inches, so 54 inches (*61 once side borders are attached)

I cut 4 inch borders
Cutting:
74 inches for sides
61 inches for top and bottom
I will bind with the light.

With borders, top measures 81 by 61 inches
I try to take careful notes as I sew, but be aware I may make mistakes in my measures.

Again, letters were designed by Alyce Blyth. She gets all the credit for her delightful design.
Scaling down and setting are mine--use at your pleasure.


Monday, May 29, 2023

red and white: patience corner, top completed

Patience Corner
92 by 78 inches
Block finishes 7 inches
Top completed 2023

120 blocks set 10 across and 12 down
4 1/2 inch cut border

Patience corner is one of my favorite blocks and I have used it in at least 4 quilts. Proportions can be altered for different effects. I have made it all scraps and have used it as the setting for a sampler quilt.
In this quilt, the constant white (Kona Snow) gives a scattered look to the reds scrap squares. 
I like how the white borders let the field look like the red squares are floating.

Block finishes 7 inches

Cutting:
Red: four 2 1/2 inch squares (480 total)
White: four 2 by 2 1/2 inch rectangles, four 2 by 4 inch rectangles (480 each)

Sewing and Pressing quarter-blocks:
Sew white 2 by 2 1/2 rectangle to squares
Press towards the red square
Orient as show, sew 2 by 4 inch rectangle to the previous piece.
Press towards the larger rectangle

Press towards white rectangle

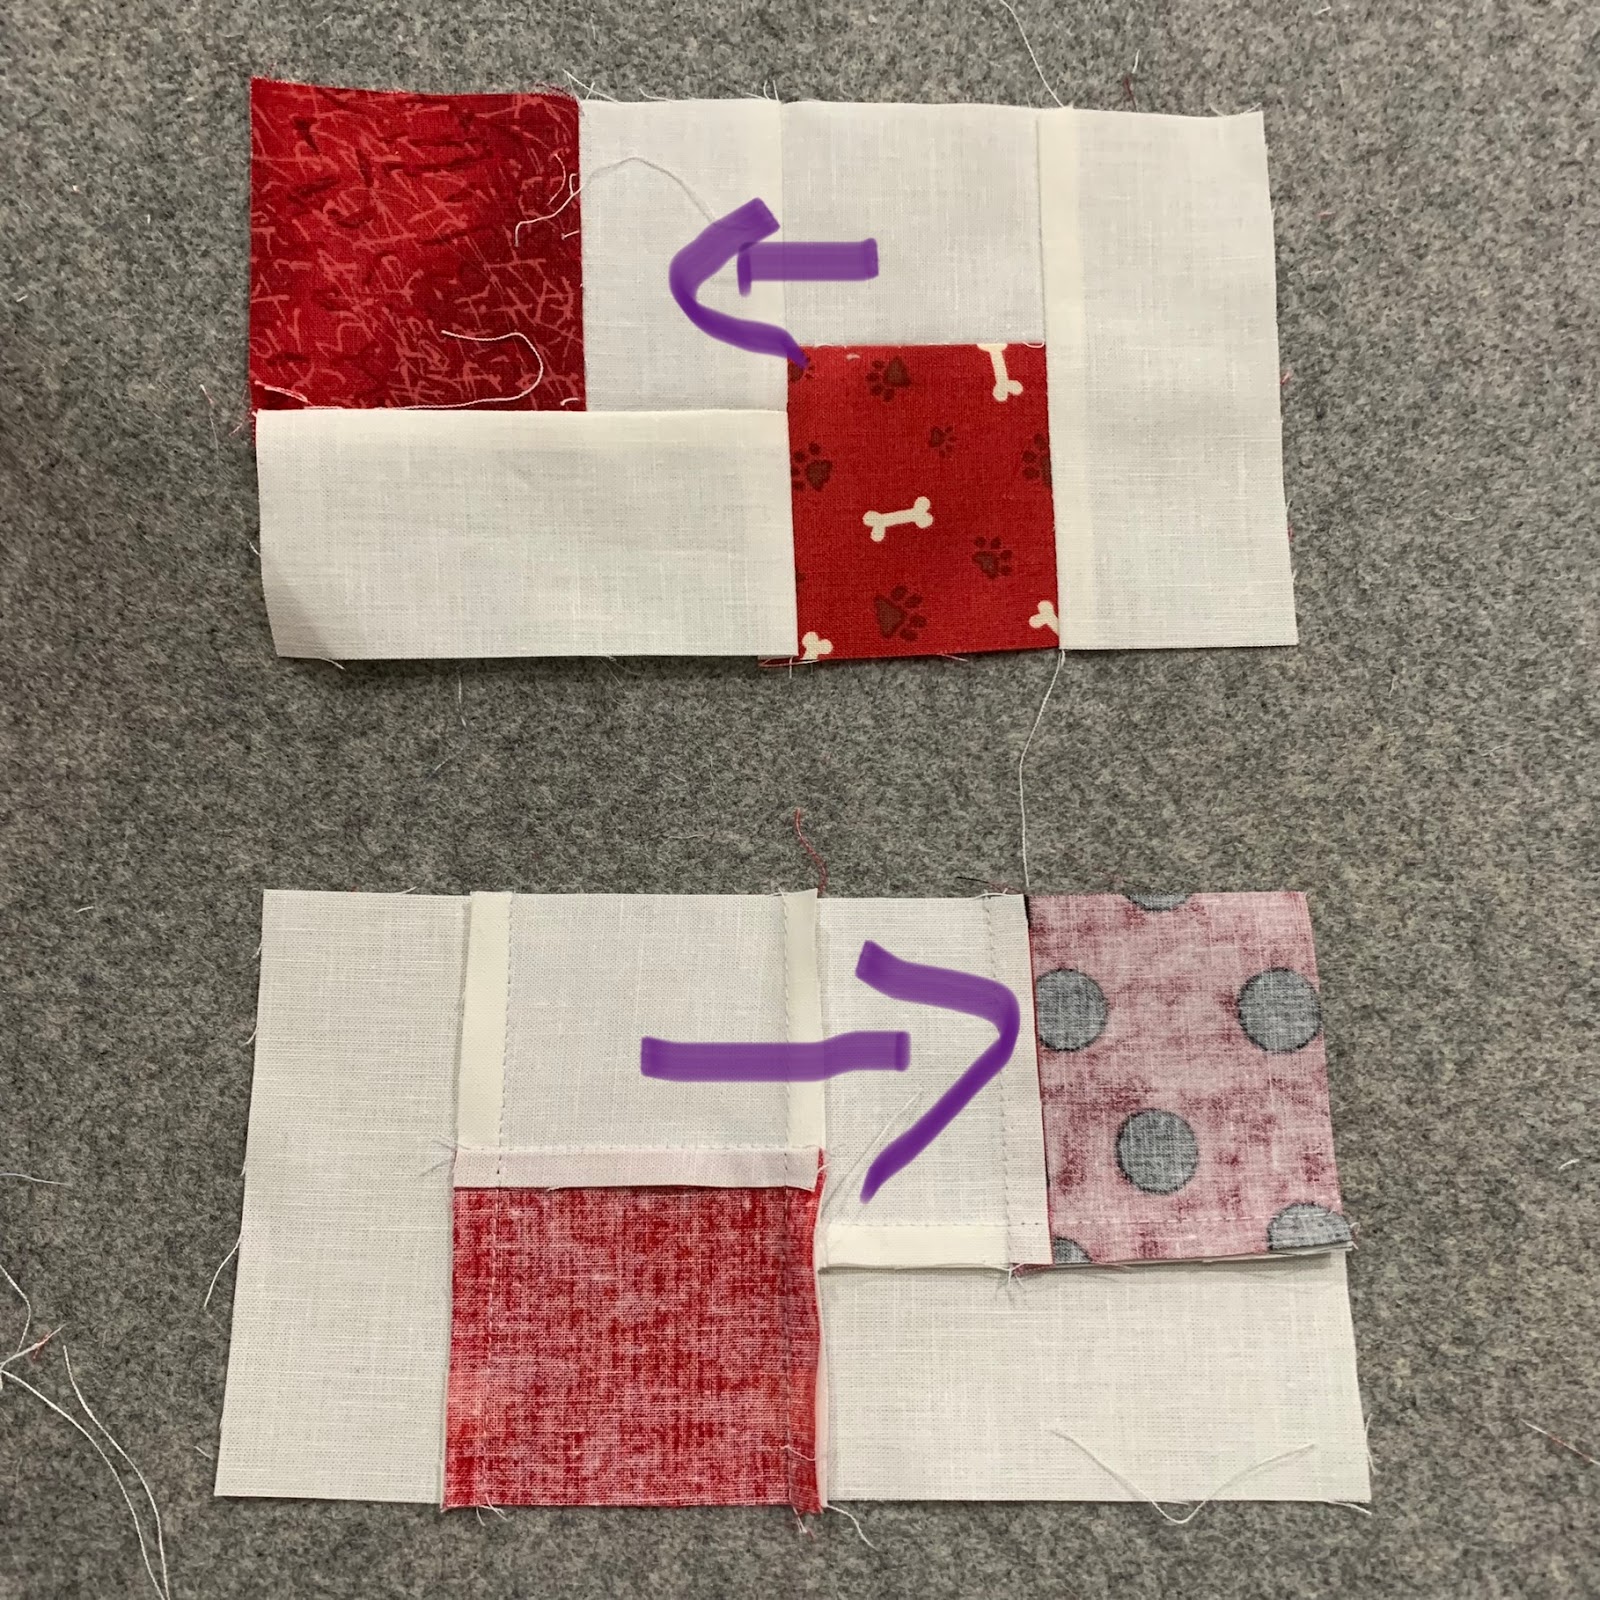
Sew 480 quarter blocks into 240 half blocks as shown
Press to the one side (left from front, right from back).

Half block, front and back sides showing pressing

Rotate one half-block and sew two into 120 full blocks
Do not press horizontal seam yet


Sew into 60 2-block units, making sure to keep the units center seams horizontal.
Do not press yet.


Then make 30 4-block units.

Press half the 4-block units horizontal seams up and the other half down
(You can just press them all in one direction, then rotate every other one)
Sew into fifteen 8-block units and lay out the quilt. Mine is three rows of five 8-block units.


Press top and bottom rows left and middle row right
All seams will nest

Cut side borders 4 1/2 inches by 84 1/2 inches
Cut top and bottom borders 4 1/2 inches by 78 1/2 inches

My design, use at your pleasure.
I intended to make a small quilt, but loved the red squares too much to stop
The dalmation and the airport are two favorite fabrics
That Ritz cracker!!
Backing is from Dear Stella