Wednesday, December 28, 2022

more from the wedding weekend


sisters
Janna, Lynn, Beth

favors for guests at the bridal tea--my knit dishcloths

the bridal tea

We placed the rehearsal flowers in the chancel for St Pauls Sunday worship

Cake cutter borrowed from Andy's mother, was used at his parents' 1951 wedding

A dear neighbor gave Eve a floral crown to wear at her bridal tea

Seth, minder of his sister's dog and bouquet 
my sisters came the morning of the wedding to wash windows and scrub the stoep

We used my mother's china at the wedding breakfast

what is a Chicago wedding without a Giant Cannoli?

Tuesday, December 27, 2022

we had a wedding!

 This spring Eve and Sam were married at an intimate and lovely backyard ceremony with 12 of our immediate family, followed by a reception with extended family and friends at a restaurant.
We had a delightful day!
Textiles were featured: my mother's rag rugs were the runner and Sam's grandfather's tallit from Soviet era was used.
Photography by the talented Allie Idrac  https://allieidrac.com/
See more: https://allieidrac.com/weddings/eveandsam
And the rehearsal dinner: https://allieidrac.com/couples/eveandsamrehearsaldinner


Sunday, December 18, 2022

red and white stars with checkerboard, quilt completed

                        
Red and white stars with checkerboard
2022
94 by 74 inches

Quilted by Sue Divarco with a wool batt

You can read my construction post here.

Made with fabrics from my shelves, from my friends' shelves, and from a bit of shopping. There are a few pieces from my mother's sewing over 60 years ago.

                        
Sue did an exquisite job quilting this. She said she pushed to the head of her list to make sure I had it for Christmas.

I think more red and white quilts need to be made in this house.
That white with village print is from my mother's sewing 60 years ago

Friday, December 09, 2022

red and white alphabet (alphabet G), Missouri Star Easy Alphabet altered; top completed


Red and White Alphabet
57 by 45.5 inches
Top completed 2022
Three reds clash 
Many, many reds are marvelous

While cutting reds for the red and white checkerboard and stars quilt, I cut a pile of 2 inch squares anticipating making this quilt (also pieces for a third quilt to come). The white is Kona Snow.
I used the Missouri Star Easy Alphabet, changing the scale down to  2 inch cut and 1 1/2 inch finished. I altered construction, using larger pieces for the white when possible. The Doug Leko mini ruler is a great tool for doing this. I also changed the V and the X. 

Some tips for construction:
-Cut 29 white rectangles 2 by 9 1/2 inches to have ready to use whole or to nip off corners with the Doug Leko ruler. Love that thing.
-Don't nip off ahead of time, wait til you are doing each letter to make sure you nip off the correct ones.
-Have a pile of red triangles ready to sew onto the nipped ends. I use the Easy Angle or Bonnie Hunter's Essential tool for these
-Sew a bunch of red squares in pairs and then some into 4s and some into 6s. These are ready to pull from as you lay out each letter. If 3s or 5s are needed, grab a single square to add to one of the units in layout. Replenish these sewed units every few blocks. Don't press these units until block construction
-Make some 2 inch red/white triangle squares to have ready for where they are needed
-Have some white 2 inch squares ready
-Have some lengths of 2 inch white ready to cut down as needed for the other pieces and a few flying geese using Bonnie's ruler.
I kept a chart showing the lengths for other pieces handy for when I need to prepare each block; some of these will be nipped with Doug Leko's ruler:
One square 2"
Two squares 2 by 3 1/2"
Three squares 2 by 5"
Four squares 2 by 6 1/2"
Five squares 2 by 8"
Six squares 2 by 9 1/2"--these are used as the sashings

The letters were made in sequence so I could adjust the pressing of the sashings between the letters to nest. There are a few twisted sisters in here but not many.
Each row of letters was pressed to the left (except for a few sections pressed open to reduce bulk), and the spacer rows were pressed to the right. I pressed theses spacer rows towards the letter rows and this helped keep the quilt square.
Spacer rows were 25 squares.
I added each spacer row to the bottom of each letter row as completed, then attached to the mothership. Spacer row always on top going into machine.

I added an extra row of squares all around the quilt to get to the size/proportions I liked. I was considering 16 patches of red again around it--that would get it to bed size--but I was satisfied with the proportions where I stopped.

The reds are from my shelves and from my friends' sharing. And a bit of shopping. I pushed from red towards the madder/orange reds with a few in the purple reds. It feels festive.

My objective to have a stack of red and white quilts has me up to three!
And the series of alphabet quilts is now at G.

My adaptation of the Missouri Star pattern. Use my changes at your pleasure.
Buy the pattern! The illustrations are helpful in construction even with adaptations.
I always buy patterns that I adapt--I want to support the designers out there!

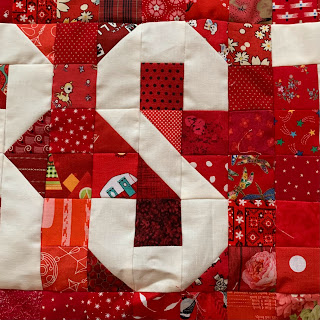
A very pleasing S
My V variation
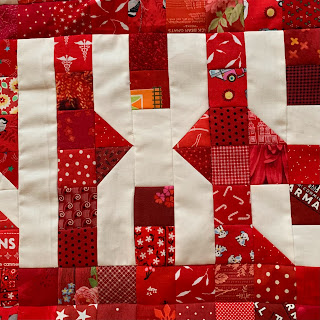
My X variation
love these reds!!

Monday, December 05, 2022

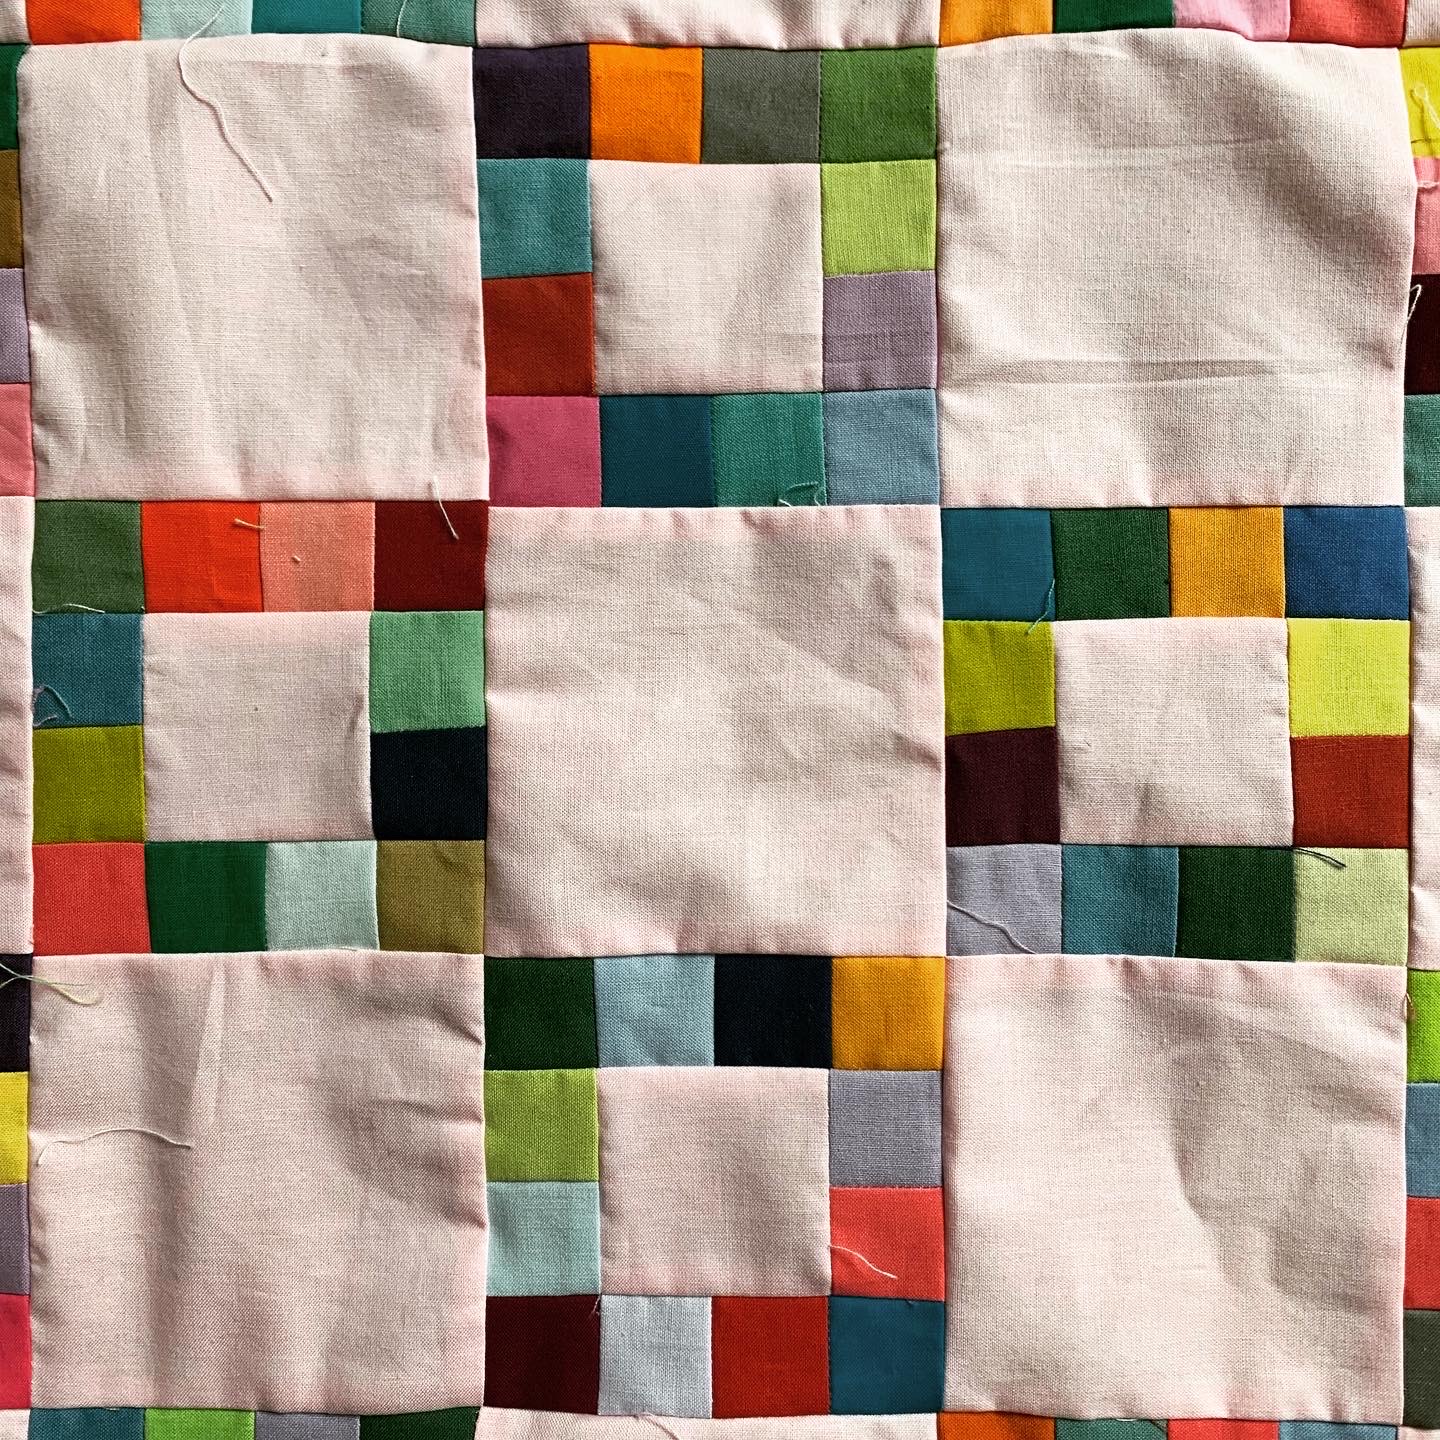
16-patch with self border, top completed

16-patch with self border
Top completed 2022
96 by 80 inches
8 inch finished block
120 blocks set 12 by 10
Piece count: 1536 prints, 384 solids

I love a 16-patch. Such straightforward construction and a strong grid that holds it with a wild variety of fabrics. 

A shoe-box sized bin holds about 2600 2 1/2 squares. I cut down my scraps while cutting for other projects, so they are a mixture of stuff from my sewing 30 years ago through stuff from last week. The bins also have 2 1/2 inch "Covid Squares" that my friends and I exchanged in round-robin packets during the Covid lockdown.

I was facing four packed full bins of 2 1/2 inch squares and pulled out darks/medium darks/mediums/brights/ for this quilt. I added about 2 yards of Kona Ice Frappe for the solid constant.

While pulling out these squares from the bins, I also pulled out the reds for a red and white quilt and pulled out the lights/medium lights into their own bins for a project in my head.

Block A: scraps plus contant
48 blocks
Solid constant: 384 2 1/2 inch squares
Scraps: 384 2 1/2 inch squares


Block B: all scraps
72 blocks
Scraps: 1152 squares 2 1/2 inches cut


Construction
Sew in pairs, then into 4s.
Press to one direction. With the constant blocks, I pressed away from the end that has a solid block.
Sew into 8s then into 16 patches; hold off on pressing for now.

I sew blocks into pairs then start the layout.
Sew into rows and press every other row in opposite directions
                    
Sew the rows together. I press rows in one direction.
Every seam nests.

My design, use at your pleasure.            


Friday, December 02, 2022

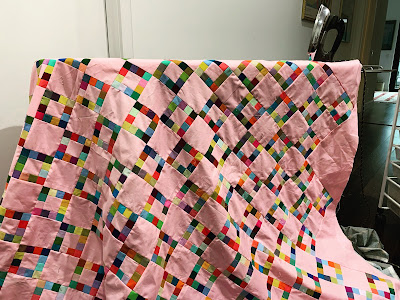
framed square, top completed

Color of pink is close in this photograph
Framed Square
top completed 2022
about 101 by 83 inches
50 blocks set on point
Block finishes 12 inches

Piece count for the quilt: (I may be off on these)
230 basic units, made from 230 2 1/2 inch squares, 2760 1 1/2 inch scraps
220 4 1/2 inch squares
18 setting triangles
4 corner triangles

This summer Bonnie Hunter featured a vintage quilt on an Instagram post. It was a simple and humble framed square and I sketched it out that very day.
Bonnie said she is fine with me sharing my write up, so here it is.

I had a bolt of Kona Peony and knew that would be a great background with my bin of solid 1 1/2 inch squares. I thought I had enough squares--I was wrong! And so I cut out another quilt (Bernina X 64) to yield scraps for this one.
(The pink is not photographing well in most of these pictures--the close-up above is very near what it is.)
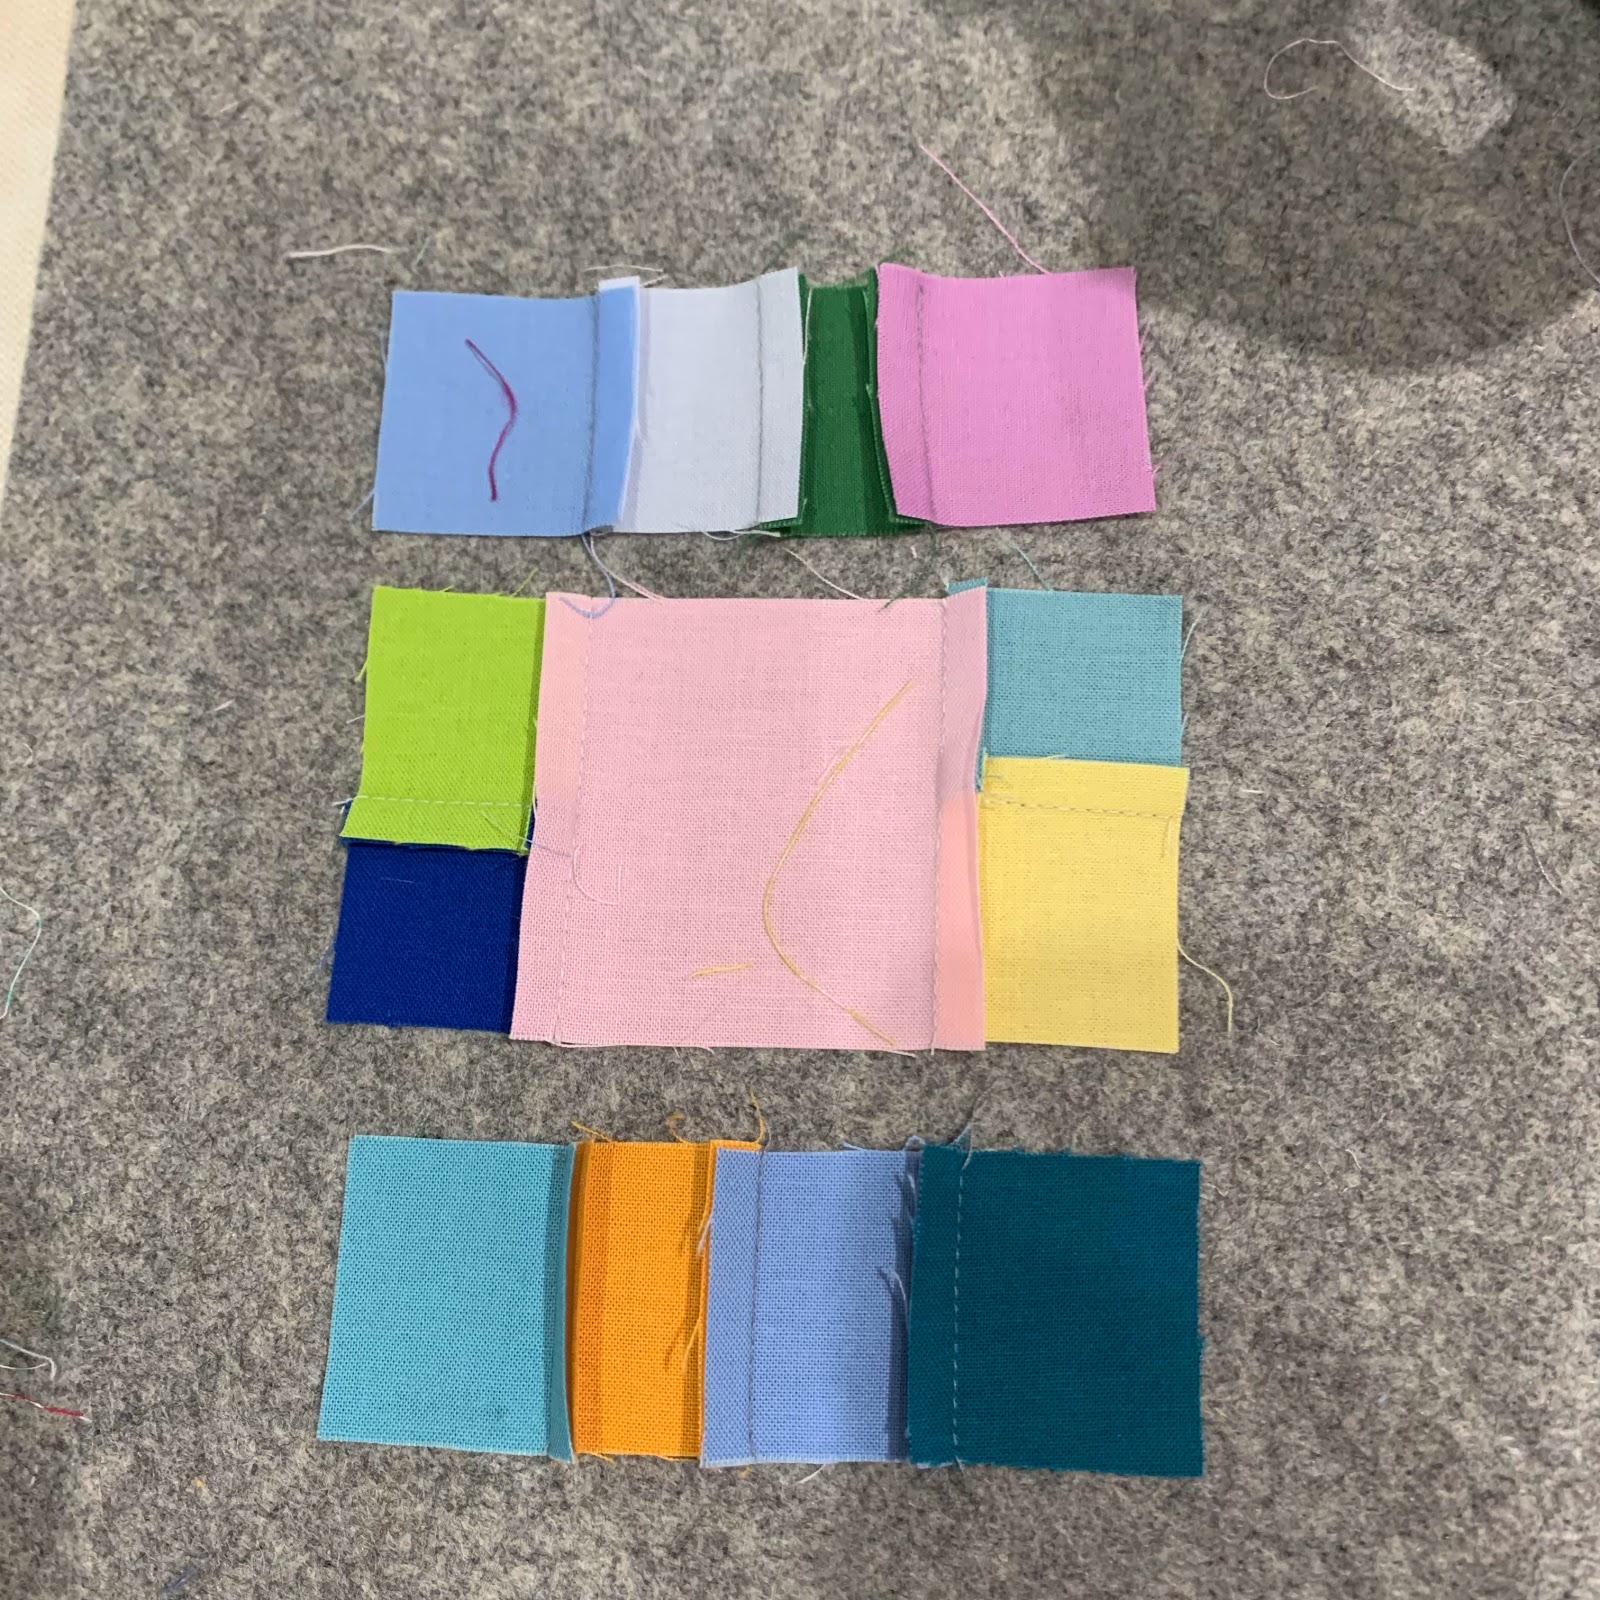
Basic unit
Basic unit (finishes 4 inches)
Background: one 2 1/2 inch square
Scraps: ten 1 1/2 inch squares

Sew scraps into pairs, sew a pair on two sides of the background
Press away from the background
Sew pairs into fours, sew on remaining two sides of the unit
Press towards the background
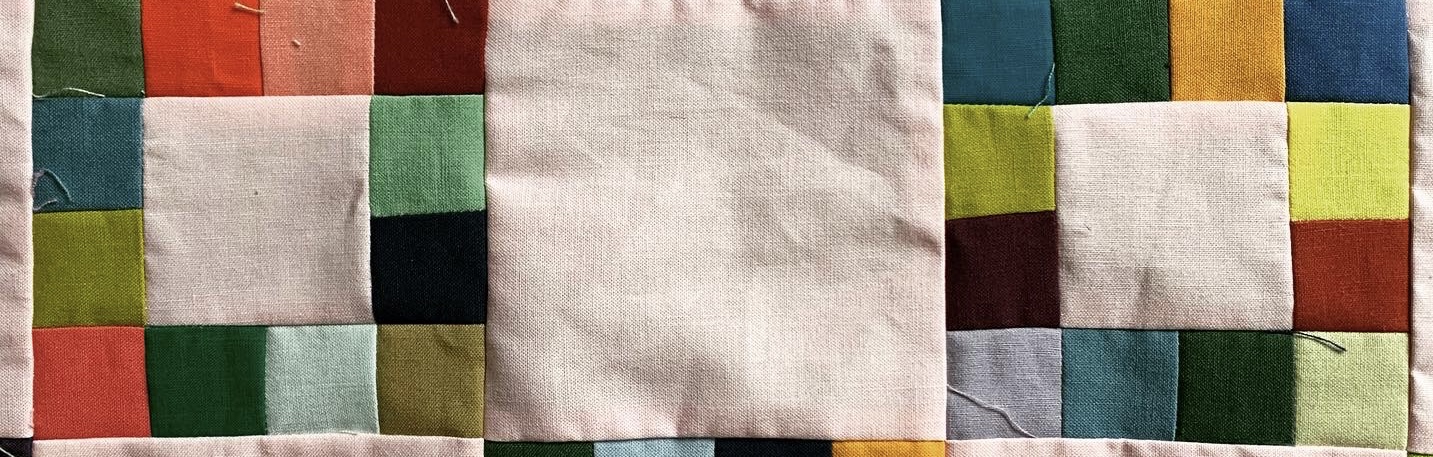
Unit A
Sew 80 Secondary unit A (finishes 4 by 12 inches)
Background: one 4 1/2 inch square
Two of the Basic units
Press towards the plain square
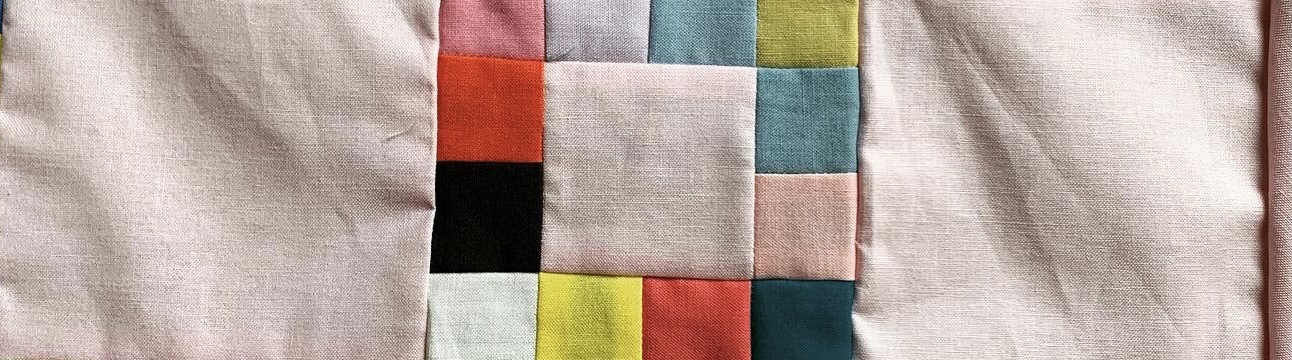
Unit B
Sew 70 Secondary unit B (finishes 4 by 12 inches)
Background: two 4 1/2 inch squares
One of the Basic units
Press towards the plain squares
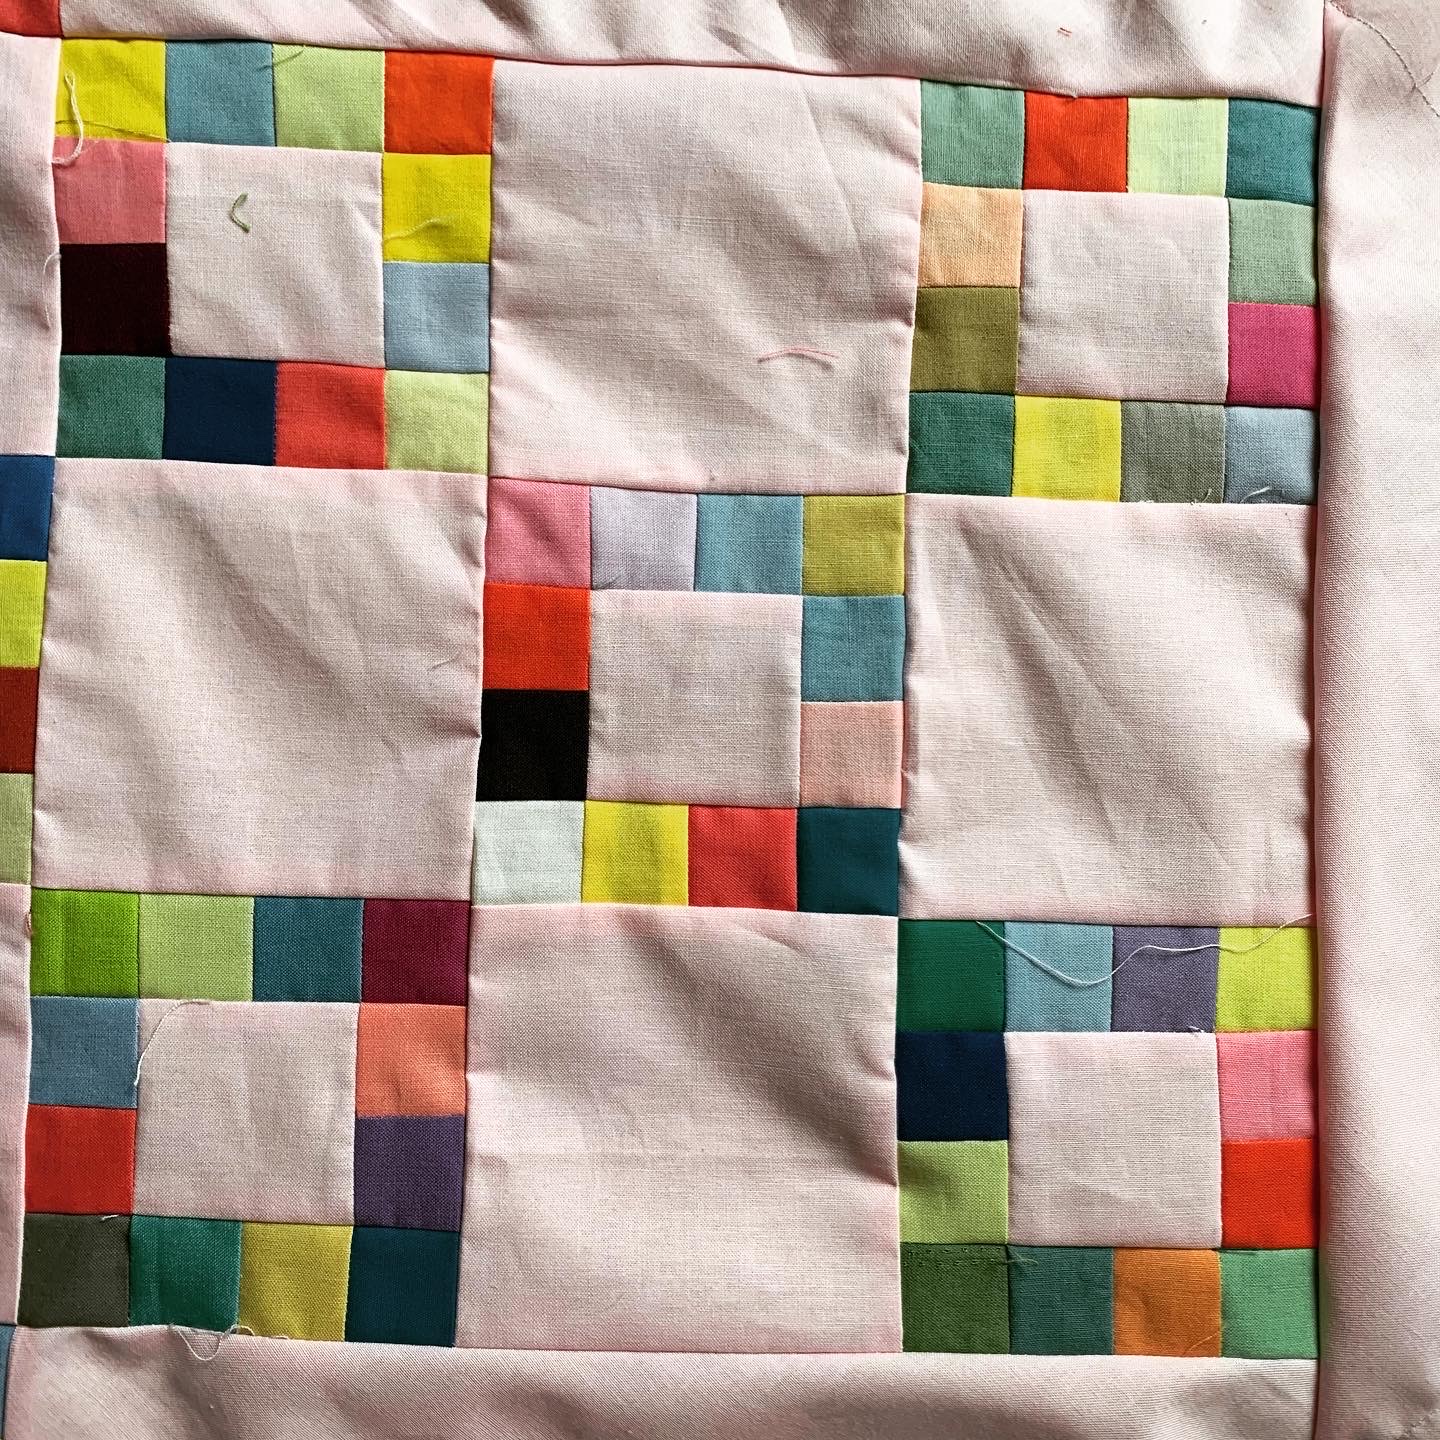
Block C

Block D


Larger 9-patch blocks (C and D) (finishes 12 inches)
30 block C
20 block D
DO NOT press the joining/horizontal seams until the blocks are sewn into rows in the quilt.
ASSEMBLY layout task: Keep the blocks oriented with the horizontal seams going in the same direction as the block joining seams. Press all these seams once the row is made. Press the seams in opposite directions each row.
All will neat when sewing rows together. 

Setting Triangles:
I like my on point quilts to have a decent float, so I overcut these triangles.
Because they would need a really difficult to manage sized square to cut into triangles, instead I use my 15 inch square and use the 14 inch sides as my guides to cut from a strip of fabric. 
Corner triangles are overcut from two 11 inch squares.
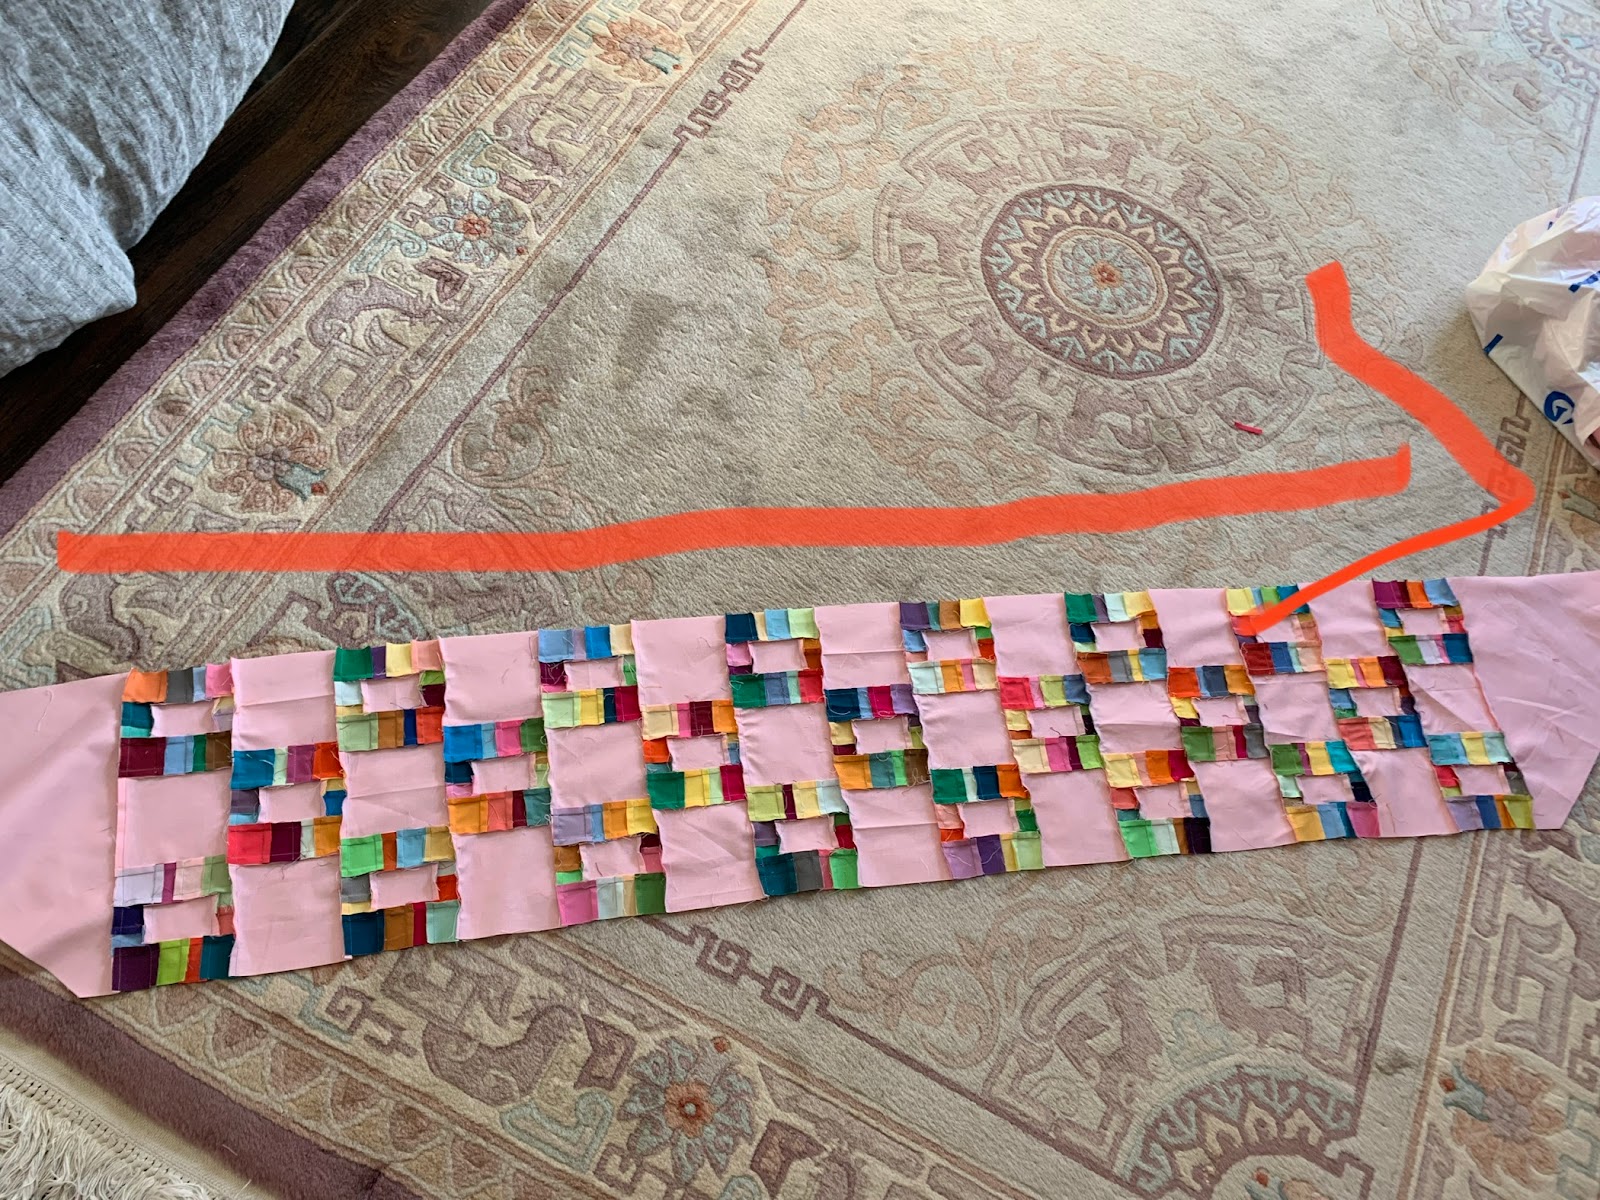
Press all internal block rows and block connecting rows in one direction
This photograph is close to the wonderful pink of the quilt

On point quilts tend to make their own border. The basic units do that in this quilt.
Quilt would also work well with a straight set.
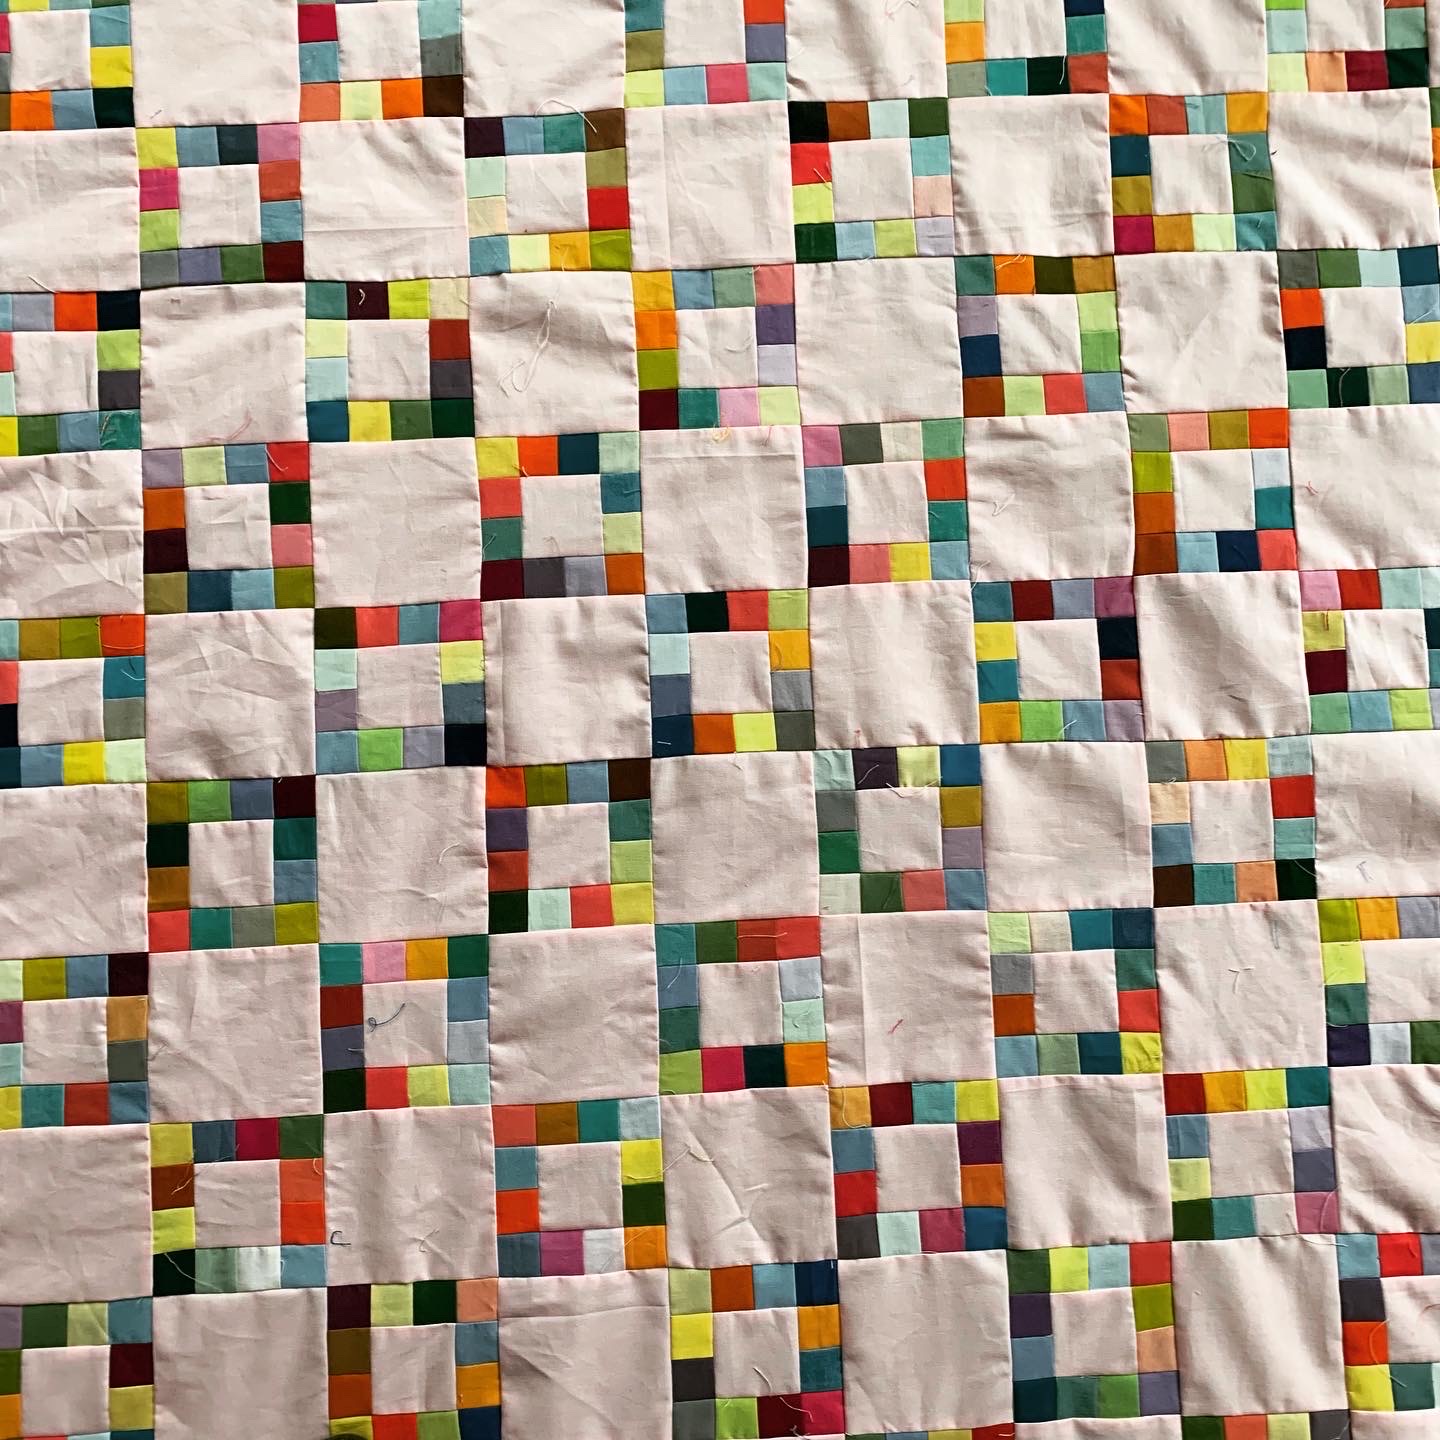
On point quilt assembly wears me out. I try to get rows sewn together while still making blocks so the assembly isn't so daunting.

I plan to bind it in the Peony. It really is a lovely shade of pink.
My design based on a vintage quilt. Use at your pleasure.