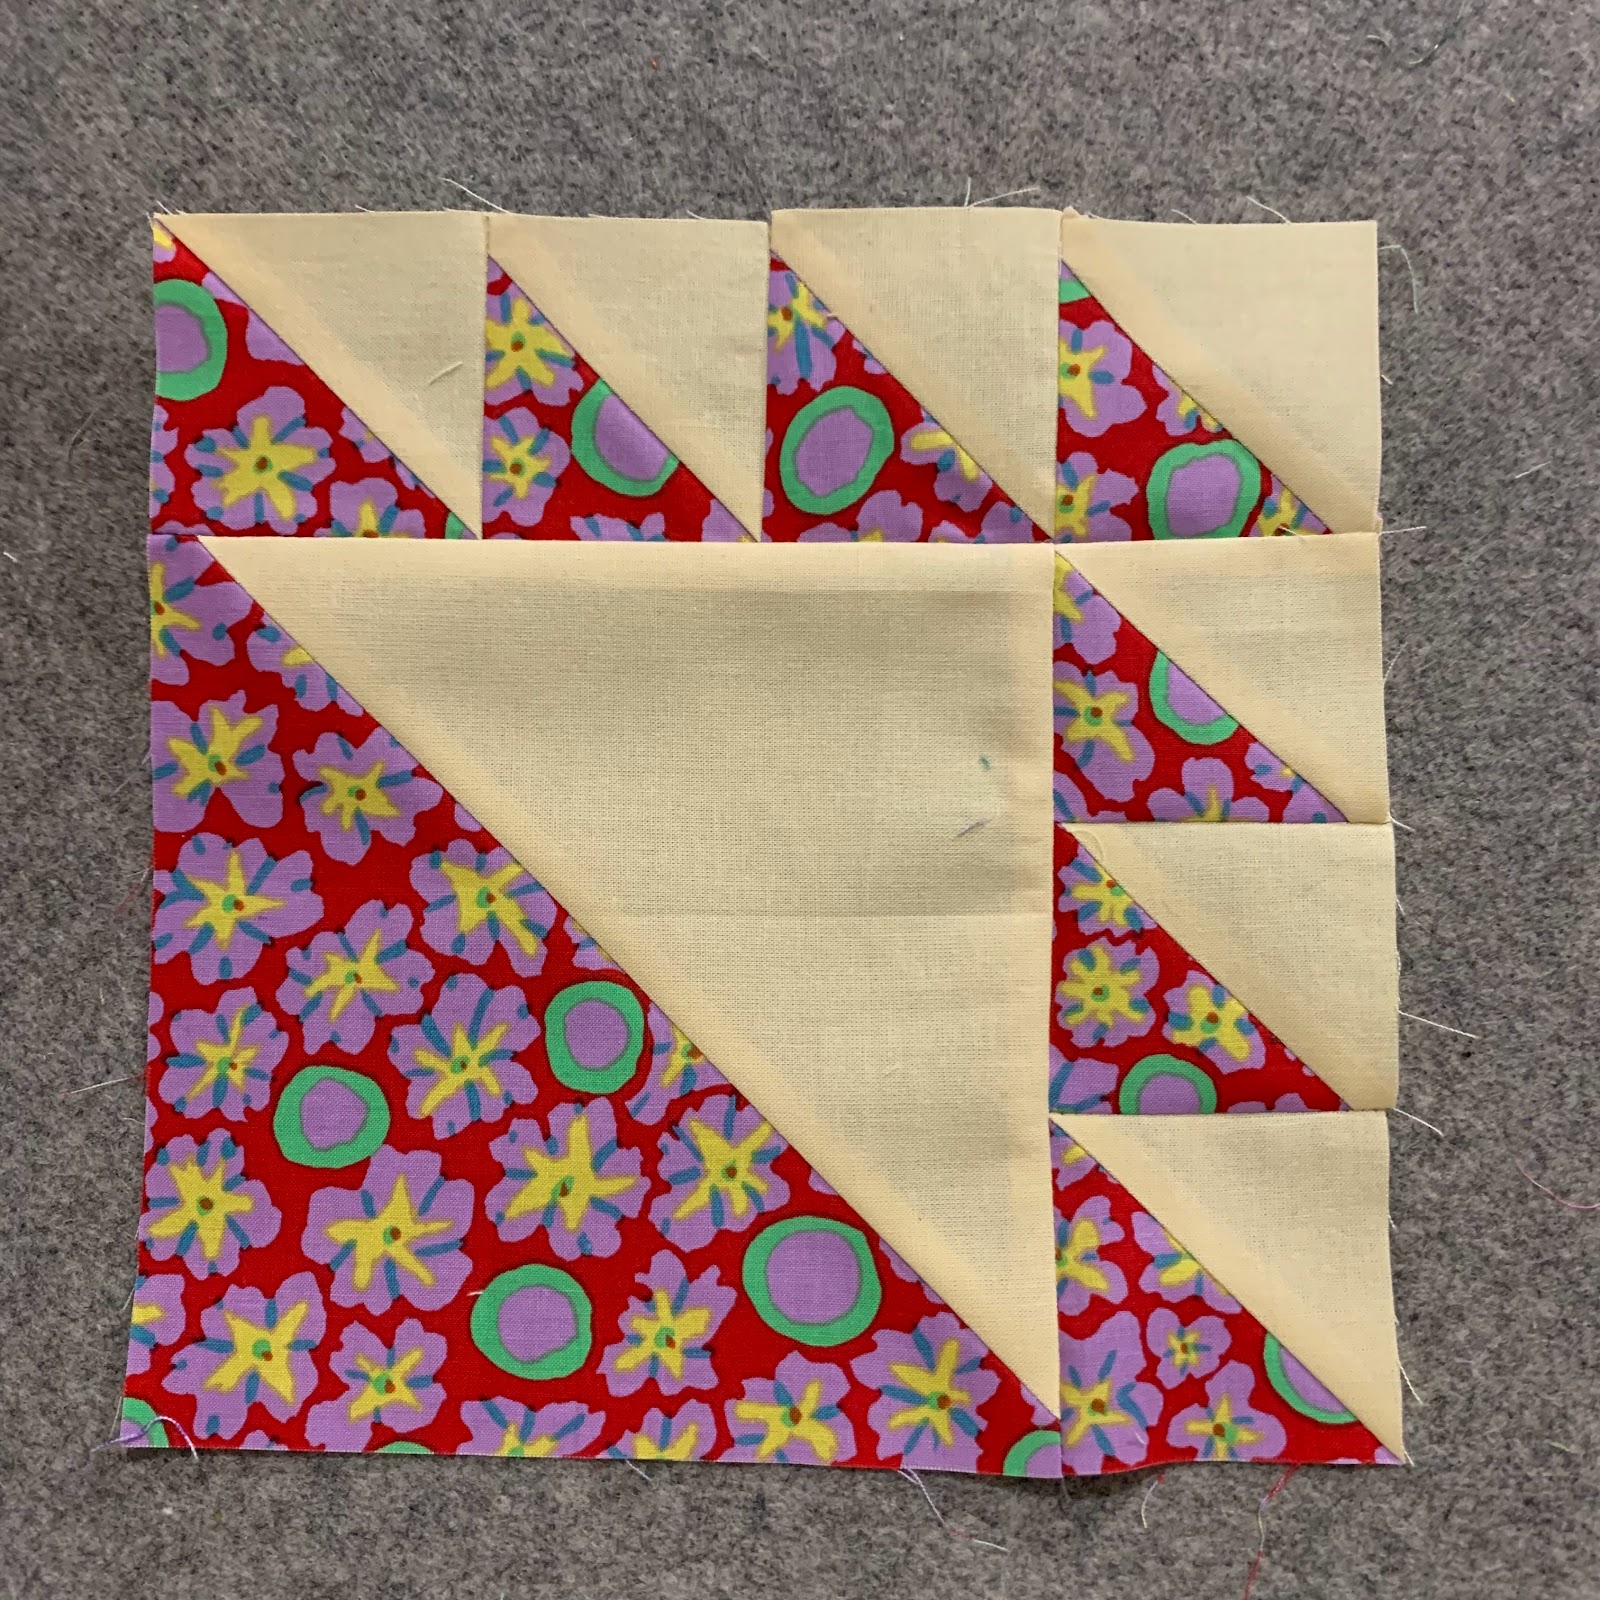
G is for Gouda
Orange and greylittle alphabet
36 by 30 inches
My 10th alphabet quilt
Top completed 2024
Block finishes 6 inches (6 1/2 inches unfinished.
Gouda cheese isn't supposed to have big holes in it, but I could not pass up naming this quilt for the G block fabric.
I used the B is for Baby pattern by Temecula Quilt Co.
There are a few errors in the pattern--or maybe I was reading things wrong-- and the scale of the letter drawings does not always match up with the directions, so I needed to review each letter before cutting and sewing.
I changed up a few of the construction techniques, letter proportions, and the set and made extensive use of the Doug Leko mini folded corners tool. Love that thing.
BUT it is a pleasant small primitive style alphabet and it got me to put together this orange on grey scrap alphabet quilt.
Plan to machine quilt it myself as it is small.
I framed each 4 inch finished letter with 1 1/2 inch cut rectangles, alternating blocks with the longer frame on the top and bottom of a letter next to the longer on the sides of the next letter. All frames were pressed away from the letters. Because the blocks alternated in orientation of frames, only block outer seams needed to nest.
Oranges were from my shelves and a few shared by my small group. I asked them to think "Creamsicle" when going through their fabrics.
Grey solids also from my shelves. Who knew one person could have so many varieties of solid greys.
My adaptation of Temecula Quilt Co. pattern. Use my set at your pleasure.
Wednesday, May 22, 2024
"G is for Gouda"--orange and grey little alphabet, top completed
Thursday, May 16, 2024
ladder, red and white, top completed
Red and White Ladder
top completed 2024
81 by 68 inches
Block size finishes 3 by 4 inches (3 1/2 by 4 1/2 inches unfinished)
17 columns of 27 blocks
459 blocks
Block Construction
Top completed
Quilt completed
This time I wanted to do a red and white take on Ladder with my wonderful scrap red fabrics. The white is Kona Snow. The reds are in random orientation. I let them fall as they wished, no up or down to this quilt.
Cutting
Red: 2 1/2 by 4 1/2 inch rectangles
White: 1 1/2 by 4 1/2 inch rectangles
Block
Sew one white rectangle to one red rectangle
Press towards the red
Units
Sew blocks to make as long as you want the quilt to be.
For mine this is 27 blocks
Press in the same direction as the first pressing.
Make 17 columns
Take two units, flip one, and sew into paired columns.
I made 8 pairs with one remaining column left single
The seams on each will be pressed opposite.
In making these columns two units sewn together I enter the machine with a white on top, the top unit with pressed seams south. Keep this consistent
Wait with pressing the columns until later.
Lay out the quilt.
Sew together the columns, adding the single column on last.
Press all these joining seams one direction.
Everything nests.
An adaptation of my earilier design. Use at your pleasure.
Backing is pieced from these two color-ways of Michael Miller "Letters From Afar" |
Saturday, May 11, 2024
lady of the lake, top completed
Lady of the Lake
top completed 2024
96 by 80 inches
120 blocks
block finishes 8 inches
I love this traditional block. The large triangle is a great place to feature fabrics.
There are many variations of the block, I went with the simple one.
Details of block construction and unit assembly are here.
I started this last summer along with the Ocean Waves. Both are triangle heavy and my wanting to keep the fabric images oriented a certain way made it efficient to work on both at the same time. All that triangle making made it a slog. But, I am glad I persevered and look forward to them being quilted.
My design using a traditional block. Use at your pleasure.
Alice came out to play |
Backing is by Miriam Bos for Dear Stella |
Tuesday, May 07, 2024
lady of the lake, block construction
Lady of the Lake
Block finishes 8 inches
Another block I have always wanted to make!
I cut these while making the Ocean Waves so many duplicate fabrics are in these two quilts. I set this quilt aside in January as the semester began. Now it is close to assembly.
Cutting
Triangles all cut with EZ angle or Bonnie Hunter's Essential Triangle Tool.
Solid: One triangle cut from 6 1/2 inch strip, Seven triangles cut from 2 1/2 inch strip
Print: One triangle cut from 6 1/2 inch strip; Seven triangles cut from 2 1/2 inch strip
Sew together all triangles and press towards solid.
Layout as shown
Sew together the three right side triangle squares and sew to large triangle square
Press towards large triangles
Sew together the top four triangle squares and sew to the top of the block.
DO NOT PRESS YET
Take blocks and sew into 4-block units.
Lay out two of these 4-block units
Left unit: press all the joining and delayed pressing seams north
Right unit: press all the joining and delayed pressing seams south
Sew together and you have an 8-block unit.
All seams nest. I will post again soon when I get the top finished as it is close to being done!
My directions of a traditional block. Use at your pleasure.