Ocean Waves
Block finishes 8 inches
A block I have long wanted to use.
I have two separate pressing plans, an A block and a B block, which will help with top construction.
(((I have updated this post with my revised pressing plan)))
Both start out similarly

Cutting
Solid: 12 half square triangles cut from 2 1/2 inch strips using EZ angle or Bonnie Hunter's essential triangle tool
Print: 12 half square triangles cut from 2 1/2 inch strips using EZ angle or Bonnie Hunter's essential triangle tool, two 2 1/2 inch squares, one 2 1/2 by 4 1/2 inch rectangle
Make 12 squares using the solid and print triangles, press towards the solid
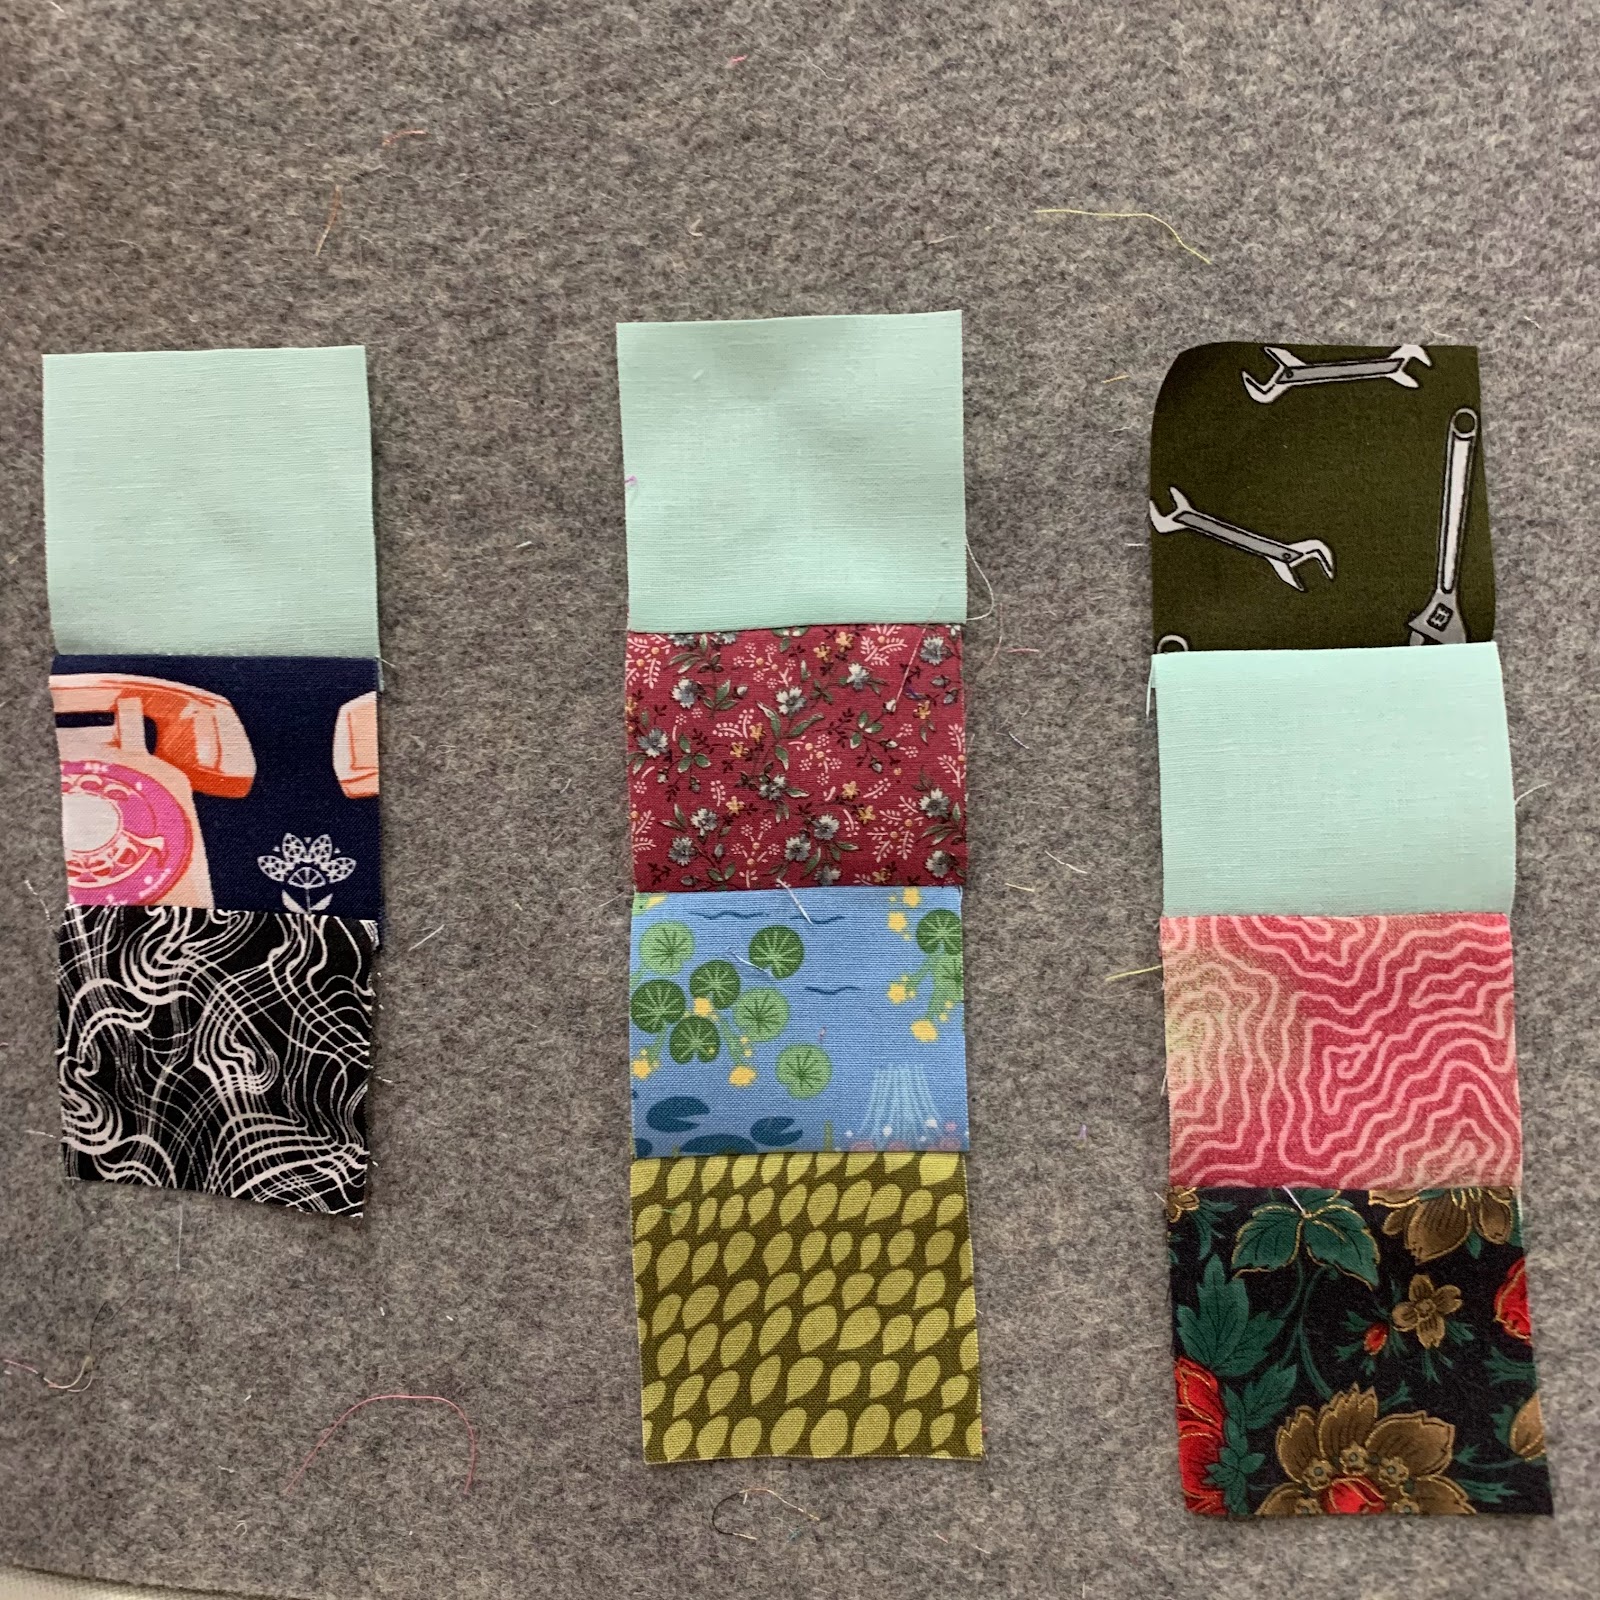
Lay out pieces and sew into four rows, press as shown.

At this point, make half the blocks with A pressing:

Sew rows together and press all seams toward the row with the rectangle.

And make half the blocks with B pressing:
These blocks will be set into 4-block units of all A or all B, rotating so the rectangles are on the outsides and the center brings together the triangles.
In developing my pressing plan, I found it all nests except for the triangles in the centers of these 4-block units. Careful sewing kept the points meeting fine.
I plan to make 120 blocks, set 10 across and 12 down. So 15 4-block unit A and 15 4-block unit B.
I'll detail the top construction in a post when I get that far!
My directions of a traditional block. Use at your pleasure.


