16-patch variation with bullseye
96 by 80 inches
120 blocks
Block finishes 8 inches
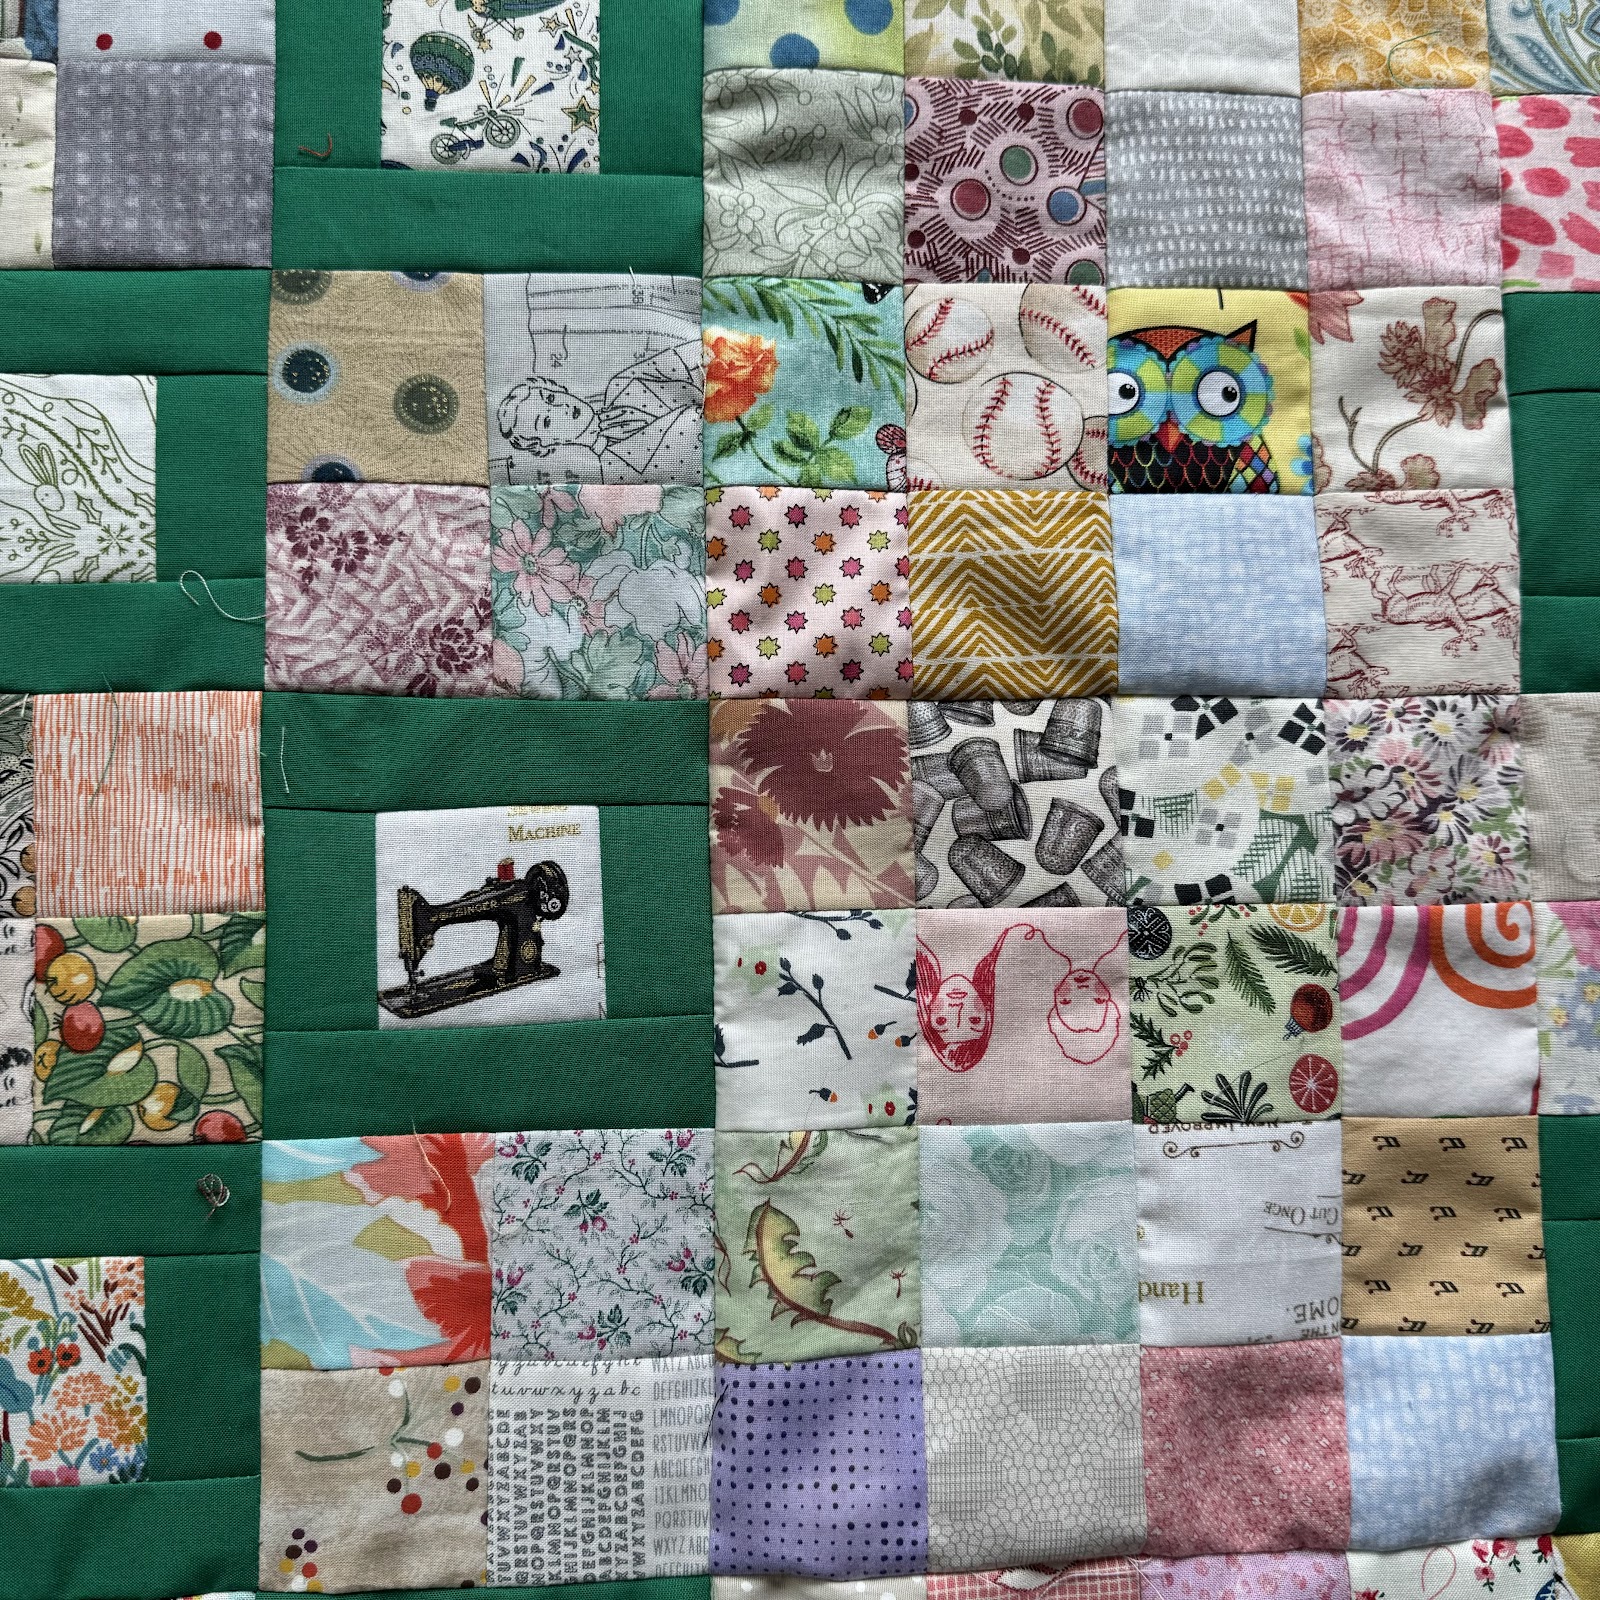
I love me a 16-patch.
After I designed the Driven Rain in July 2023 I sketched out variations that would again use a chain effect with dark/bright scraps and Kona Ice Frappe.
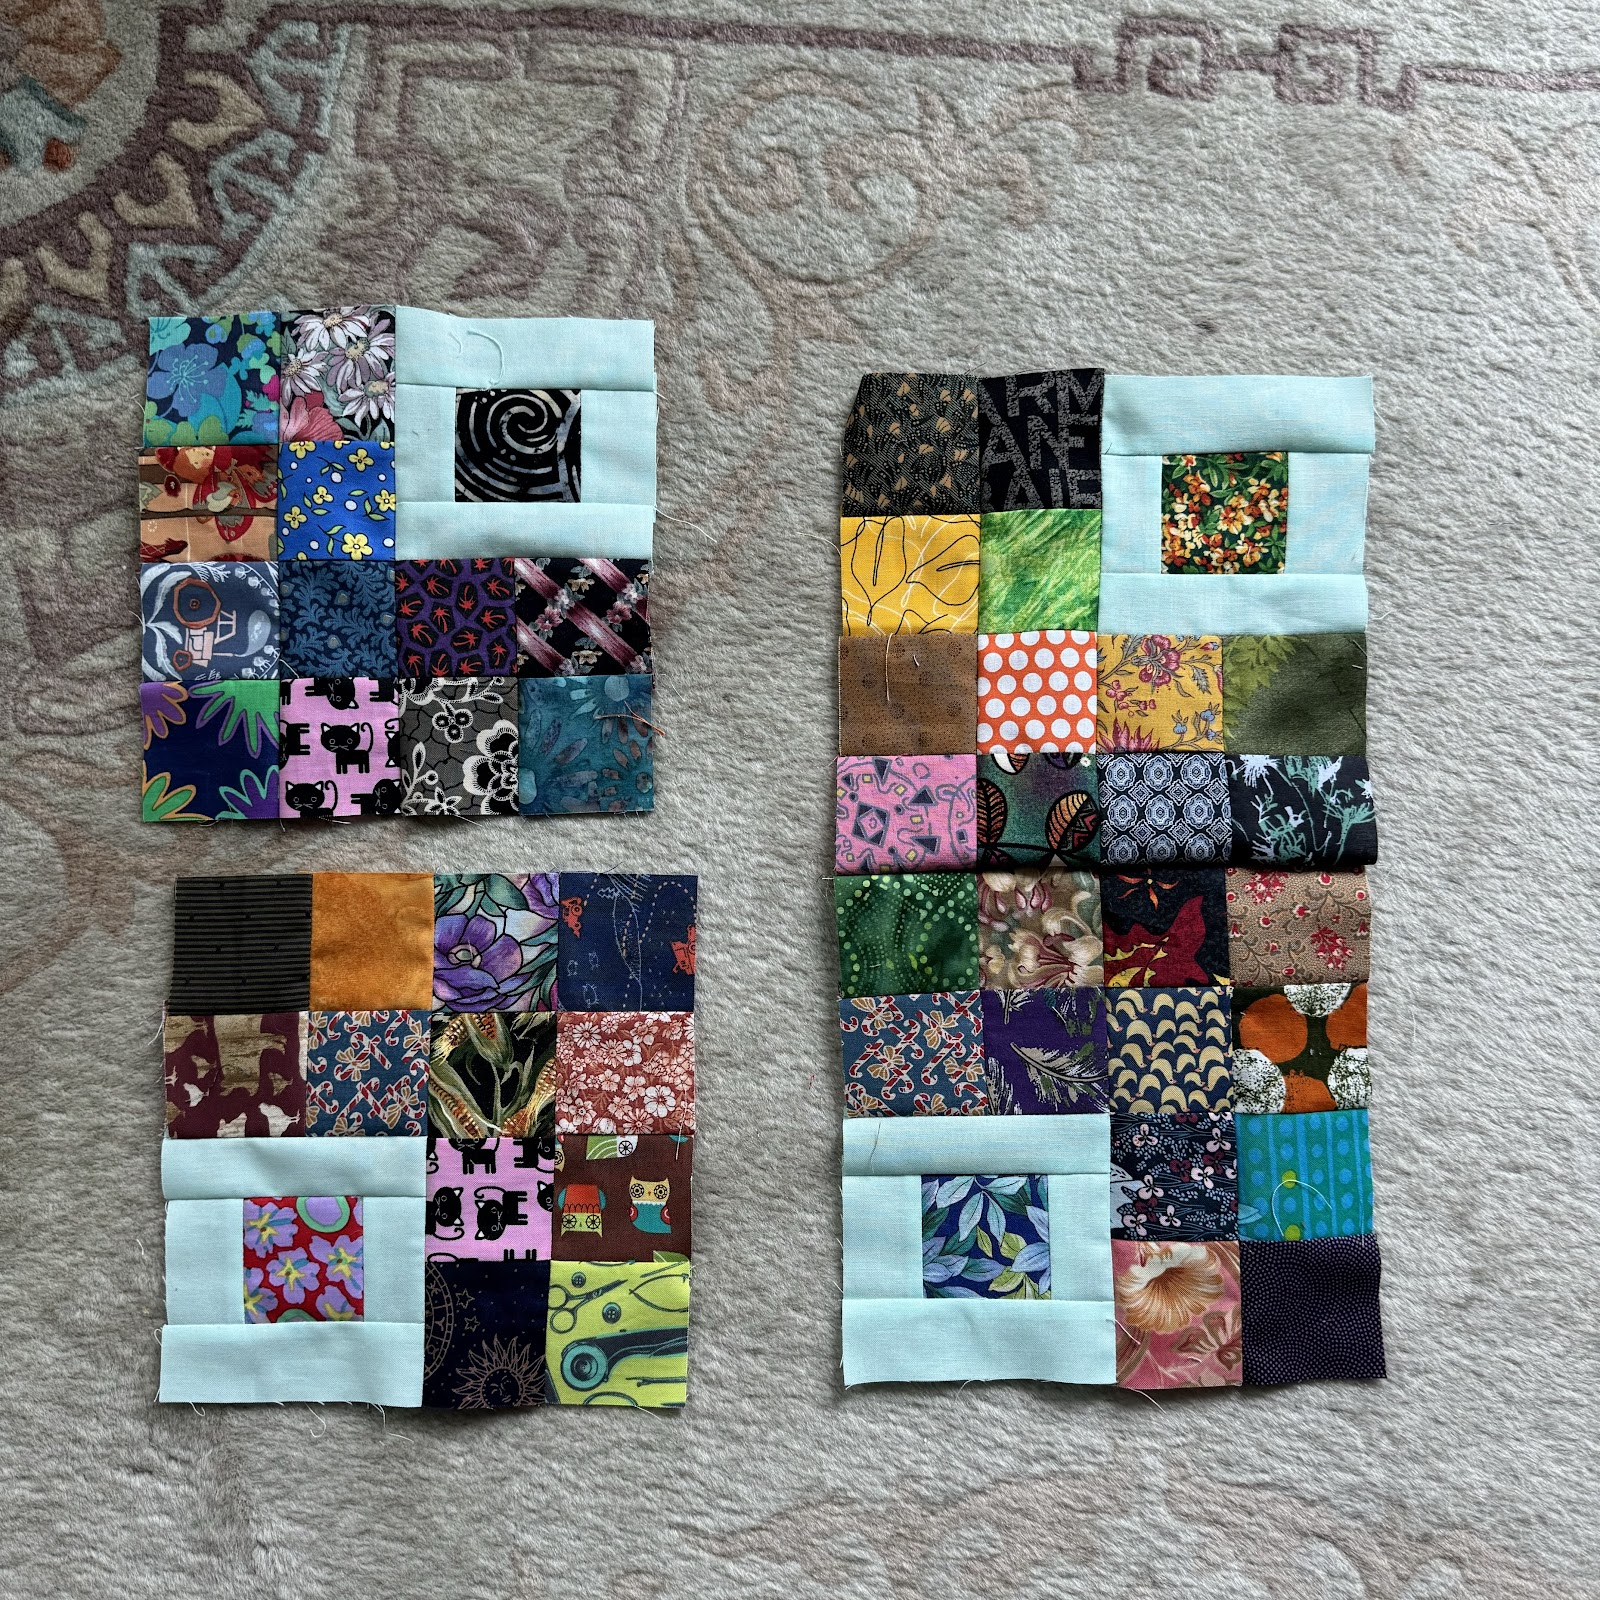
Came up with this one using a bullseye block in place of 4 of the squares in a 16-patch.
Also, bullseye. As a farm kid, I have always pictured an actual bull's eye with that phrase, not the target for archery. Bull's eyes are beautiful and a bit frightening. The barn on our farm was recently taken down by the current owners of the building site. Lots of memories flooding back, including memories of the bull.
 |
| the block |
The sewing sequence of units ensures all seams nest. The pressing plan is a bit irritating to keep track of, but by preparing and keeping reference units at each stage, I stayed on track.
There may be a simpler way of construction, but this was an efficient design where there is only one block to consistently make.
Watch for another variation of 16-patch with bullseye soon using lighter scraps where I work with different blocks (just starting that one).
Edit: Here it is!
Cutting:
Solid (Kona Ice Frappe K001-1173)
For each block two 2 1/2 by 1 1/2 inch rectangles; two 4 1/2 by 1 1/2 inch rectangles
(for quilt, 240 of each)
Prints
Scrap squares cut 2 1/2
For each block 13
(for quilt 1560 squares)
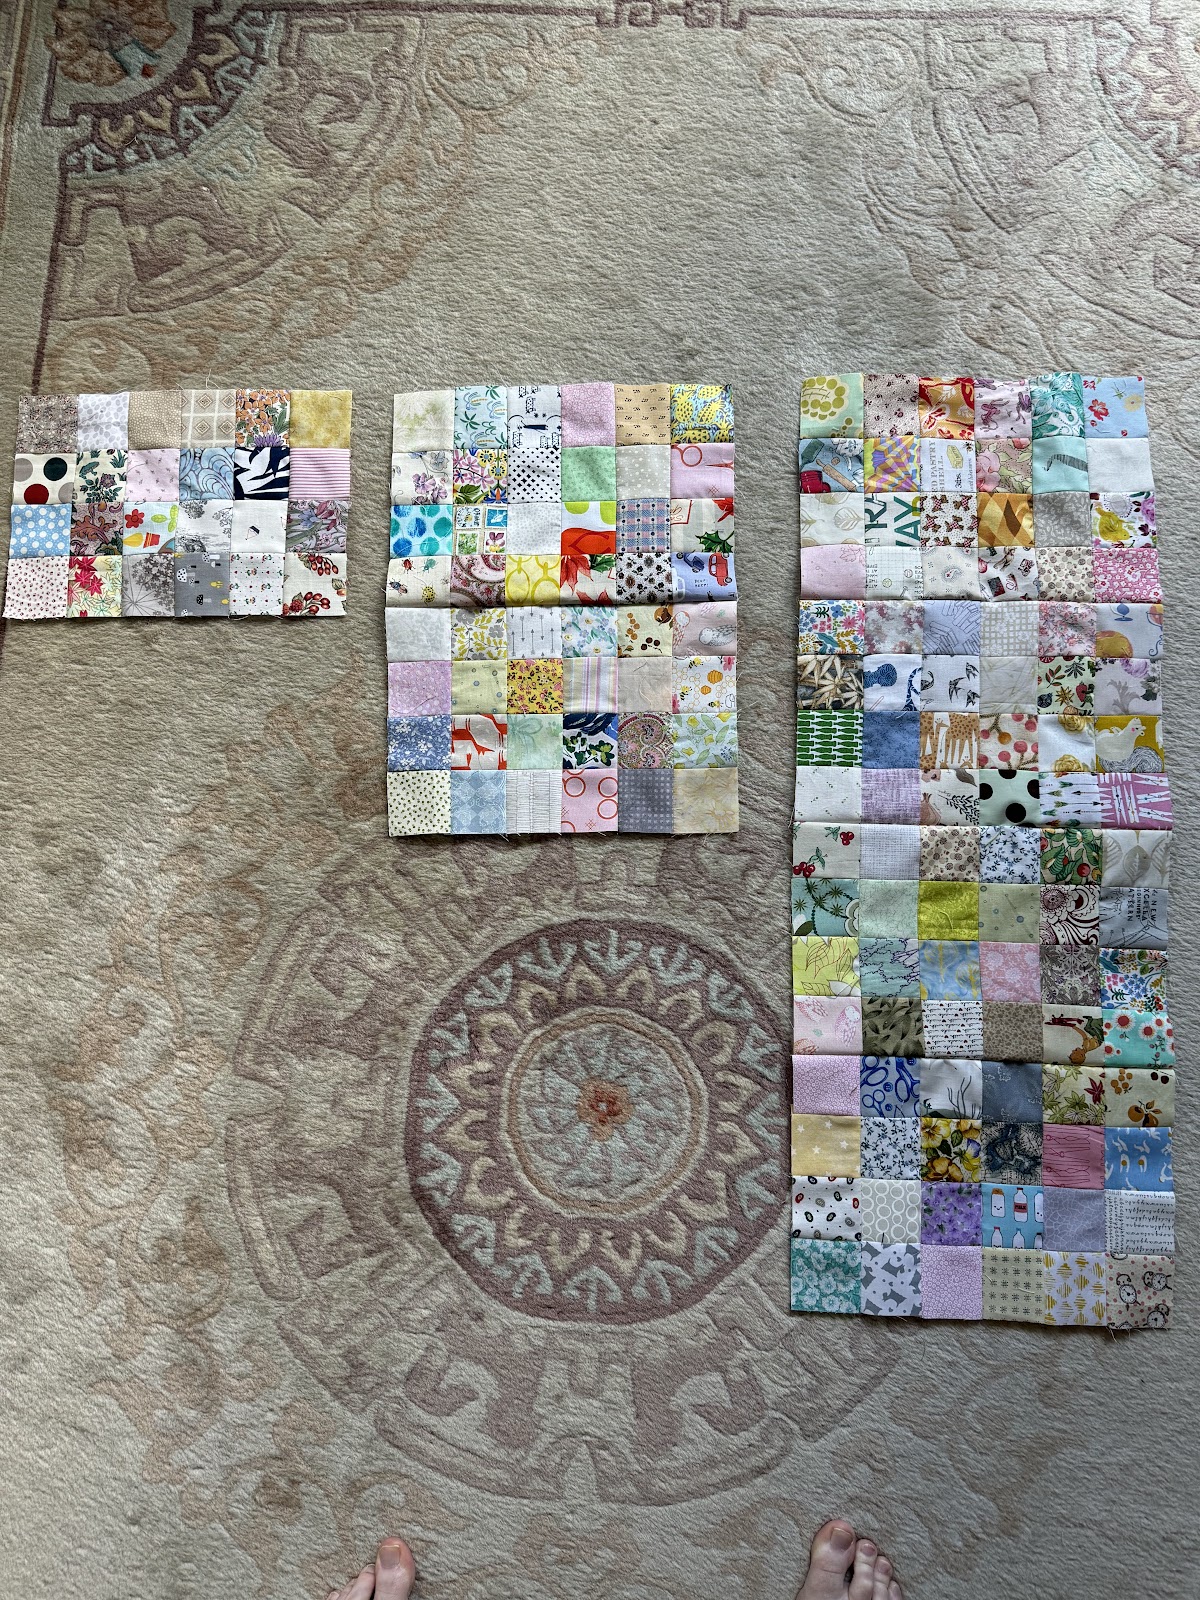
I cut down my scraps into set sizes and separate the darks/brights from lights.
This quilt was made from my shoebox bins so no extra cutting was needed for the squares for this quilt.
I had 1 1/2 bins of the 2 1/2 darks/brights and got them down to one full bin by the end of this quilt. Enough for two more quilts.
Piecing and pressing:
Make 120 bullseye units using 120 of the scrap squares and the solid rectangles
Press seams away from center square

Sew the remaining 1440 squares into twos.
Use 240 of these twos to make 120 4-patches.
Pay special attention to pressing

Sew the bullseyes to the four patches, orienting them as shown. By keeping the bullseyes consistent in orientation they will be a check as you assemble the quilt to make sure you haven't flipped something wrong.

Use remaining of the twos to make 240 4-scrap units.
Pressing again is important as shown.
I found I kept getting these oriented incorrectly when I sewed them into a 8-patch unit, so instead I sewed them one by one onto the bullseye/4-patch.
Make 120 blocks. Every block is pressed the same way.


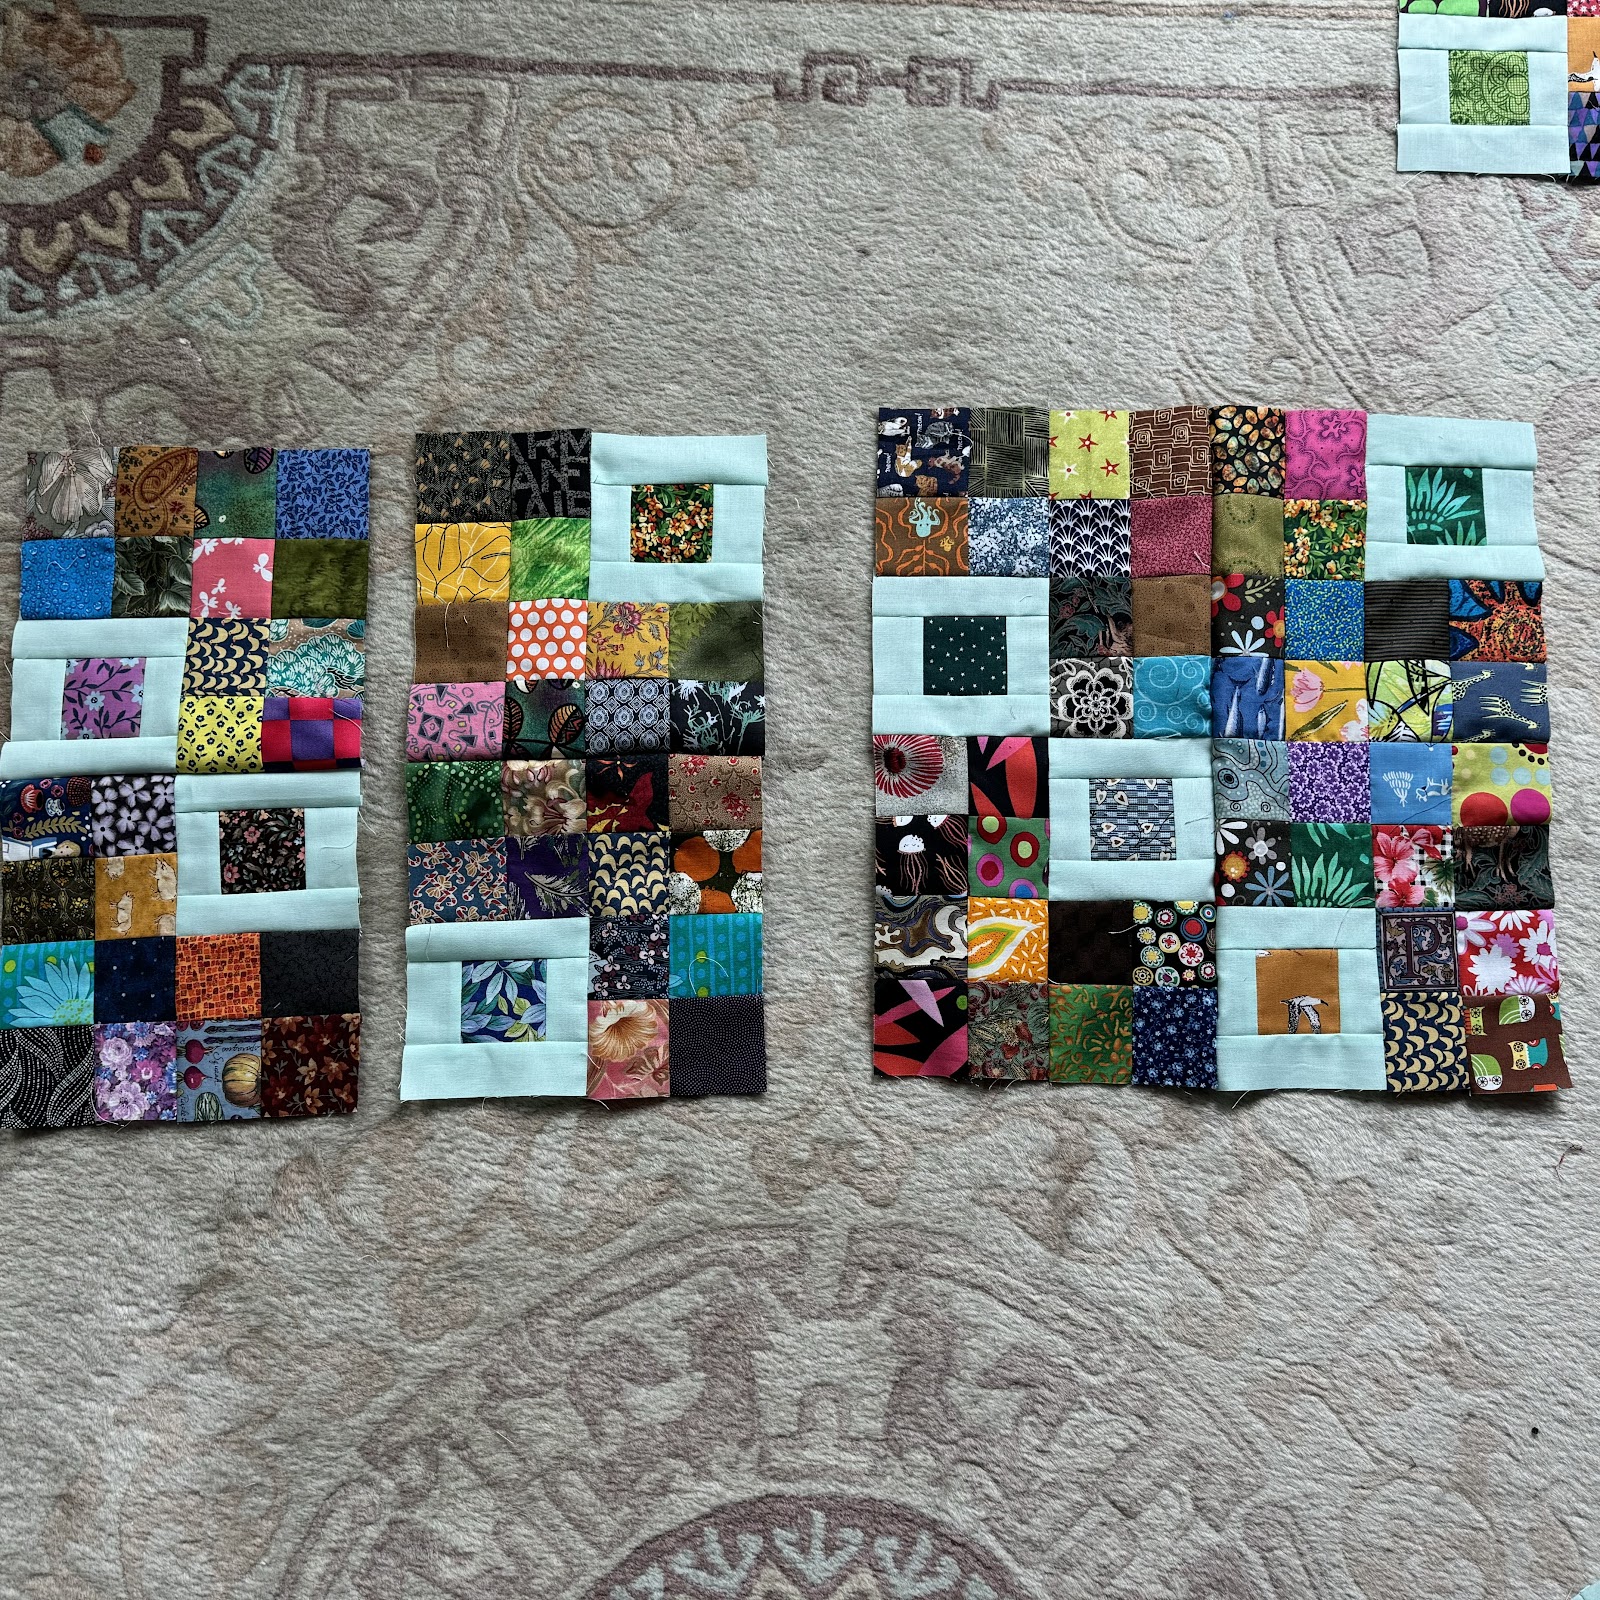
Take half the blocks and sew with the bullseyes meeting in the center. Make 30 Unit A
Take other half and sew with the bullseyes in the corners. Make 30 Unit B
 |
Unit A
|
 |
| Unit B |
Press the Unit As south and the Unit Bs north.
Sew with Unit A on the left, B on the right
This will get you to 30 large blocks


Sew into pairs, pressing top block seam left and bottom seam right.
Make 15 pairs.


Lay out into three rows of 5 pairs.
Sew rows and press middle row east and top and bottom rows west.
Everything nests!
My design, use at your pleasure.

 |
Backing by Rosie Dore for Timeless Treasures (ROSIE-CD2492)
Love these mushrooms! |

 |
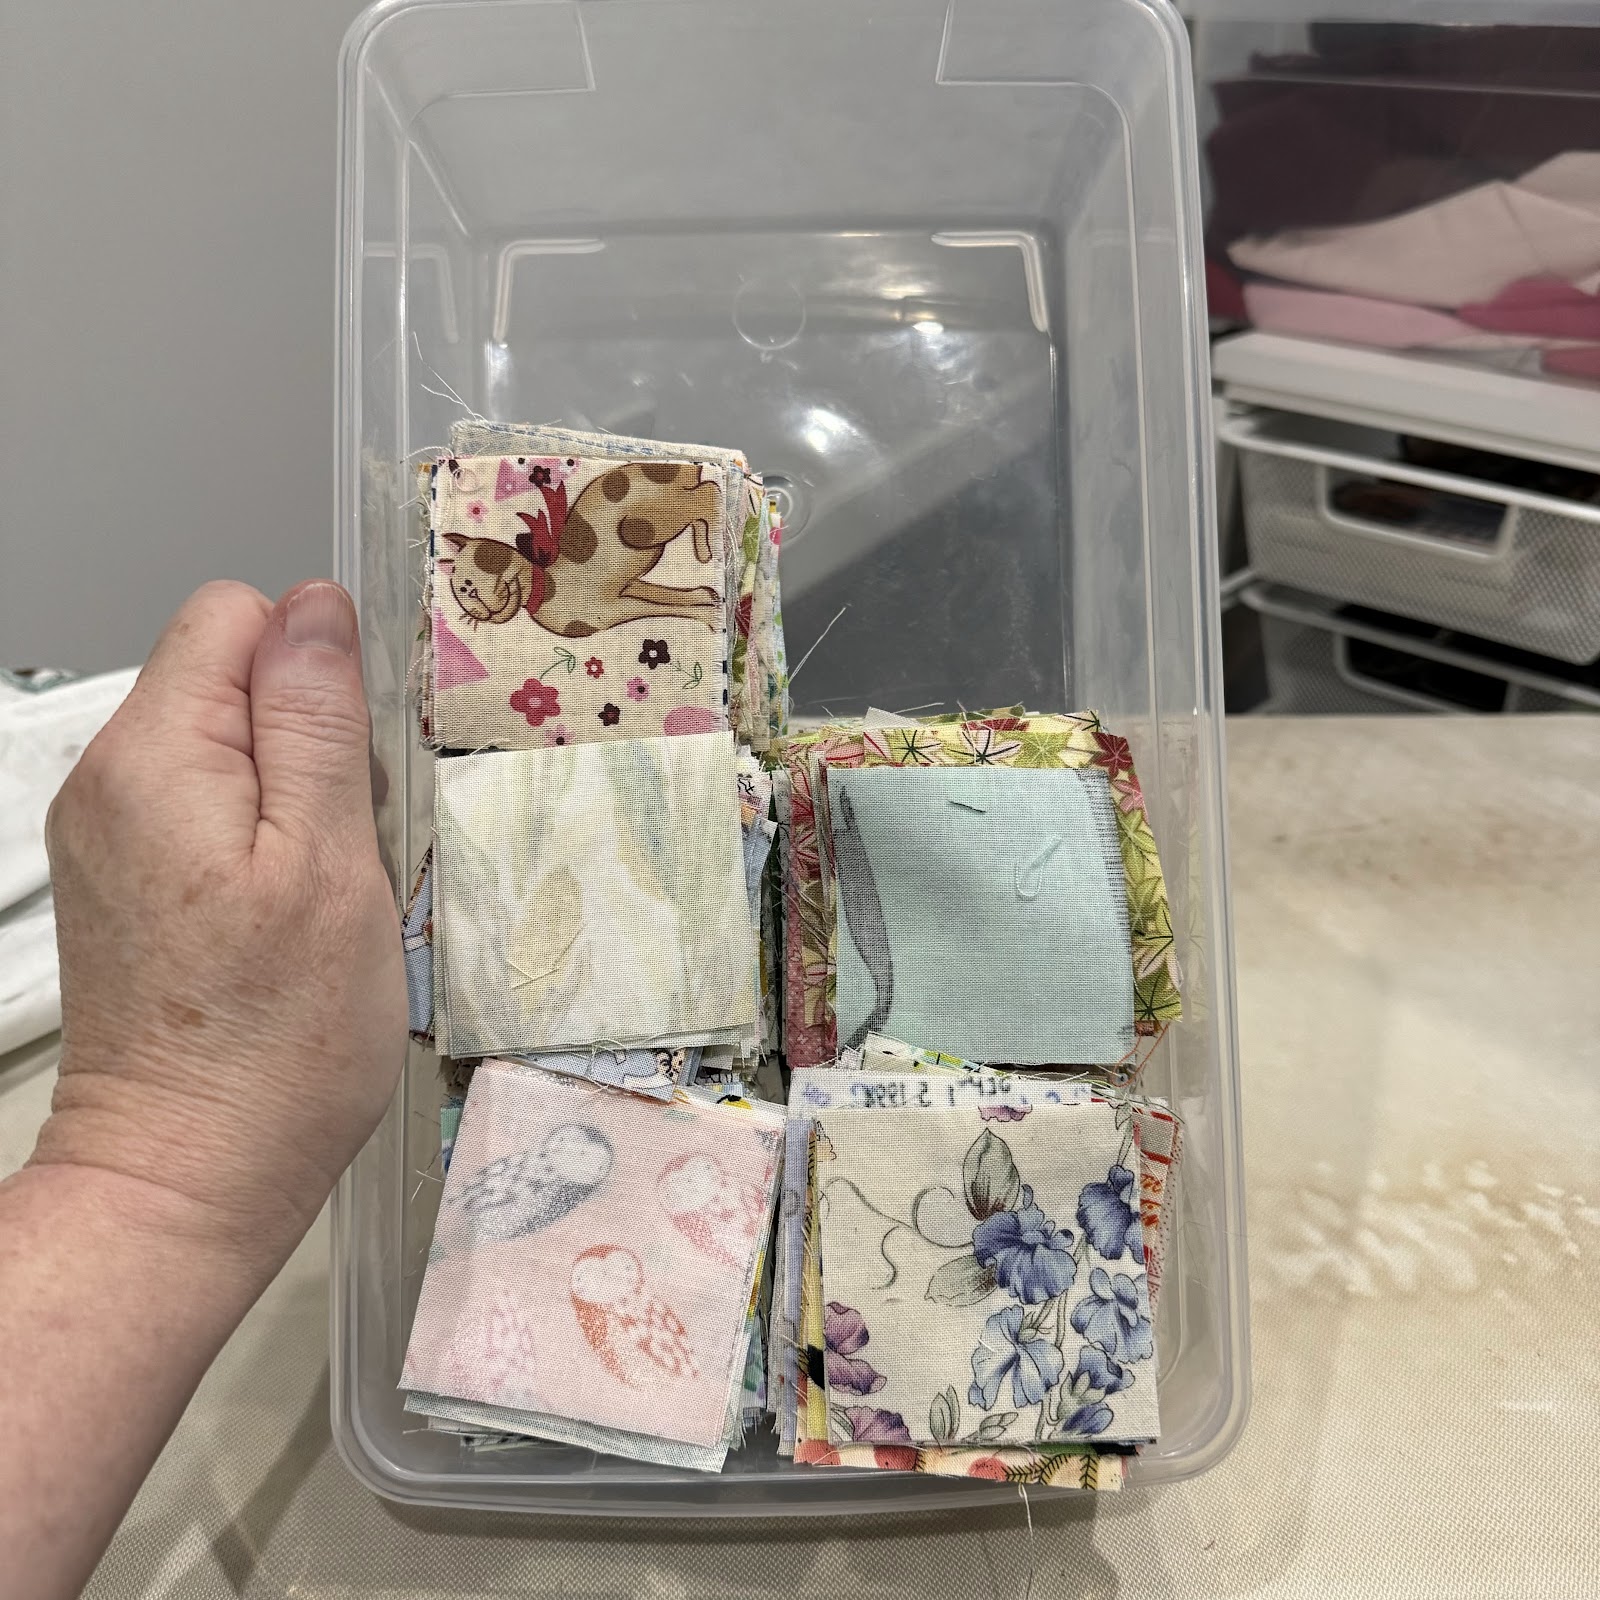
| starting bins |
 |
| ending bins! |