I loved the open look with the solid used only for the star points of the friendship star quilt I made a few months ago and decided to keep that feel with an evening star.
I decided to make it a floating star with the triangles coming off squares rather than make from flying geese.
Block finishes 12 inches
I plan to make 56 blocks set 7 by 8
84 by 96 inches
You can use any folded triangle method. I wanted to conserve my solid fabrics so I cut them separately as triangles.
Solid: 8 star points, I used the EZ angle or Bonnie Hunter's triangle tool, cutting 8 from a 2 1/2 in strip
Print: 9 squares cut 4 1/2 inches. 4 of the squares have two corners cut off with Doug Leko's Folded Corners ruler.
I stack up 4 of the print squares and cut off the corners using Doug's ruler. Be careful to cut the correct ones if you are dealing with directional fabric.
Sew the triangles to the trimmed squares and press to the triangles. I placed the solid triangle point at the top of the block, using the blunted point to help position the triangle on the side.
Press pieced sections towards the unpieced print squares.
Press top and bottom row to the center row. Rotate every other block and the seams will nest.
My design. Use at your pleasure.
Saturday, December 22, 2018
Wednesday, December 05, 2018
binding
| Star |
| Flicker |
| Barn |
I have three more quilts ready for binding work. I try to do handwork every Sunday evening.
For the first in a very long time I have nothing at the quilter. Several projects started at LeClaire remain, and a few begun here. I will need to organize myself so that I have sewing ready to go when I can fit it in.
Sunday, November 18, 2018
boat
If you have been a squirmy kid it the balcony at St Pauls in the past 30 years you most likely have received a bulletin paper boat. My new best friend Max got three of them this morning, up from two last week.
Davis kids would get enough to reenact the Spanish Armada.
Friday, November 16, 2018
letterbox
I have made a quilt before with a more complicated letter box block. I think it is still a top and somewhere in my boxes.
This is a simpler letterbox.
At my quilt group my friend Erica showed a lovely one she made all in batiks. It made me think it would work well for the solids on prints series.
Maybe I'll make a batik one too.
Isn't this fox fabric great? I should share some with my quilting DeVos cousins. (DeVos means The Fox in Dutch).
Block finishes 6 by 12 inches.
Solid: one rectangle cut 2 1/2 inches by 8 1/2 inches
Print: two rectangles cut 2 1/2 inches by 8 1/2 inches, two rectangles cut 2 1/2 inches by 6 1/2 inches.
Setting
Can do so randomly
or
Sew into blocks of three, with two side by side and add on one on the end. This larger block comes to 12 inches by 18 inches finished.
Sew together into rows.
Flip rows so every other row starts with the added on block.
This is a simpler letterbox.
At my quilt group my friend Erica showed a lovely one she made all in batiks. It made me think it would work well for the solids on prints series.
Maybe I'll make a batik one too.
Isn't this fox fabric great? I should share some with my quilting DeVos cousins. (DeVos means The Fox in Dutch).
Block finishes 6 by 12 inches.
Solid: one rectangle cut 2 1/2 inches by 8 1/2 inches
Print: two rectangles cut 2 1/2 inches by 8 1/2 inches, two rectangles cut 2 1/2 inches by 6 1/2 inches.
Setting
Can do so randomly
or
Sew into blocks of three, with two side by side and add on one on the end. This larger block comes to 12 inches by 18 inches finished.
Sew together into rows.
Flip rows so every other row starts with the added on block.
Sunday, November 11, 2018
WW I remembrance
Andy and my grandfathers served in the Great War. Here are their photographs and stories.
WW I remembrance My grandfather, Jerry (Jurrien) Dykstra
Born on a farm near Middleburg, Iowa.
Served in the Army during the Great War. Was put on a troop ship in New York Harbor having never fired a live round in training. They trained with wooden guns as ammunition was scarce.
The ship never sailed because the armistice was signed.
He told his grandchildren that the Kaiser decided to surrender once he heard Jerry Dykstra was on his way.
Farmed with my grandmother, Cynthia Meerdink north of Hull.
Our son Paul Jurrien is named for my grandfather.
WW I remembrance
Andy's grandfather, Andrew Cervasio.
Born in Italy, emigrated to the United States at age seven and settled in New York.
Served in the Navy during the Great War as a coal tender on troop ships crossing the Atlantic.
Attended the University of Michigan for engineering and became a construction estimator.
Andy is named for his grandfather.
WW I remembrance My grandfather, Jerry (Jurrien) Dykstra
Born on a farm near Middleburg, Iowa.
Served in the Army during the Great War. Was put on a troop ship in New York Harbor having never fired a live round in training. They trained with wooden guns as ammunition was scarce.
The ship never sailed because the armistice was signed.
He told his grandchildren that the Kaiser decided to surrender once he heard Jerry Dykstra was on his way.
Farmed with my grandmother, Cynthia Meerdink north of Hull.
Our son Paul Jurrien is named for my grandfather.
WW I remembrance
Andy's grandfather, Andrew Cervasio.
Born in Italy, emigrated to the United States at age seven and settled in New York.
Served in the Navy during the Great War as a coal tender on troop ships crossing the Atlantic.
Attended the University of Michigan for engineering and became a construction estimator.
Andy is named for his grandfather.
Friday, October 05, 2018
patience corner set
I really enjoyed this year's 4 inch block sew-a-long by Temecula Quilt Company.
I loosely followed her patterns, adding more of my own. A few are scaled down from the current Moda Blockheads sew-a-long. I have several blocks yet to make to get the quilt to the size I want.
I am using a Patience Corner set. Four little blocks come together to make one 12 inch finished block.
The setting pieces are cut 2 1/2 by 4 1/2 inches and 2 1/2 by 6 1/2 inches.
I loosely followed her patterns, adding more of my own. A few are scaled down from the current Moda Blockheads sew-a-long. I have several blocks yet to make to get the quilt to the size I want.
I am using a Patience Corner set. Four little blocks come together to make one 12 inch finished block.
The setting pieces are cut 2 1/2 by 4 1/2 inches and 2 1/2 by 6 1/2 inches.
Tuesday, September 11, 2018
gathering acorns
Friday, September 07, 2018
shirting from Italy
I purchased that lovely Italian shirting in Bologna and it is making its way into my 4-inch blocks for the Temecula sew-a-long
Wednesday, September 05, 2018
piecing my name
To add to the Temecula inspired sew-a-long 4 inch blocks I decided to make my name in free-pieced letters Tonya Ricucci style from her Word Play Quilts that has been in my regular inspiration reading rotation since it was published in 2010.
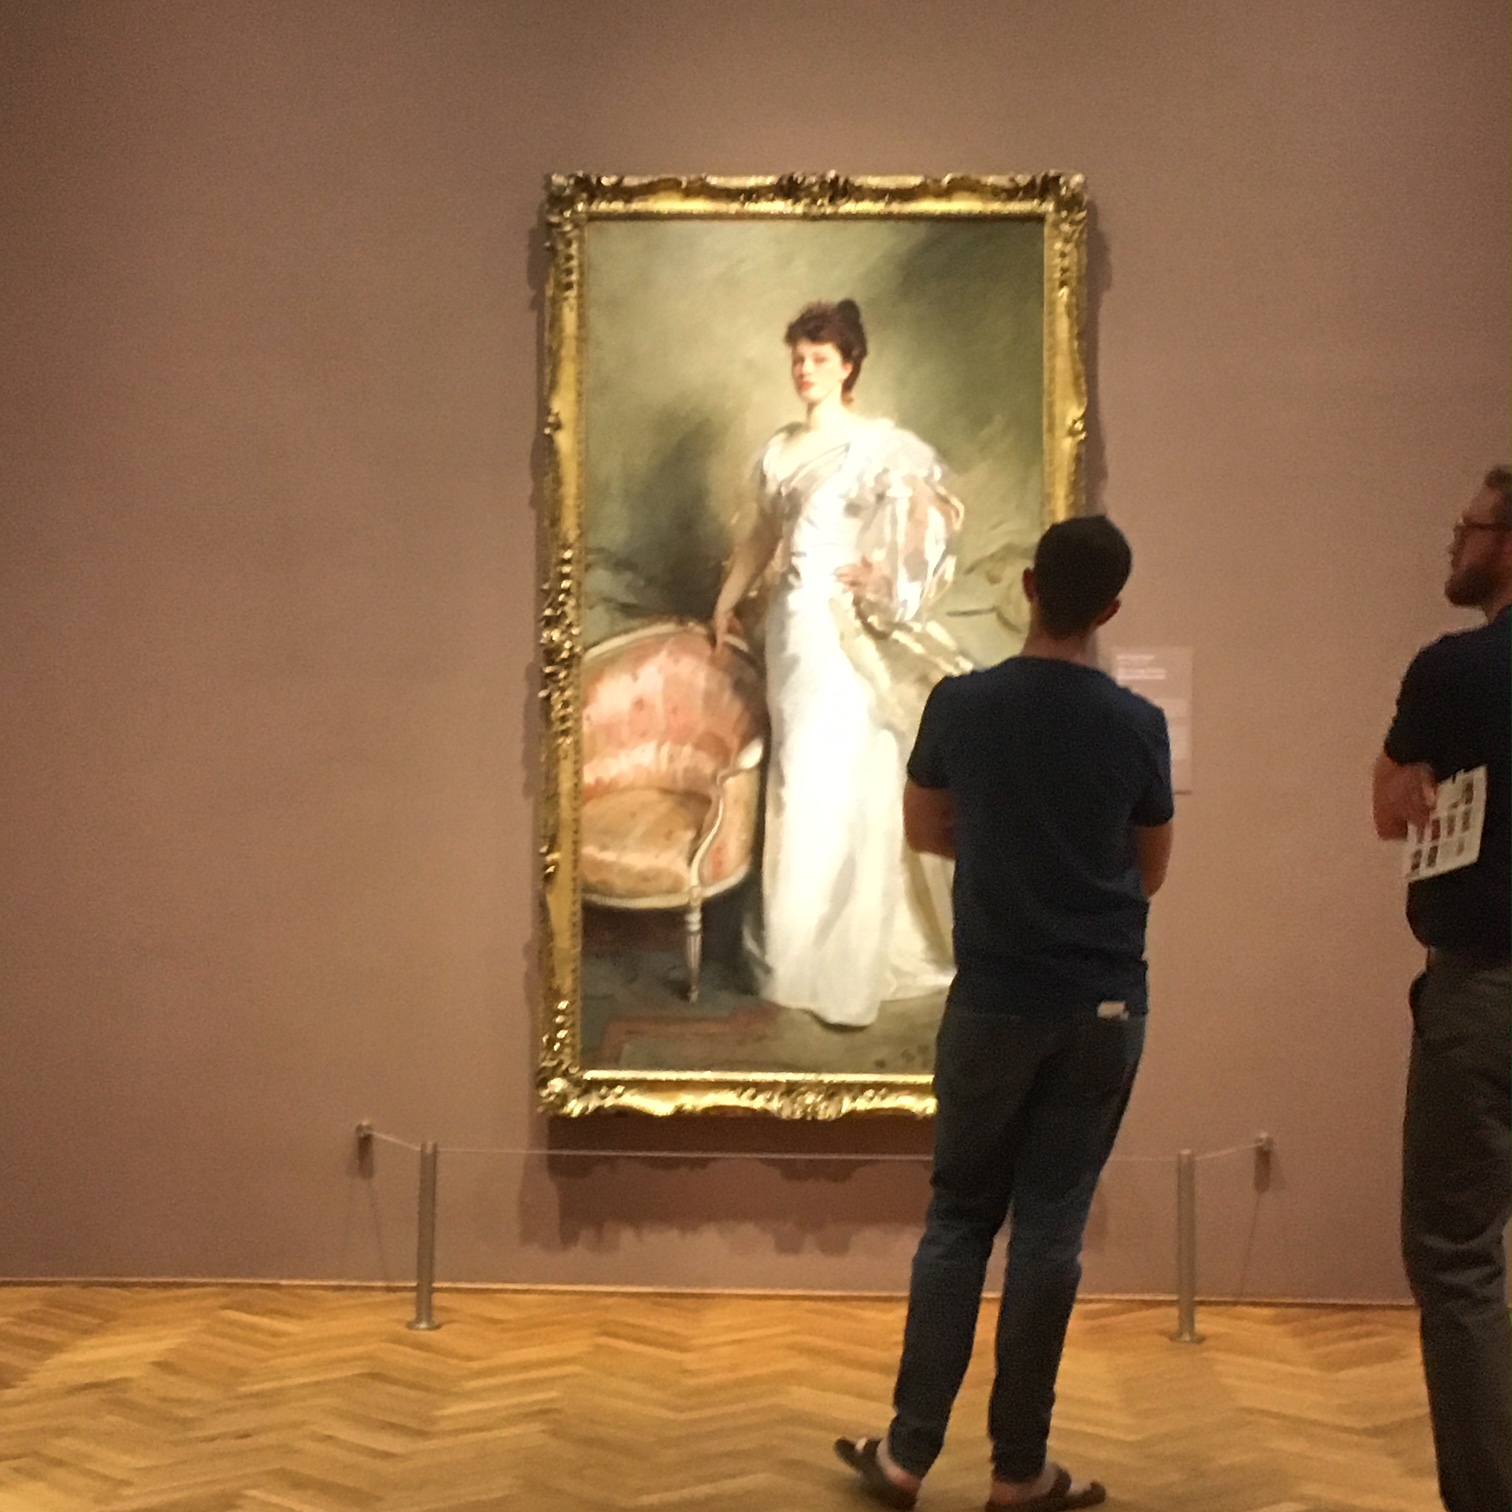
I took a day this week to take in the John Singer Sargent exhibit that will close the end of the month at The Art Institute. It is amazing how he paints fabrics.
Dropped into the closing Georg Jensen silver exhibit and a quick look at favorites American Gothic and Nighthawks. I love watching people look at the them.
I took a day this week to take in the John Singer Sargent exhibit that will close the end of the month at The Art Institute. It is amazing how he paints fabrics.
Dropped into the closing Georg Jensen silver exhibit and a quick look at favorites American Gothic and Nighthawks. I love watching people look at the them.
Thursday, August 16, 2018
delightful book
One of my favorite blogs/Instagrams/ is Sheryl Johnson's Temecula Quilt Company.
http://temeculaquiltco.blogspot.com/
She recently published a book, Quirky Little Quilts, with Martingale.
I've been loosely following along on her blog's current 4 inch finished block Friday sew-a-long and look forward to using my limited school year sewing time to make more blocks.
Her book is a delight in how she puts together fabrics.
A happy book!
http://temeculaquiltco.blogspot.com/
She recently published a book, Quirky Little Quilts, with Martingale.
I've been loosely following along on her blog's current 4 inch finished block Friday sew-a-long and look forward to using my limited school year sewing time to make more blocks.
Her book is a delight in how she puts together fabrics.
A happy book!
Monday, August 13, 2018
a trip to Italy
Our family took a trip to Italy this August.
We walked in the footsteps of Andy's grandfather who emigrated from Caserta.
We spent most of our time in the Bologna area, staying in the countryside, visiting the Modena vinegar making and Parmigiano Reggiano cheese making, then ended with a trip to Rome.
We walked in the footsteps of Andy's grandfather who emigrated from Caserta.
We spent most of our time in the Bologna area, staying in the countryside, visiting the Modena vinegar making and Parmigiano Reggiano cheese making, then ended with a trip to Rome.
| my Cervasio men |
| Castel De Britti |
| balsamic vinegar of Modena |
| Parmigiano Reggiano |
| Sam and Eve in the porticos of Bologna |
![]() |
| The Colosseum |
Wednesday, July 11, 2018
reunion!
Our Scholten family has had reunions periodically over the years. Last week we met at my sister Beth's house.
My mom found this photo of the first Scholten reunion, organized in 1915 by my great-grandfather Jan Scholten who came to America as a homesteader in 1870. Over 150 attended!
It pictures the young people who helped set it up--my three great-aunts, Hattie and Jo on the left and Beth on the right, and my grandfather Jan is somewhere in the back row. Note the flag of the Netherlands along side the American flag.
I took along a stack of quilts to give to my cousins.
My brothers-in-law made some birdhouses for the cousins using license plates from my late brother Lee's collections.
My mom found this photo of the first Scholten reunion, organized in 1915 by my great-grandfather Jan Scholten who came to America as a homesteader in 1870. Over 150 attended!
It pictures the young people who helped set it up--my three great-aunts, Hattie and Jo on the left and Beth on the right, and my grandfather Jan is somewhere in the back row. Note the flag of the Netherlands along side the American flag.
I took along a stack of quilts to give to my cousins.
![]() |
| Vern loved the turkeys |
![]() |
| Lorelei chose a sampler |
| Neil came on his Harley Davidson so this Dragon Teeth was just the right size to fit into his pack |
![]() |
| Mary gets two! |
| Erica and Rachel chose some nice ones |
| I like this one that Helen selected |
Saturday, June 30, 2018
tip # 44, buy the new tool
I am happy with how I cut with the tools I have.
But, it is good to be open to innovations. Some can make my job so much more pleasant.
Also, with aging, I find my eyes work better with different brands than I have been using. The only way to know is to try them out. For a period of time, not just for a cut or two. All tools feel clunky at first because they are different from our usual working. However, forcing myself to use them for a day or two can show me if I can increase my accuracy or make the job simpler.
Sticker price is high on some of them, but, face it. Most of us can do a month or two with no fabric purchases and put that money into trying a new tool.
I have links directly to Bonnie's and Doug's sites. I want to support these innovators.
This past year I have purchased several new tools.
Bonnie Hunter's Essential Triangle Tool
https://quiltville.com/shop.html#!/Bonnie-K-Hunters-Essential-Triangle-Tool-List-$24-95/p/69971252/category=14176326
Replaces: traditional cutting with 7/8" or 1 1/4" added to strip, or the EZ angle and the Companion Angle
What I like: The quarter and half square triangles are on one tool.
Learning curve: You place the ruler at a different orientation than the EZ angle, but once that rhythm sets it it works. The color of the lines is unexpected, and work for me.
Verdict: I still use the EZ Angle and their Companion angles at times, but Bonnie's triangle tool is my go-to ruler most days.
Doug Leko's Simple Folded Corners Ruler
https://antlerquiltdesign.com/products/simple-folded-corners-ruler
Replaces:There are so many methods for making flip and sew corners and I have used them all effectively.
What I like: I like to cut then sew, not sew then cut so this works very well for that preference. It is more efficient for me moving to the next step rather than going back to trim.
I also like how the ruler size stabilizes the piece while making the cut.
Learning curve: I made one miss-cut before I got used to the placement lines
Verdict: When I heard of Doug's innovation I did not see it to be needed, but upon recommendations from others and with working on two quilts using this technique, I decided to try it. I love it. I sew up the waste triangles right away. I could trim them into exact sizes but for now am putting them into a free-form style piece so I am not doing any squaring up. Let's see how that goes!
KAI scissors 5045 rotary cutter
https://kaiscissors.com/kai-5045-rotary-cutter-45mm/
Replaces: Olfa cutter
What I like: Feels different in my hand. Great blades.
Learning curve: No lock so I have to be careful not to drop it. Has adjustable pressure to engage the blade.
Verdict: I am not throwing away my Olfas, but I do find I reach for the KAI more and more often. A good addition to my table.
Large squares
I own several squares and can use any one of which to cut down a piece or block but, in trimming down my hourglass blocks (A job I really hate to do), it was easier to purchase a new 8 inch square ruler than to keep rotating the blocks. I can center it on the block and make all four cuts.
Replaces: larger squares where I would have to rotate the block to make the third and fourth cuts
What I like: I can see right away if the block is square and that I have room to trim on all sides.
Verdict: This is the hardest purchase to justify but makes life so much easier. I have bought 4 and 6 inch squares for squaring up crumb piecing or string piecing. Even though it is hard to make these purchases, every time it has been worth it.
But, it is good to be open to innovations. Some can make my job so much more pleasant.
Also, with aging, I find my eyes work better with different brands than I have been using. The only way to know is to try them out. For a period of time, not just for a cut or two. All tools feel clunky at first because they are different from our usual working. However, forcing myself to use them for a day or two can show me if I can increase my accuracy or make the job simpler.
Sticker price is high on some of them, but, face it. Most of us can do a month or two with no fabric purchases and put that money into trying a new tool.
I have links directly to Bonnie's and Doug's sites. I want to support these innovators.
This past year I have purchased several new tools.
Bonnie Hunter's Essential Triangle Tool
https://quiltville.com/shop.html#!/Bonnie-K-Hunters-Essential-Triangle-Tool-List-$24-95/p/69971252/category=14176326
Replaces: traditional cutting with 7/8" or 1 1/4" added to strip, or the EZ angle and the Companion Angle
What I like: The quarter and half square triangles are on one tool.
Learning curve: You place the ruler at a different orientation than the EZ angle, but once that rhythm sets it it works. The color of the lines is unexpected, and work for me.
Verdict: I still use the EZ Angle and their Companion angles at times, but Bonnie's triangle tool is my go-to ruler most days.
Doug Leko's Simple Folded Corners Ruler
https://antlerquiltdesign.com/products/simple-folded-corners-ruler
Replaces:There are so many methods for making flip and sew corners and I have used them all effectively.
What I like: I like to cut then sew, not sew then cut so this works very well for that preference. It is more efficient for me moving to the next step rather than going back to trim.
I also like how the ruler size stabilizes the piece while making the cut.
Learning curve: I made one miss-cut before I got used to the placement lines
Verdict: When I heard of Doug's innovation I did not see it to be needed, but upon recommendations from others and with working on two quilts using this technique, I decided to try it. I love it. I sew up the waste triangles right away. I could trim them into exact sizes but for now am putting them into a free-form style piece so I am not doing any squaring up. Let's see how that goes!
KAI scissors 5045 rotary cutter
https://kaiscissors.com/kai-5045-rotary-cutter-45mm/
Replaces: Olfa cutter
What I like: Feels different in my hand. Great blades.
Learning curve: No lock so I have to be careful not to drop it. Has adjustable pressure to engage the blade.
Verdict: I am not throwing away my Olfas, but I do find I reach for the KAI more and more often. A good addition to my table.
Large squares
I own several squares and can use any one of which to cut down a piece or block but, in trimming down my hourglass blocks (A job I really hate to do), it was easier to purchase a new 8 inch square ruler than to keep rotating the blocks. I can center it on the block and make all four cuts.
Replaces: larger squares where I would have to rotate the block to make the third and fourth cuts
What I like: I can see right away if the block is square and that I have room to trim on all sides.
Verdict: This is the hardest purchase to justify but makes life so much easier. I have bought 4 and 6 inch squares for squaring up crumb piecing or string piecing. Even though it is hard to make these purchases, every time it has been worth it.
Thursday, June 28, 2018
barn, top completed
Barn
Block finishes 8 by 6 inches
168 blocks set 14 by 12
84 by 96 inches
Cutting
Print:
one 2 1/2 by 6 1/2 inch rectangle
two 2 1/2 by 3 1/2 inch rectangles
One triangle cut from 3 1/2 inch strip with EZ angle's Companion Angle or Bonnie Hunter's Essential Triangles Tool
Solid:
one 2 1/2 inch by 3 1/2 inch rectangle
two triangles cut from 4 inch strip with EZ angle or Bonnie's tool
Sewing
The roof section floats. See barn tutorial for details on how to make this
http://kleinmeisjequilts.blogspot.com/2018/06/barn-tutorial.html
Piece Pressing
Left sky to roof, Right roof to sky, barn door to barn
Block pressing: half the blocks with horizontal seams up, rest with seams down
Assembly
Alternate the blocks
Press rows left or right, alternating rows
Press rows up
My design, use at your pleasure.
Really a fun quilt to make. I love the barn shape and the float on the roof construction makes assembly much easier because I did not have to keep watching the points.
Labels:
solids on prints series,
top completed
Wednesday, June 27, 2018
what is is?
This wonderful nursery rhyme vintage fabric came my way from my friend Rebecca.
I've been trying to identify the rhymes depicted and have my 88 year old mother, my school librarian sister, and my children's literacy specialist sister arguing on the circled item.
The pictures seem to be close to scale in relationship to each other and are oriented the same direction.
I am really trying to see the Old Woman's shoe that Beth sees. She has sent this to her children's lit students and colleagues who are arguing about it!
Once this mystery is solved, what is the kid below the well doing? Drowning a cat?
And what nursery rhyme is where the woman hits a kid with a stick?
I've been trying to identify the rhymes depicted and have my 88 year old mother, my school librarian sister, and my children's literacy specialist sister arguing on the circled item.
The pictures seem to be close to scale in relationship to each other and are oriented the same direction.
I am really trying to see the Old Woman's shoe that Beth sees. She has sent this to her children's lit students and colleagues who are arguing about it!
Once this mystery is solved, what is the kid below the well doing? Drowning a cat?
And what nursery rhyme is where the woman hits a kid with a stick?
Friday, June 22, 2018
tip #43, take in a handful of scraps
Even though I am trying to get rid of much, I do continue to accept scrap offers from my friends. I am not committing to purchasing the minimum fat quarter and still get the benefit of bits of great fabrics.
I try to limit it to just a handful. Cutting them down and adding them to my scraps adds depth to what I have to work with.
Here is a delightful mix from my friend Donna this past week.
I try to limit it to just a handful. Cutting them down and adding them to my scraps adds depth to what I have to work with.
Here is a delightful mix from my friend Donna this past week.
Subscribe to:
Posts (Atom)