
Red and White Rail Fence
95 by 75 inches
221 blocks
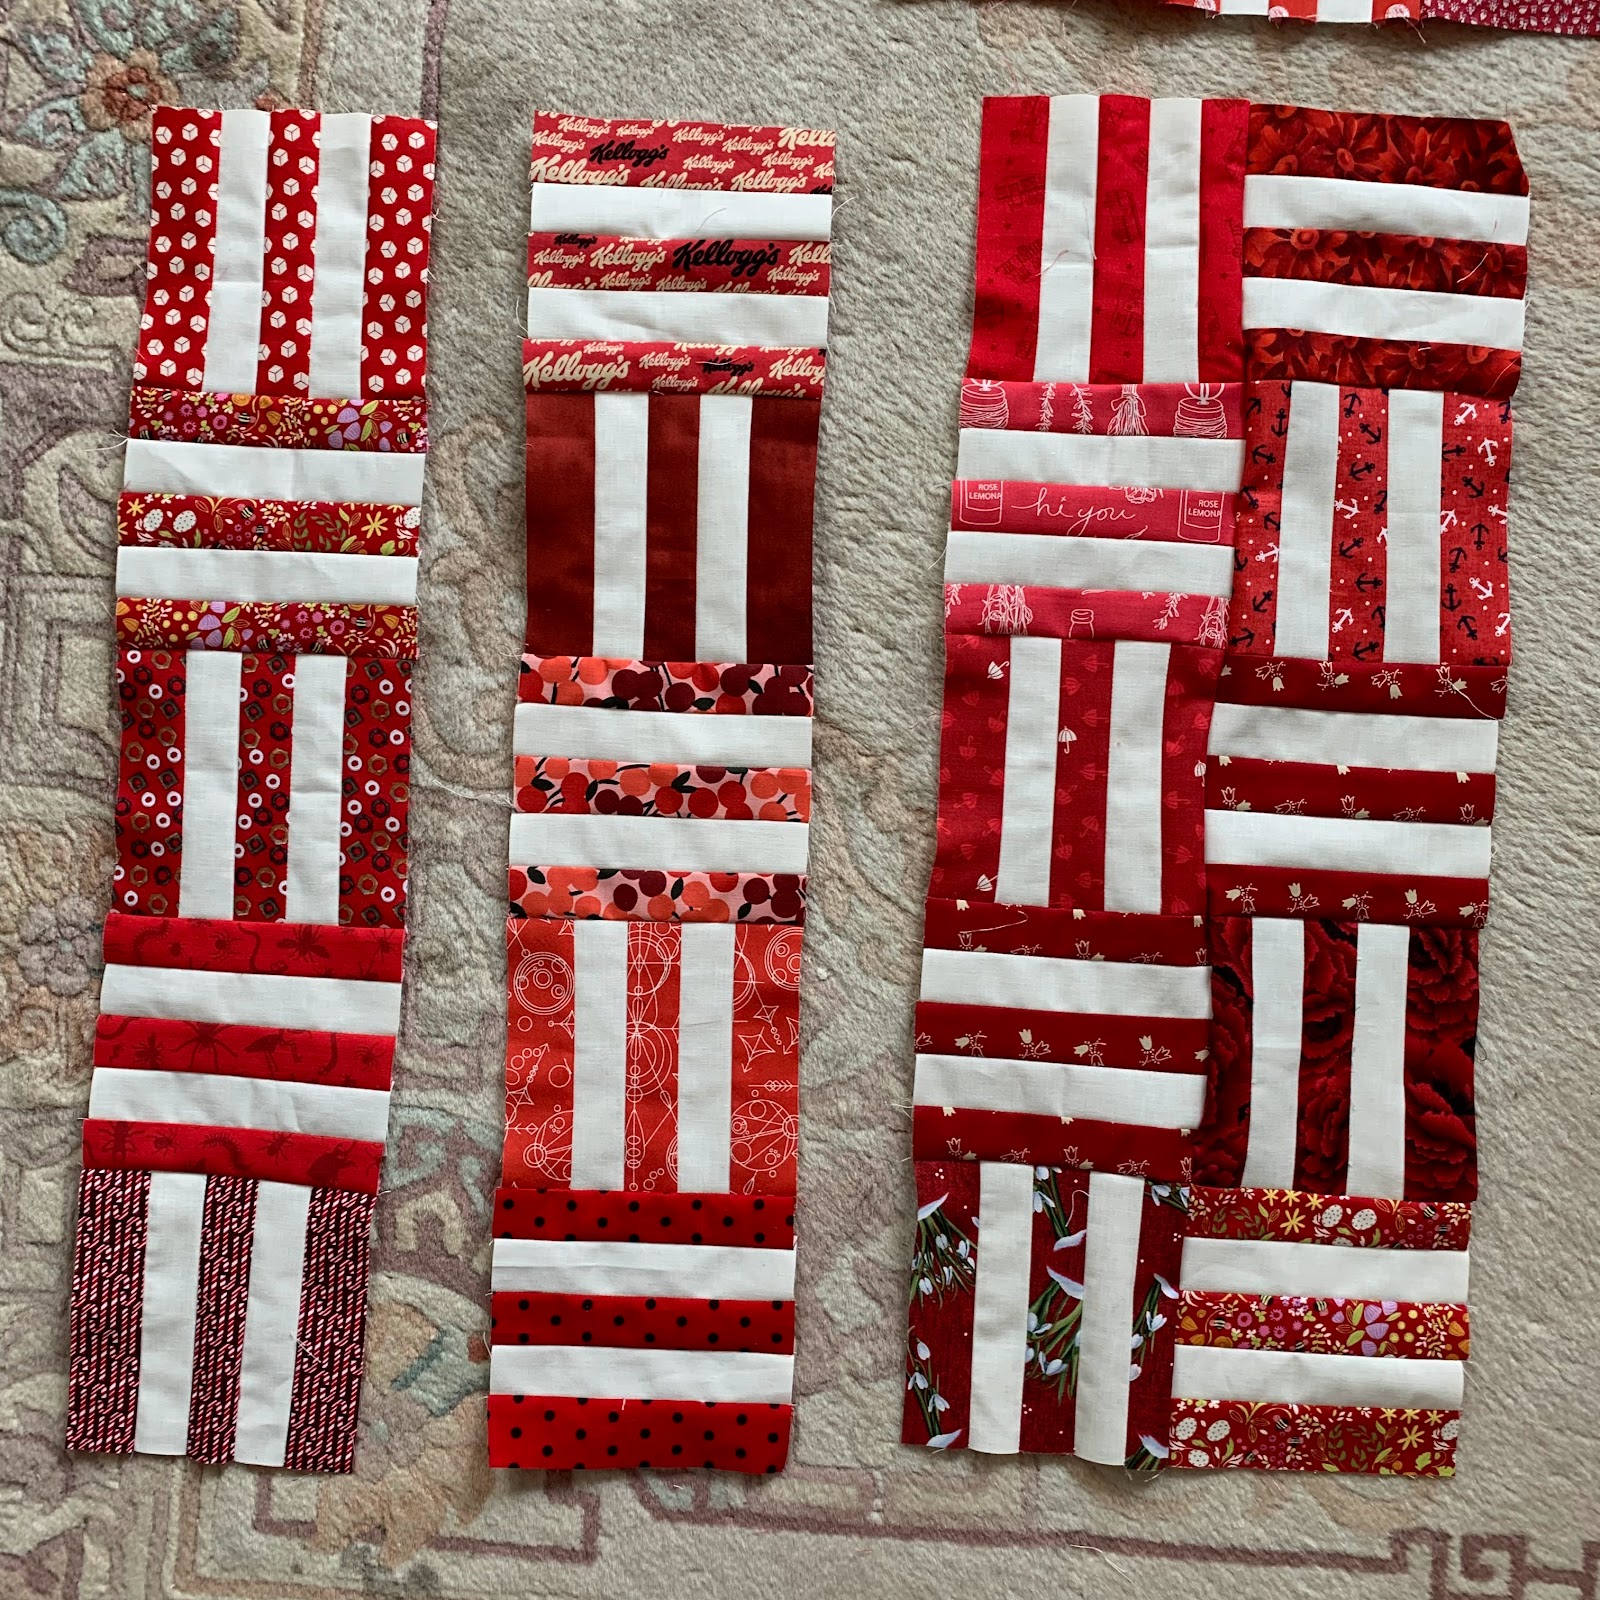
I saw a vintage rail fence quilt made with two fabrics and loved the basket-weave effect. I decided to use the idea for another red and white quilt and had fun using lots of reds, most of my own but also some from friends. Also some shopping happened. I have made 5 red and white quilts in the last year and there is a net gain of red fabrics in my house.
Remember, 3 reds clash. 100 reds are fabulous.
The white is Kona Snow.
I wanted the patchwork to have the same orientation of blocks in each corner, requiring an odd number of rows and columns. The lay-out is a bit complicated to describe, but is simple in execution.
Block finishes 5 inches
13 blocks across
17 rows
Borders finish 5 inches
Cutting
Red: three 1 1/2 by 5 1/2 inch rectangles
White: two 1 1/2 by 5 1/2 inch rectangles
(for 221 blocks, 442 white rectangles. I cut the white into 5 1/2 inch strips then subcut into the rectangles.)
Pressing
Press away from white to red
Make 221 blocks.
*Set aside 13 blocks
Orient blocks alternating horizontal and vertical seams
Sew blocks into 104 pairs then 52 fours
Press towards the blocks with horizontal seams
*Set aside 16 of the 4-block units
Sew the remaining 36 into 18 8-block units
Take two 4-block units and rotate one, sew together, seams will nest


Take the remaining set aside 4-block units and add the set aside single blocks to make 5-block units, MAKING SURE to add a horizontal block to 6 of the units and a vertical block to 7 of the units.
Make six 10-block units and finish the row with the remaining 5-block unit.
There are 4 rows of units.
Press odd rows left, even rows right
All seams will nest
Borders
Cut 5 1/2 inch strips of various red fabrics*
*Border planning for scrap borders:
I cut the lengths to nest in with the blocks.
SO, for this quilt with 5 inch finished blocks, the 5 1/2 inch wide fabrics are cut into lengths that are multiples of 5 inches: 10, 15, 20, PLUS a 1/2 inch seam allowance, so 10 1/2, 15 1/2, 20 1/2. This allows the border seams to nest into the block seams. AND, I don't have to pin!
By varying the length, they look more random than if they were all cut the same length.
When my borders are wider or narrower than the block size, there is a bit of figuring for the top and bottom borders, but it is pretty simple math.
I also like to have the corners wrap around so I make sure I use fabric I have plenty of for corners.
This scrap border method allows places to celebrate fabulous prints that are cut up in the patchwork. Look at these dalmations! And the airport!
My design, use at your pleasure.


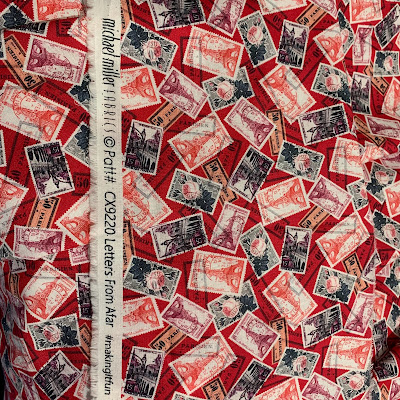 |
| Backing from Michael Miller |

5 comments:
Another beautiful quilt! Thanks for sharing the instructions!
This is a stunning quilt indeed!
I love this, keeping the rails to two colours is very effective. Thanks for sharing.
"Remember, 3 reds clash. 100 reds are fabulous."
Words of wisdom!
Gorgeous!
San / Gypsy Quilter Designs
Post a Comment