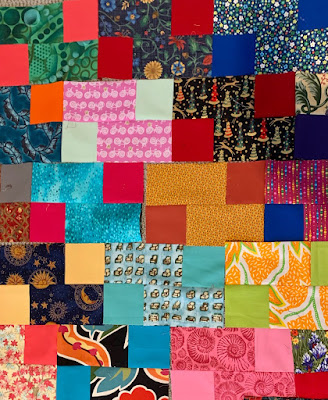
Steps
Block finishes 6 by 9 inches
I plan to make fifteen rows, put into 5 row units, so 125 blocks, 10 variation 1 and 10 variation 2 blocks, to finish 81 by 90 inches.
Cutting
Solid: two 3 1/2 inch squares
Print: two 3 1/2 by 6 1/2 inch rectangles
Sew square to rectangle
Press toward rectangle.
Sew two units together to make block
Press to one side.
Variation units are needed to make the step layout work
Variation unit 1
Solid: one 3 1/2 inch square
Print: one 3 1/2 inch square, one 3 1/2 by 4 1/2 inch rectangle
Variation unit 2
Solid: one 3 1/2 inch square
Print: one 3 1/2 inch square
Assembly of rows:
Rotate blocks so seams will nest.
There will be three different rows sewn into five larger row units.
Row A: 9 blocks
Row B: Variation unit 1, 8 blocks, Variation unit 2
Row C: Variation unit 2, 8 blocks, Variation unit 1
Because the block-joining seams do not meet in the joining of rows, the way you press these seams does not affect nesting. I am pressing all mine to the right.
To avoid the tedious sewing of 15 long rows, I plan to sew into the 3-row units then assemble these units into the top.


