Saturday, March 24, 2012

minimalist birthday parties


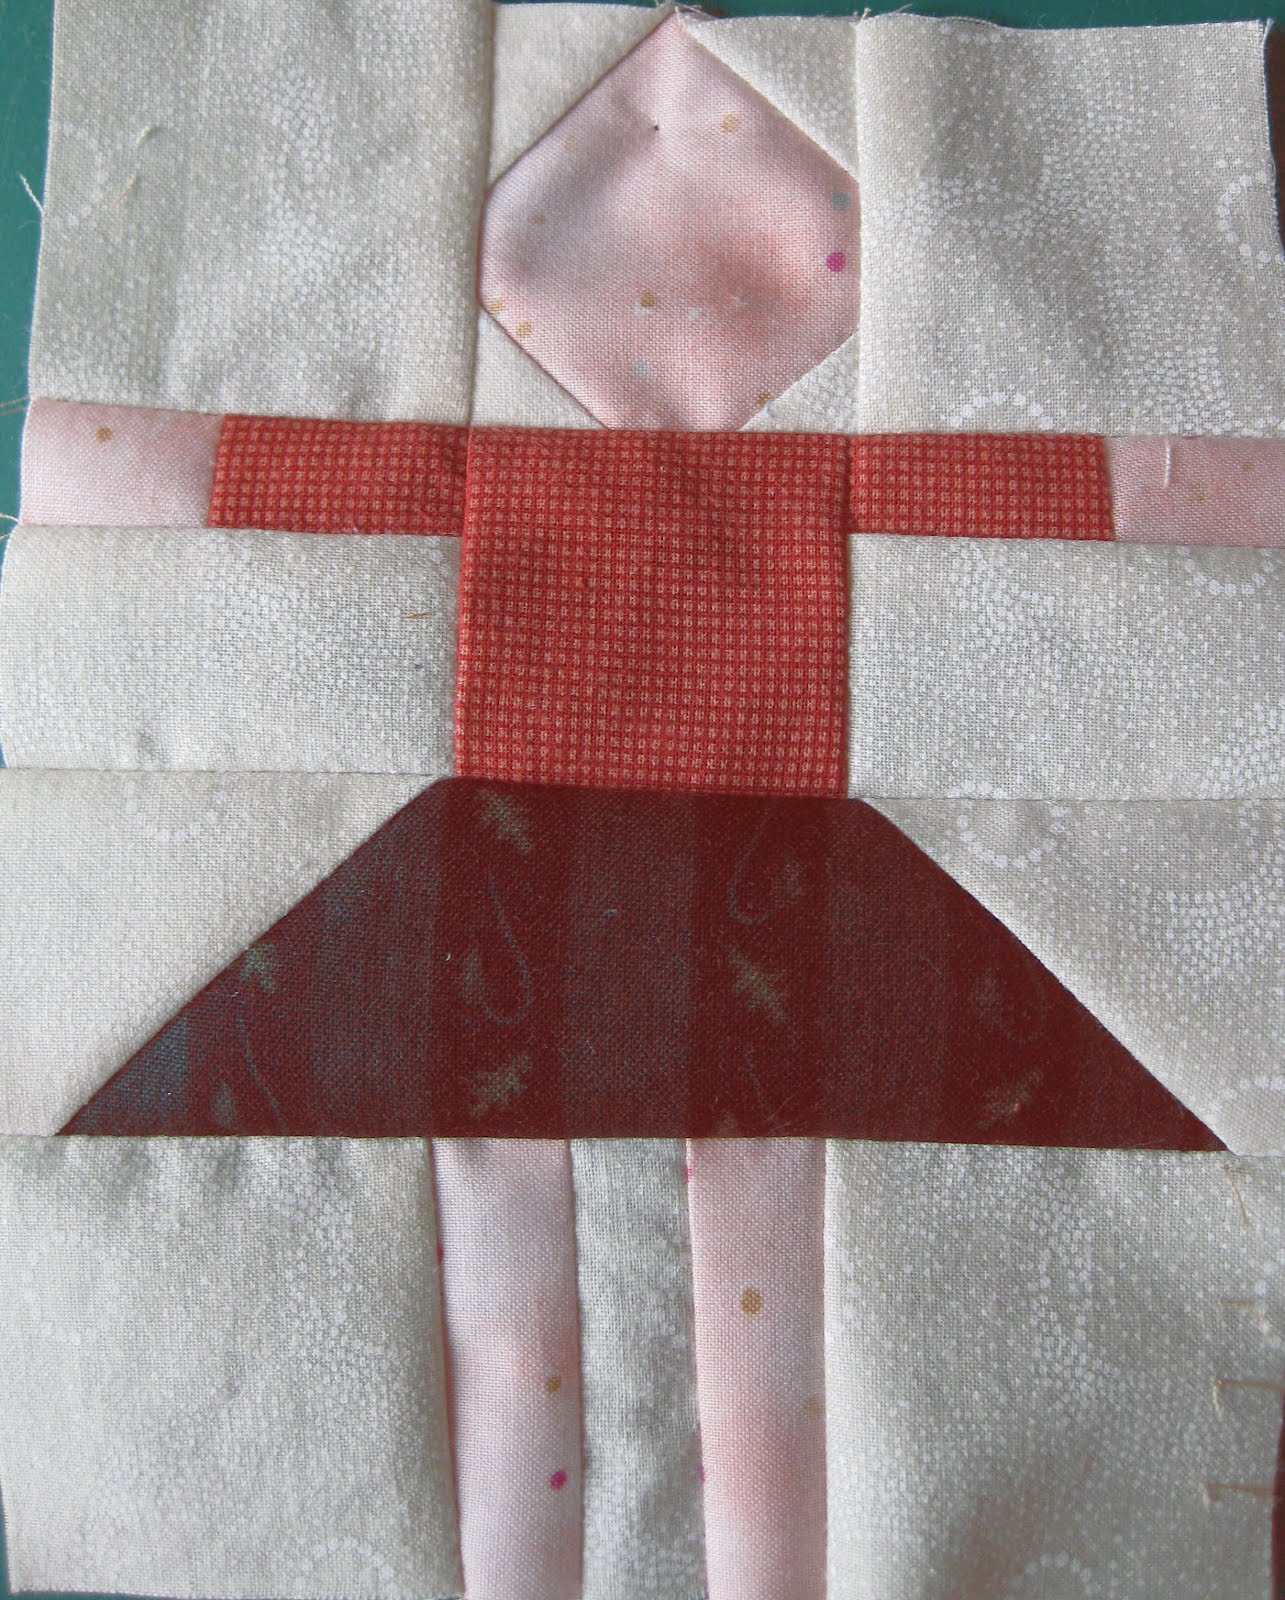
Scanned Image.jpeg
I was reading a blog posting about minimalist birthday parties and their description of minimalist was a bit more work than I was willing to do for our kids. I commented with a version of below:

Here on LeClaire the parents have a great system for celebrating birthdays of our children.
You may decide we are either the laziest parents in the world and wonder how we all happened to move to the same block, or you will recognize the genius of this system.

On our block in Chicago the parents came up with "neighbor birthdays".
We put out a flyer with the date and time, and kids and parents come over to the front yard of the birthday kid's house for cake.
We take a group picture on the porch steps, and call it a day.
Whole thing takes about an hour.
No (or very small) gifts. We find a Sacagawea dollar or two to be loved by 2 year olds to 15 year olds.
The parents get to visit and the kids of all ages have fun. We have a wonderful record of the children growing up with the porch step photographs. Our block has done this for about 20 years.
(Because our houses have porches, if it is raining we have coverage.)

Rules:
--cake required--usually a homemade box cake with whipped cream for frosting.
--beverage optional
--if you need a bathroom, go home.
--winter? put on a coat

How much more minimalist can you get?

Saturday, March 17, 2012

28 years--St Patrick's Day is a fine day for a wedding

My sister Beth made the cake and my mother made my dress. We made the veil the night before. Andy put green Hostess Snowballs around the wedding cake and to this day, that is our dessert for our anniversary.
I carried tulips and anemones. Dad walked me down the aisle and provided a pig roast, as he did for my sisters' weddings. (And, when he learned our best man was Jewish, also provided a fatted calf.)
My dear cousin Leanne lit candles and played the organ, Gordon Young's Prelude in Classic Style. Check it out on Youtube--it is a great piece.
http://www.youtube.com/watch?v=kNjtvp07mrg&feature=related

Tuesday, March 13, 2012

an extravagant welcome--putting it together part 3

Above is a printout of the original quilt. I have marked it into the large 9-patch block units and cut it into how I put the quilt together. (The numbers are just me counting blocks and partial blocks.)

There are times when I work in rows--especially with on point settings, but in straight settings I like to work in sections rather than rows.

Why?
I don't like long seams.
They are boring.
They have more potential for getting the quilt out of square.
And I think they put more stress on the quilt. By working in sections, there are just a few long seams. If someone sits on the quilt, that long thread will most likely snap. That is ok if it is just one or two seams, but if I have 20 rows, there is a potential for 20 snapped threads.
There are more twisted seams with this method, but I am ok with that.

At this point, I have 28 full blocks and 7 partial blocks and I will use my wall.

I put up the blocks, and rearrange to my content. I then start putting together in segments, placing a pin in what will be the top right corner when that segment returns to the board. 
I work in segments that are of different sizes so I can quickly place it back on the board when I return from the machine.

So, I am making giant 9-patches and 12-patches and whatever else until I have one final seam to make that will be the entire width or length of the quilt.

Borders? I will use a neutral 2 inch border, then finish with a 4 1/2 inch scrappy dark border, the same I one I used in the original. When I get there, I will post some hints on how to make that work easier!

So, have any of you been making these blocks?
I'd love to hear from you.

It will take me a bit to get this all together, but did you note the date? I said I thought I could get the blocks done in a month, and I did!
Watch for the completed top in the next 6 weeks.

And, thanks again to Melissa Kane for her wonderful inspiration.


an extravagant welcome--putting it together part 2

Now take your 98 segments (49 of each type) and make 14 of each of these 9 patch blocks.


And make 4 partial blocks like this.

And make 3 partial blocks like this.

Next time: how to put the blocks into sections and putting the top together.

an extravagant welcome--putting it together part 1

Inspect your blocks. Press each one with starch and make sure they are the correct size (5 by 6 1/2 inches). I can work with blocks that are off a bit with easing.

You can put the blocks together any which way you want.
The hands do interlock so you can put them side by side, flipping the seam allowance if you want to put similar blocks next to each other. You will definitely have to flip seam allowances at the top and bottom when putting together rows. Or, you can put sashing and make a strippy quilt. If your blocks are really of varying sizes, I recommend you frame each block and cut the framed blocks to a consistent size.

I am going with the original setting of medium value alternate blocks. Each child is a jewel in this set, and I love it.
This setting will use the 147 children blocks, and 147 alternate blocks (cut 5 by 6 1/2 inches from a medium fabric).
I do not want too much of a checkerboard effect, more of a checkerboard suggestion, so my mediums range from the light side to the dark side. This is also why I used mediums for the backgrounds of some of the children blocks.

NOTE: Although I made about half shirt and pants blocks and half dress blocks, I am not concerned about alternating placement in my quilt--boys and girls can clump together as they do in life.

I do NOT put all the blocks up on the board and work on placement. There are 294 blocks, and that is too many decisions to deal with. Instead, I put the children into larger blocks.

Why?

First, serendipity. Letting a few blocks be "too close" by chance, makes a better quilt. Being too strict with the rules makes a more static look, and I like the serendipity factor to get me out of that control.
Also, by over thinking "this block goes here" 294 times (number of children and alternate blocks) I would drive myself crazy.
Instead, I make nine-patches of the blocks, bringing the total blocks down to 28 full blocks and 7 partial blocks (35).

Here is how to get started:

Sew the blocks into two types of segments--one with one child and two alternate blocks, the other with two children and one alternate block. Make 49 of each.


Next time: how to put these segments into 9-patches (and a few partial blocks).

Monday, March 12, 2012

tip #19 pins, lots of pins, a pound of pins

When we first moved to this house, my next door neighbor Vera*, who had worked in the shipping warehouse for Sears, gave me this box of  a pound of pins she bought at the warehouse sale (or maybe they fell off a truck). The pins were packed in there side by side as neat as, well, a pin.

I wondered what I would ever do with this many pins. I soon had far fewer to deal with after I dropped it and all those pins now occupied a volume of 10 times the box and I had to give those that wouldn't fit back into the box to anyone who would take them.

Over the years I have bought glass head pins and flower head pins, and I do like them, but they eventually disappear or get bent and I go back to using these from Vera that have not run out since 1987.
So, my advise is, along with having fancy expensive pins, have a massively large quantity of reliable simple pins that do the job.

*Vera had a hard life. She grew up in an orphanage and married a man who would threaten to kill her and their children when he was drunk. She was very proud of her hiding place for the gun when he was in his dark moods--she pulled up a potted plant, put the gun in the bottom of the pot, and put the plant back in. He never found her hiding place. Shortly before we moved in, her house was firebombed with a Molotov cocktail that she suspected was thrown by a former son-in-law. When she told me that story she was laughing at how silly the owner of our house looked out there with his garden hose putting out the fire. 
This may explain why he was so motivated to sell. 

Friday, March 09, 2012

tip #18 keep a little glass bowl by your sewing machine

My friend Sharon Sikes gave me this tip years ago. She said to keep a pretty glass bowl by the machine to hold frequently used feet, thread, needles, and bobbins as you change them. The bowl shape keeps them all in place until you need them so you aren't hunting under other stuff for the items, and it is nice to use something beautiful for utilitarian purposes. She has a ruby glass bowl, and I use a little cut glass one my father-in-law gave me.

Lest you think because Sharon and I have great organization ideas we are also paragons of keeping things neat and tidy, note that before photographing, I had to clean out my little bowl and crop the picture of the mess around it. As for Sharon's bowl--I wasn't able to photograph it since we couldn't even enter her sewing room. The door was blocked by what was removed from the dining room table for Christmas.
Yes, she knows it is March.

up on the roof--2900 North Lake Shore Drive

Looking southeast towards Diversey Harbor and the Hancock building.

An occasional series of photographs from parking ramp roofs.

How to use a parking ramp:
It can be irritating circling in a parking ramp constantly looking for an open space, while watching for cars/people/and wondering just how high you will need to go.
My solution?
As long as I am paying up to $28 for a space, I am also going to get a view.
I pass up all spaces and head to the roof. You can get wonderful views of the city from parking garage roofs.

Thursday, March 08, 2012

tip #17 have a container to collect cut down scraps as you work

I cut down scraps as I work on projects. My standard sizes: squares cut 2 1/2, 2, and 1 1/2 inches and rectangles 2 1/2 by 4 1/2 and 1 1/2 by 2 inches.
I drop them into this enamel container on my cutting table, and when it fills, I sort into sizes and light or dark. From here they go into bins of like sizes.
I do keep solids and 30's repros separate, and sometimes plaids.

Tuesday, March 06, 2012

an extravagant welcome--mob rule

The children are rather taking over the neighborhood here--a bit of a Children of the Corn feeling when I go up to my sewing room.

Sunday, March 04, 2012

sunflowers

In honor of my father's birthday I had sunflowers at church this morning.
I thought it a fitting choice in memory of a man who fought them in the soybean and corn fields!

Sunday, February 26, 2012

acolyte Seth

an extravagant welcome--at the barre

This afternoon Andy and I attended a performance of LaBayadere (alas, no elephants) and I came home to make Solor and Nikiya.

The Kingdom of the Shades.

Friday, February 24, 2012

an extravagant welcome--heading to the beach


There are lots of beaches here in Chicago--33 of them according to the Park District website.
When the children were little, I liked Jarvis Beach and Pratt Beach for walks and sitting--very quiet.
For swimming, we would head to Foster Beach at 1000 and leave by noon, before the sun got too high and the crowd too big, but even with SPF 40, my children would tend to get as burned as those in these three blocks.

All are made in vertical rows.

Background is cut as for the shirt and pants block, but the between the legs section is cut long to allow for variations.
Arms are cut 2 by 1 inches on all swim suit blocks.

Hint--when dealing with very small fiddly pieces, I am finding it best to cut the legs section a bit long, and cut the center section down to 6 1/2 inches after it is sewn together. This also allows you to play with proportions a bit.

If in your fiddling, the center section of the block looks off, throw it away. The tiny bits of fabric are not worth reworking at a certain point, and will stretch and not lay right.

Don't over-think this obsession with proportion--these blocks are not to scale with human children. There is a primitive feel to the block, and by messing with embellishments and such, you will lose that appeal.


One piece suit:
straps and chest cut from 1 inch squares
suit cut 2 inches by 2 3/4 inches to accommodate the mermaid--can be shorter for another style.
Legs cut 3 inches and sewn in, then cut down to center section measuring 6 1/2 inches.


Swim trunks:
chest skin cut 2 inch square
trunk top cut 2 by 1 inches
trunk legs cut 2 by 1 inches
legs cut 3 inches and sewn in, then cut down to center section measuring 6 1/2 inches.

Two-piece suit:
straps and chest cut from 1 inch squares.
suit top is 1 inch by 2 inches
midrift skin is 1 inch by 2 inches
suit bottom is cut 1 1/4 inch by 2 inches
legs are cut 3 1/2 inches and sewn in, then cut down to center section measuring 6 1/2 inches.

Fabric for the bathing children was given to me by my friend Nancy.

Anyone making a speedo?

Seth and Eve, Foster Avenue Beach, about 2005

an extravagant welcome--fashion forward children


To mix things up a bit, try making some changes in the clothing.
I find it easiest to take graph paper, make a 6 by 4 1/2 inch grid block, fill in the head and arms, then sketch in some alternate lines.

Don't overdo this. There is a primitive feel to the block, and by messing too much with embellishments and such, you will lose that appeal.

I've made shorts, apron, skirt and blouse, robe, empire waist, swim suit, suspenders, belt, and short sleeves.

The simplest change to make is to give the child short sleeves. This works with both the shirt and the dress.
Everything is cut and sewn the same except the sleeves are cut 1 inch squares and the arms are 1 by 1 1/2 inch of the skin fabric.


Changing the silhouette:
Because I really, really hate paper piecing, I don't go that route.
Instead, to have a different silhouette of a dress, I make a mark at a certain point on the back of the 3 by 2 inch background rectangle and draw a line from that point to the outer corner. I then take an oversized 3 inch square piece of dress fabric, sew and flip, and trim to the 3 by 2 inch size. Then do so as a mirror image on the other side. This works best with a non-directional dress fabric


These three silhouettes were with marks made at 1/2 inch, 3/8 inch, and flush with the top corner, then down to the bottom corner.

Coming next, swim suits!

extravagant welcome--pushing the fabrics


In choosing fabrics, push yourself a bit.
To mix things up a bit, I have been having friends select fabrics. This adds some personality to the quilt. I've included scraps a friend brought home from Ghana, some pieces from my mother's sewing basket, treasured fabrics I bought in Japan, and used many from shirts I take apart.
(I do see the irony in taking clothing, deconstructing it, and making an image of clothing.)

Stripes are great for backgrounds--look like wallpaper.
And, little prints bring whimsy. I also use the back of some fabrics for a muted look.

If you wish to have a directional background consistent in a block, here is a time saver--
when laying out the little background squares to sew onto the head fabric, make sure the stripe is in the same direction for each little square.

When you sew and flip it, it will all be in a consistent direction. I don't always do this--with some I let things go every which way.

Wednesday, February 22, 2012

little white crib


This crib was used by my Grandma and Grandpa Scholten for their children. My mother is 82 years old, and thinks it was passed on to her parents, so it is from the post WWI era, maybe the early 1920s.
My generation of 26 grandchildren, born during the baby boom, had a lot of cross-over of baby times, so not all got to sleep in it, but my mom did use it for the four of us. Dad said he would stick his foot out from the covers to roll us back to sleep.
We three sisters used it with our 9 children, Seth being the last 14 years ago.
Janna is preparing to be the first grandmother of us. (Beth and I say we already are great aunts, now we get to be Great Aunts!)
I pulled it out of the attic for Janna to pick up.
It is not in the best of shape--note the bungee cords holding it together at the wheels.
I think it is time to use it for a ceremonial photograph, then grab that child to safety!

The quilt is a Puss in the Corner cut from 2 1/2 inch and 1 1/2 inch cut squares and 2 1/2 by 1 1/2 inch cut rectangles, finishing in a 4 inch square. It is ready to send to the quilter and Mom will bind it for her first great-grandchild.

For the backing I found a wonderful  print fabric of McCalls patterns that I am sure my mom sewed from!

Tuesday, February 21, 2012

shuttle


A time out for the children for now as, at my dear neighbor Sharon's request, I show how to make this Shuttle pattern.
I originally saw this in a McCall's magazine. I redrafted it smaller.

The scraps are 2 inch squares cut.
I saved all red scraps for use in the triangles and used all other colors in the other spots.

The solid (a Kona light aqua, much more beautiful than it is photographing) is cut into 3 1/2 inch squares and 3 1/2 by 6 1/2 inch rectangles

I am preparing to make this again out of shirt plaids.

Three blocks:

4-patch
made from four 2 inch scraps


Framed square
made from one 3 1/2 inch solid and twelve 2 inch scraps


Shuttle
made from one 6 1/2 by 3 1/2 inch solid rectangle and four red 2 inch scraps as sew-and-flip


There are also two finishing pieces to complete the pattern on the four edges of the top

Row
made from four two inch scraps
 

Flying goose
made from a 2 by 3 1/2 inch solid rectangle and two red 2 inch scraps as sew-and-flip

You will also need four 2 inch squares to complete the corners.

Enjoy! And Sharon, I'll be right over with that coffee pot I borrowed in early December....